8 essential points for harvesting seeds
1. Know your plants
Annual, bi-annual, perennial
2. Choosing the right plant and fruit
Choose the most beautiful fruit and prefer organic
3. Beware of hybridization
Some plants are self-fertile and others need to be pollinated
4. Waiting for full maturity
Or even that the fruit is a little too ripe
5. Dry the seeds well
6. Remove all waste
Before bagging, be sure to remove all fruit residue
7. Properly label
Fruit, variety and bagging date
8. Take care of the conservation
Protect from light, humidity and high temperatures
Tomatoes
Harvest and save tomato seeds in 4 steps.
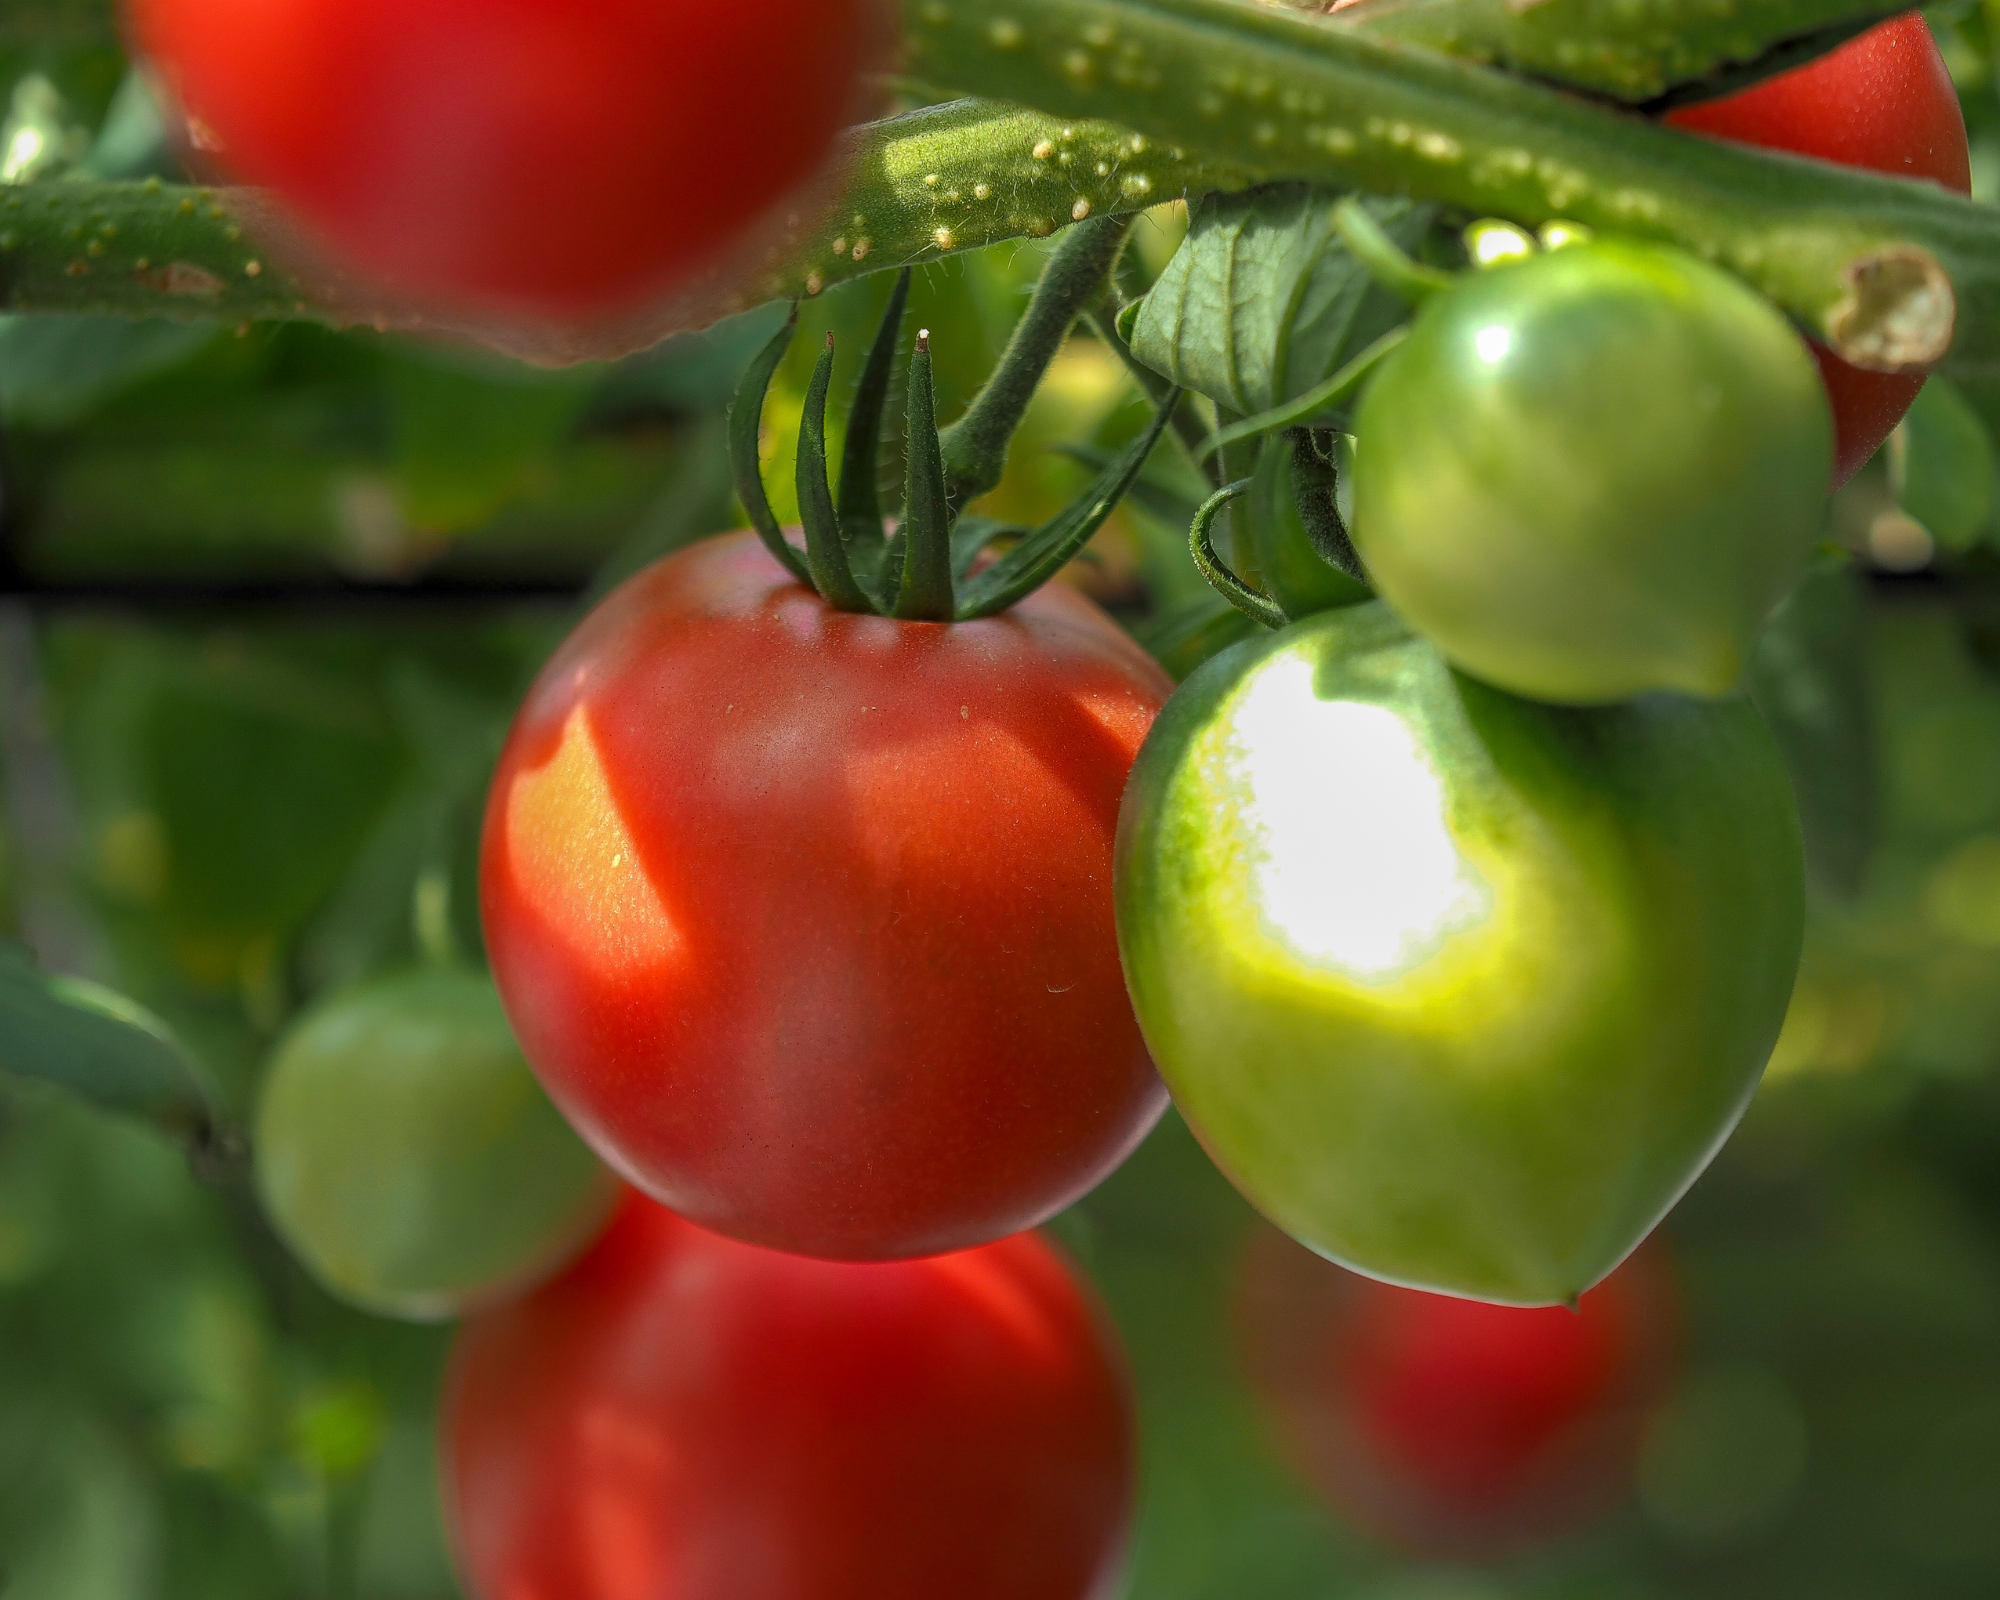
1. Harvesting the seeds
Choose a ripe fruit so that the seeds are fully matured. Then extract the seeds and juice from the tomato into a container. Sometimes very fleshy varieties have almost no juice. In this case, simply add a little water so that the seeds are submerged.
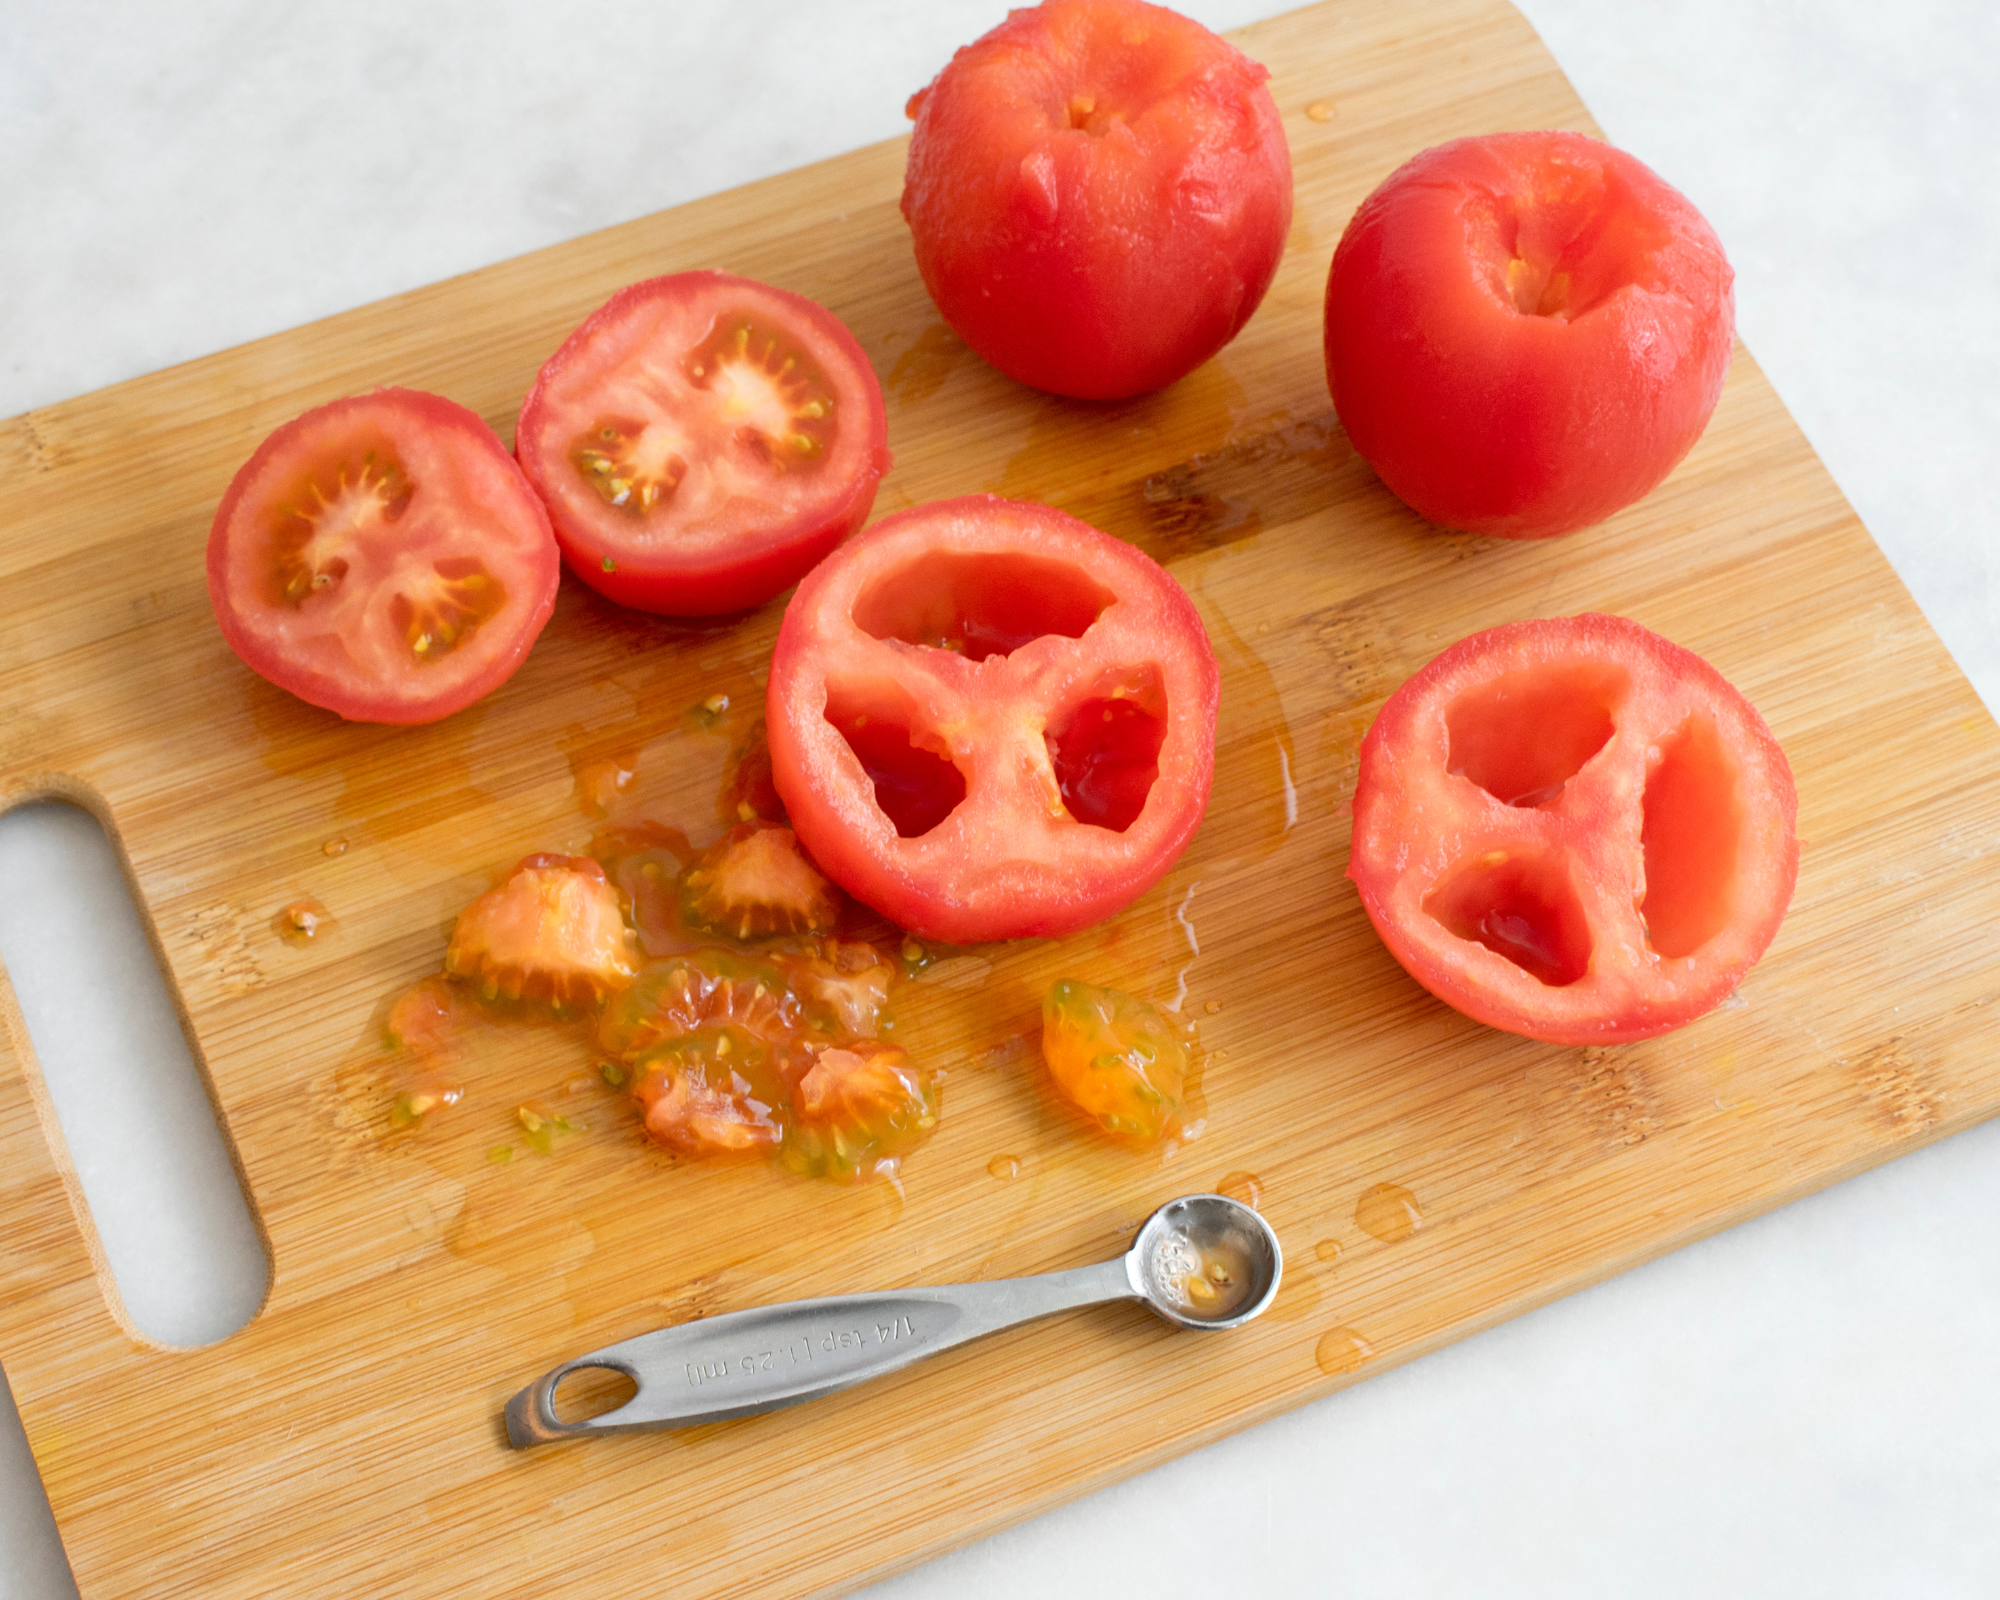
2. Fermenting
Once extracted, let the seeds ferment for a few days in the open air (3 days, at room temperature), while a mold forms on the surface. Make sure that the seeds are always under water. Fermentation will allow the seeds to easily get rid of the pulp that surrounds them and that could hinder their conservation.

3. Cleaning
When the seeds appear to be free of pulp, remove the surface mold and rinse the seeds thoroughly with clean water. A small sieve (or chinois) works well.
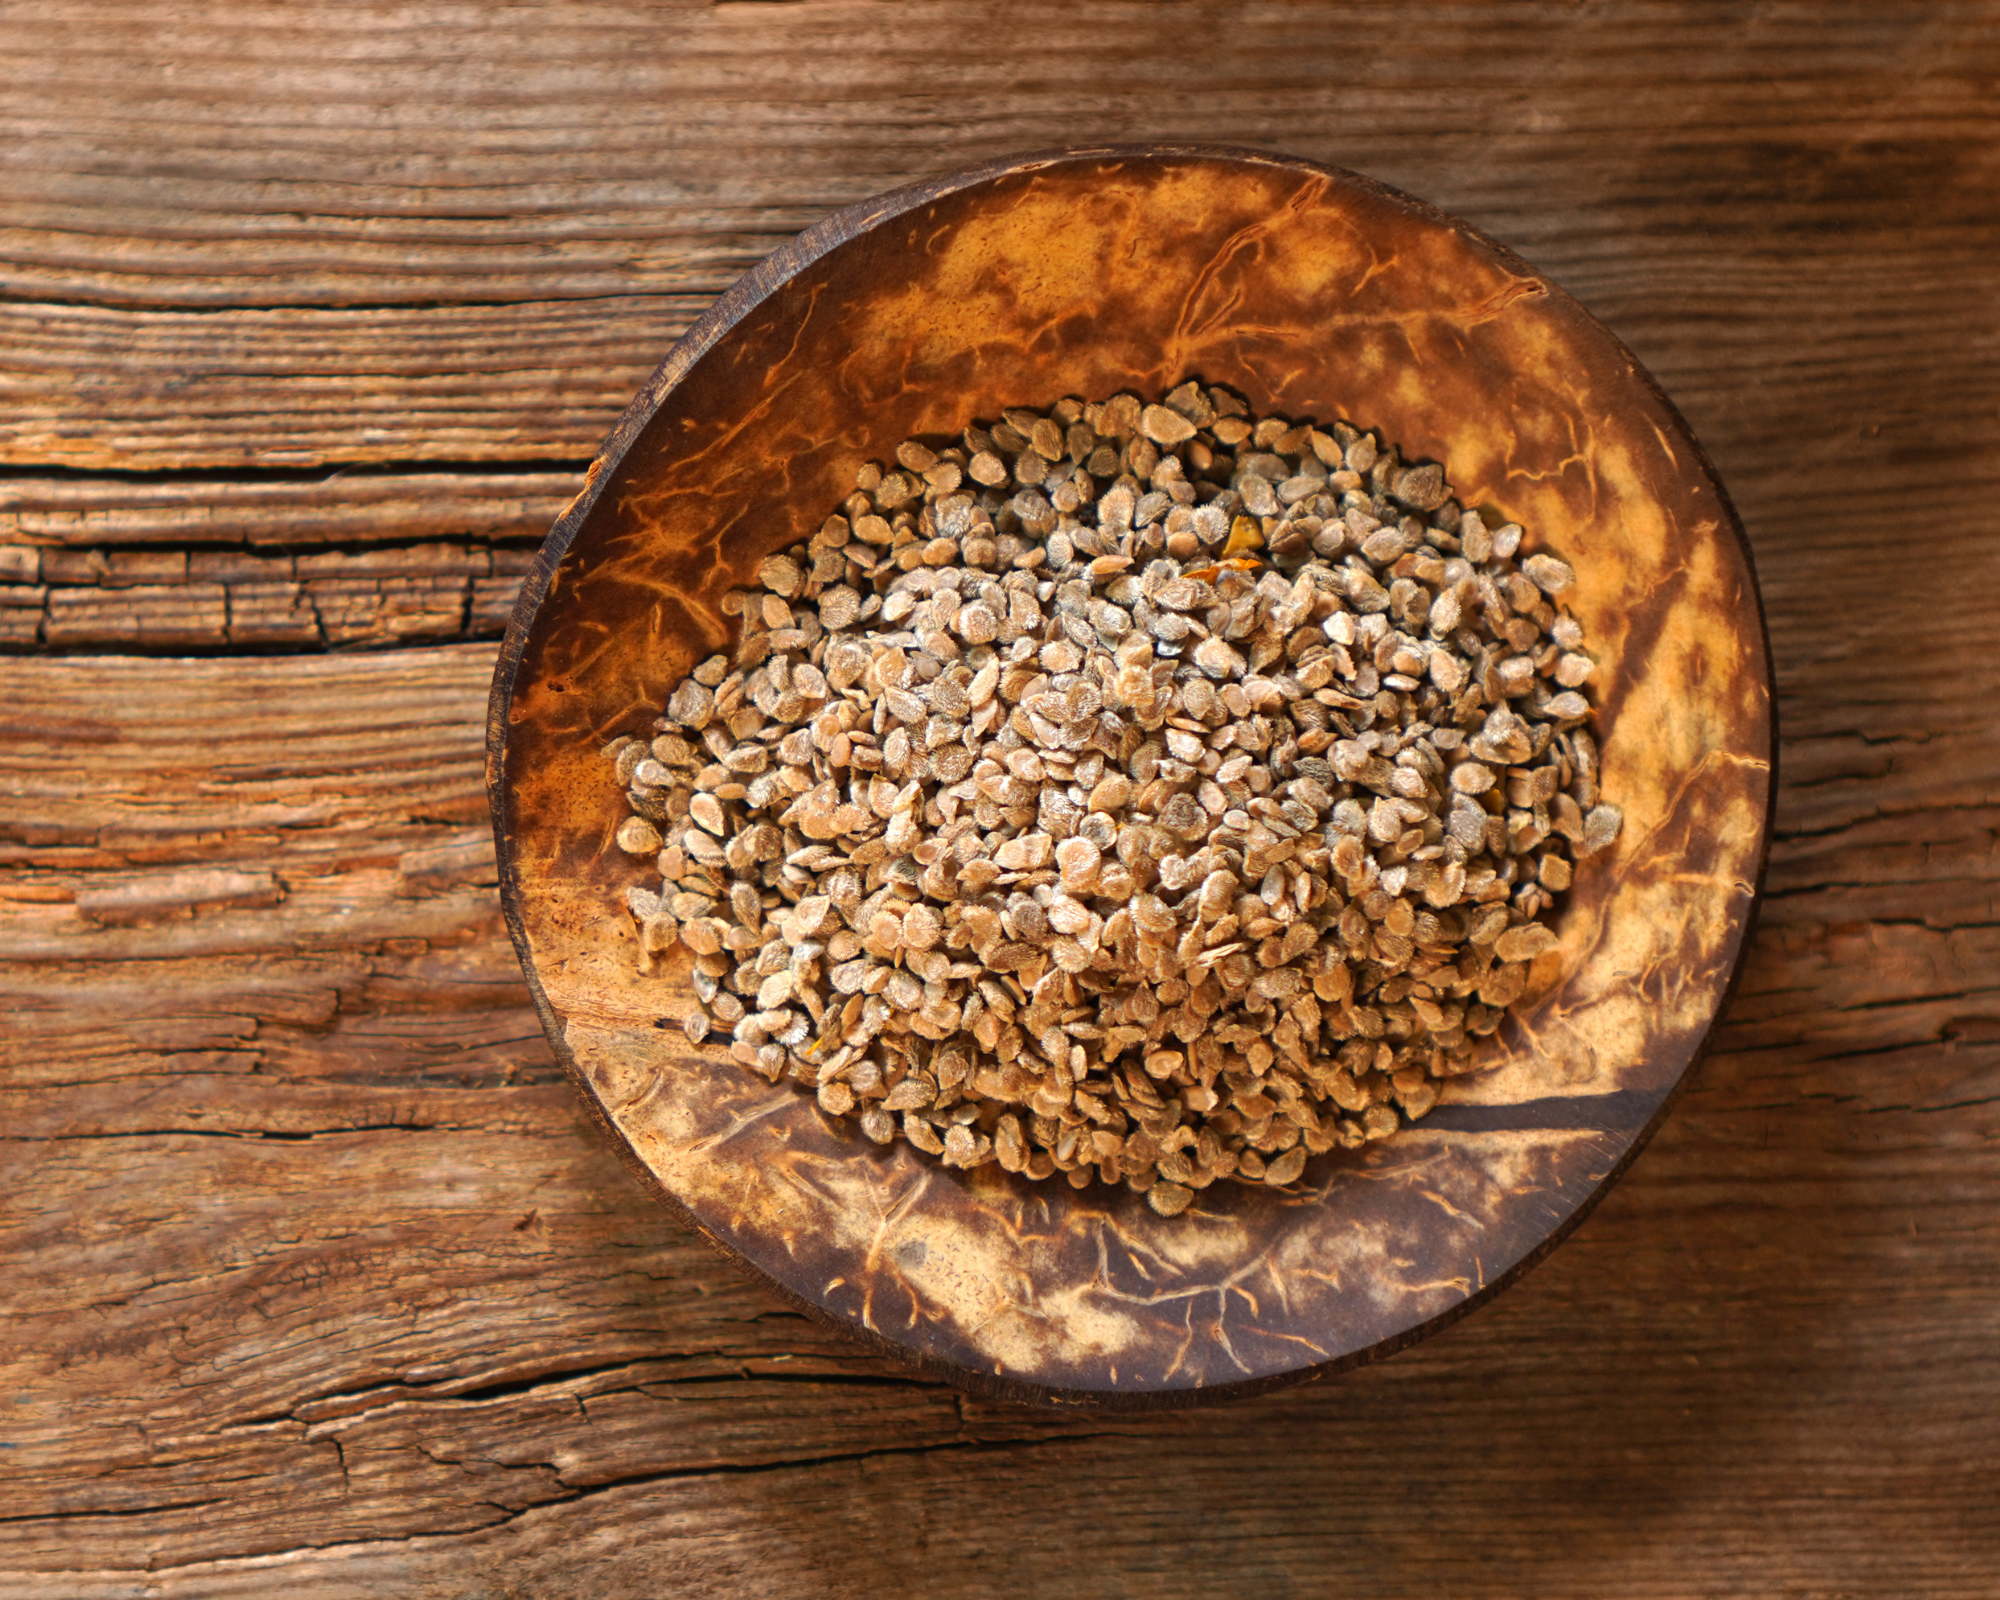
4. Drying
Dry the seeds on a dish or parchment paper. Avoid paper towels, as the seeds may stick! It will take about 2 weeks for the seeds to dry properly. Stir regularly. Store in a cool, dry place, away from light. Seeds can be stored for 5 to 10 years.
Chillies and peppers
Harvest and save chili and bell pepper seeds in 4 steps.
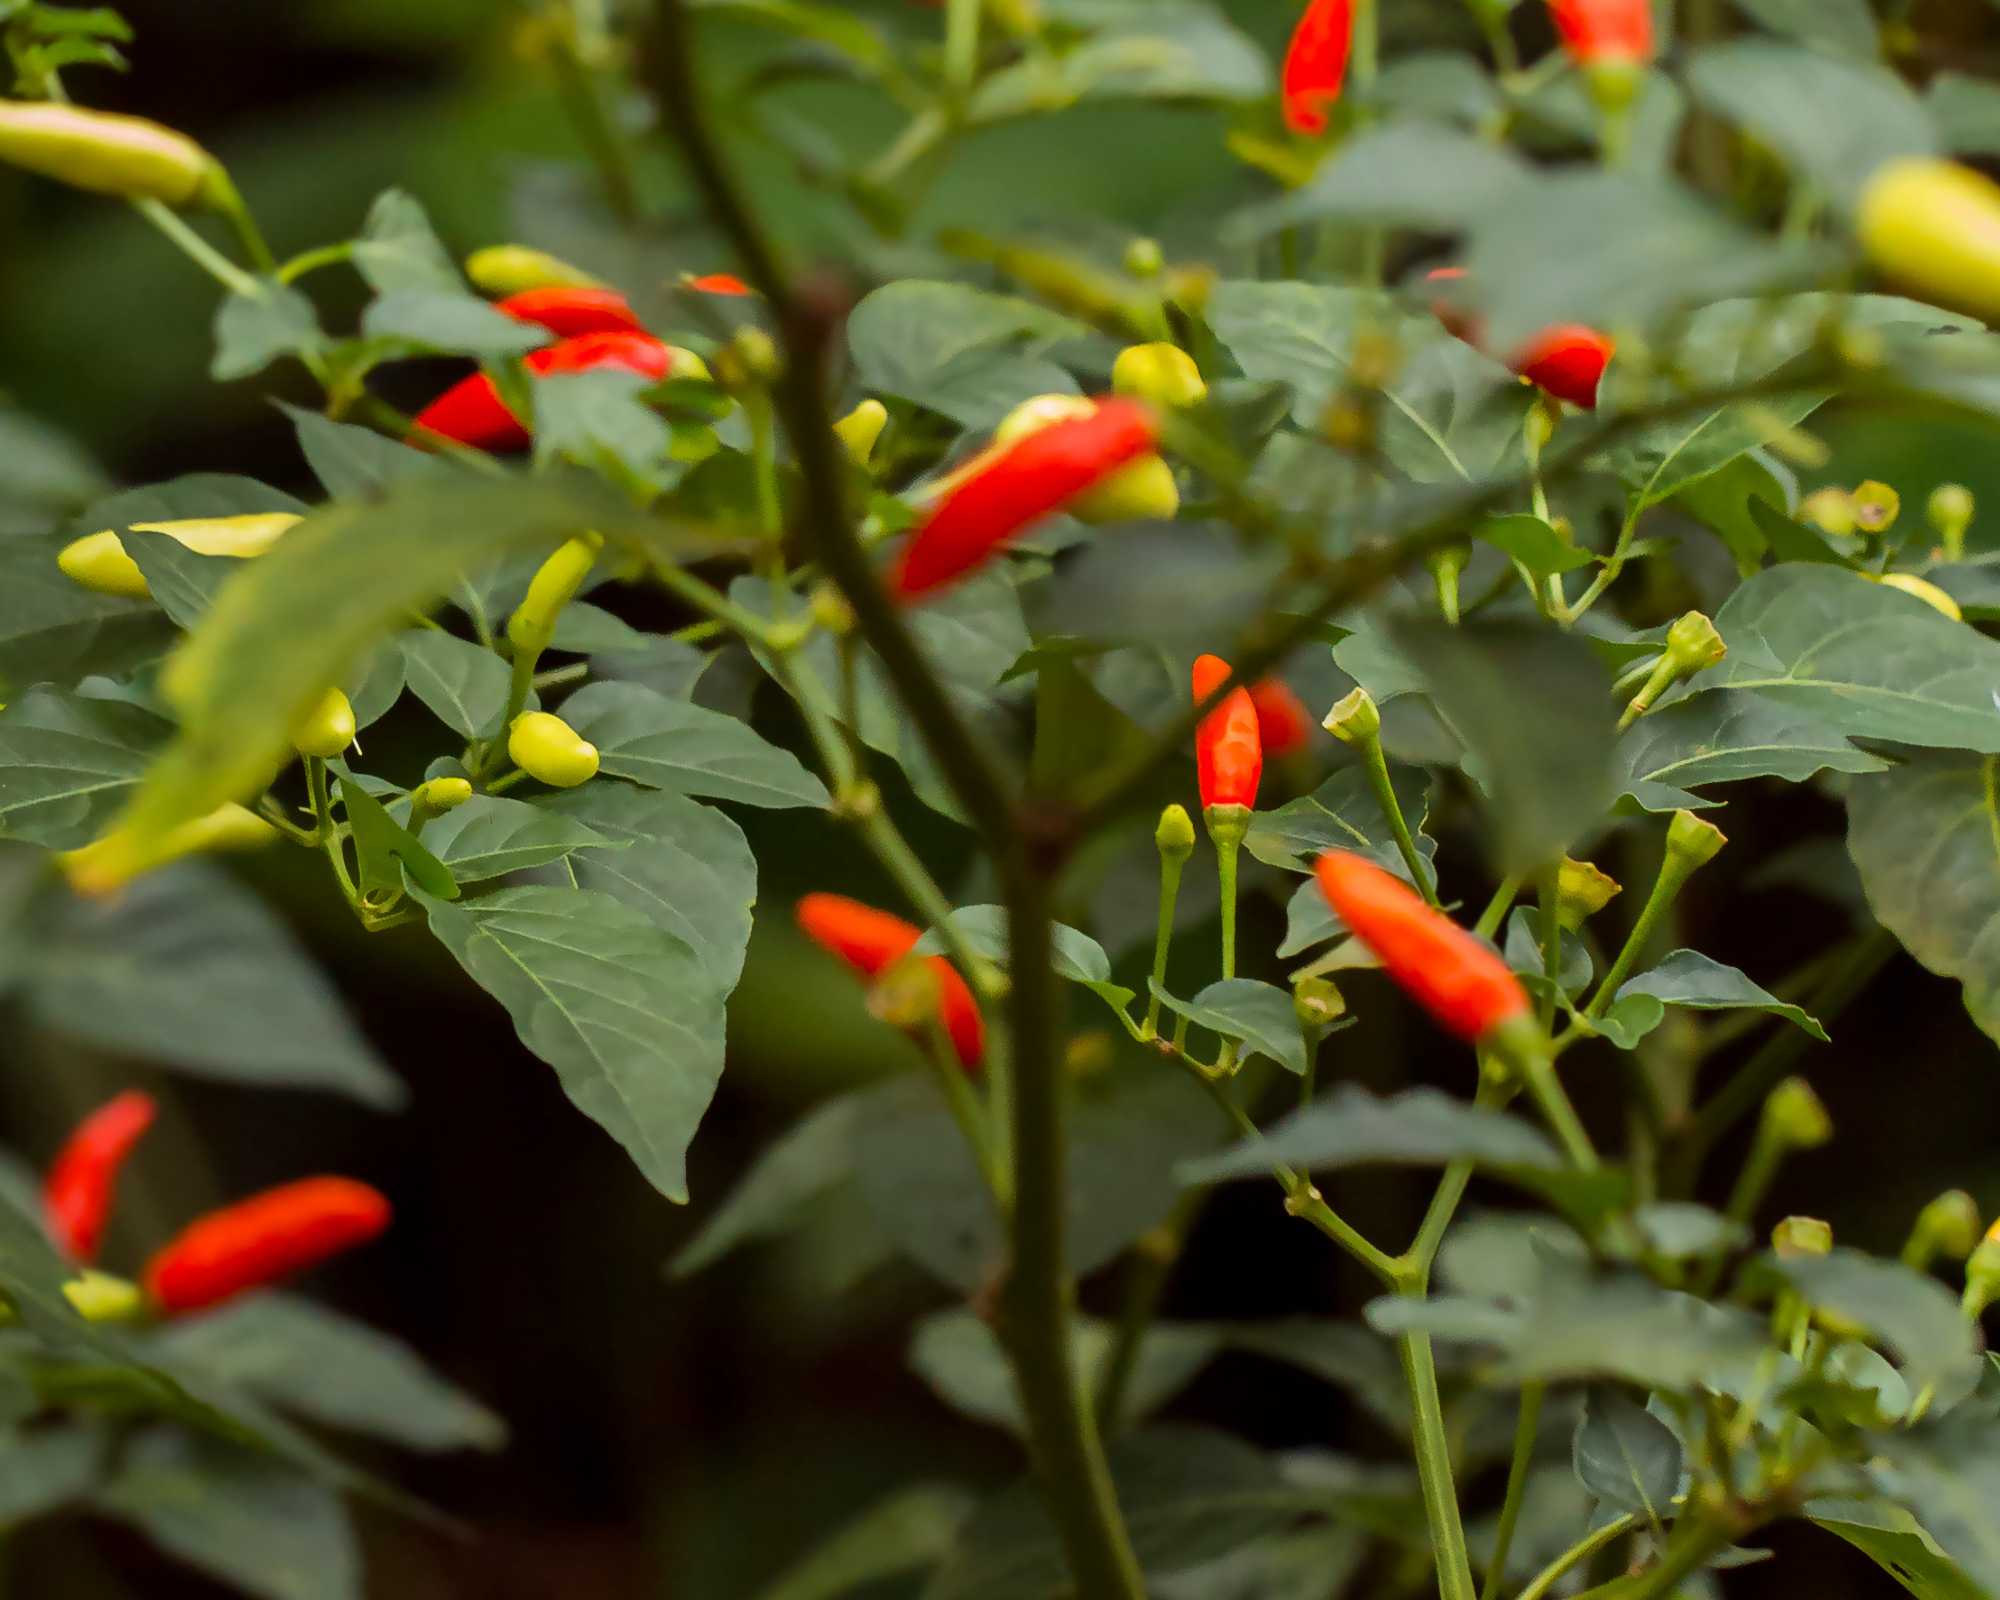
1. Let it ripen
Let the fruit ripen until it is fully ripe. Bring your fruit inside and continue ripening for another 2 or 3 days at room temperature.
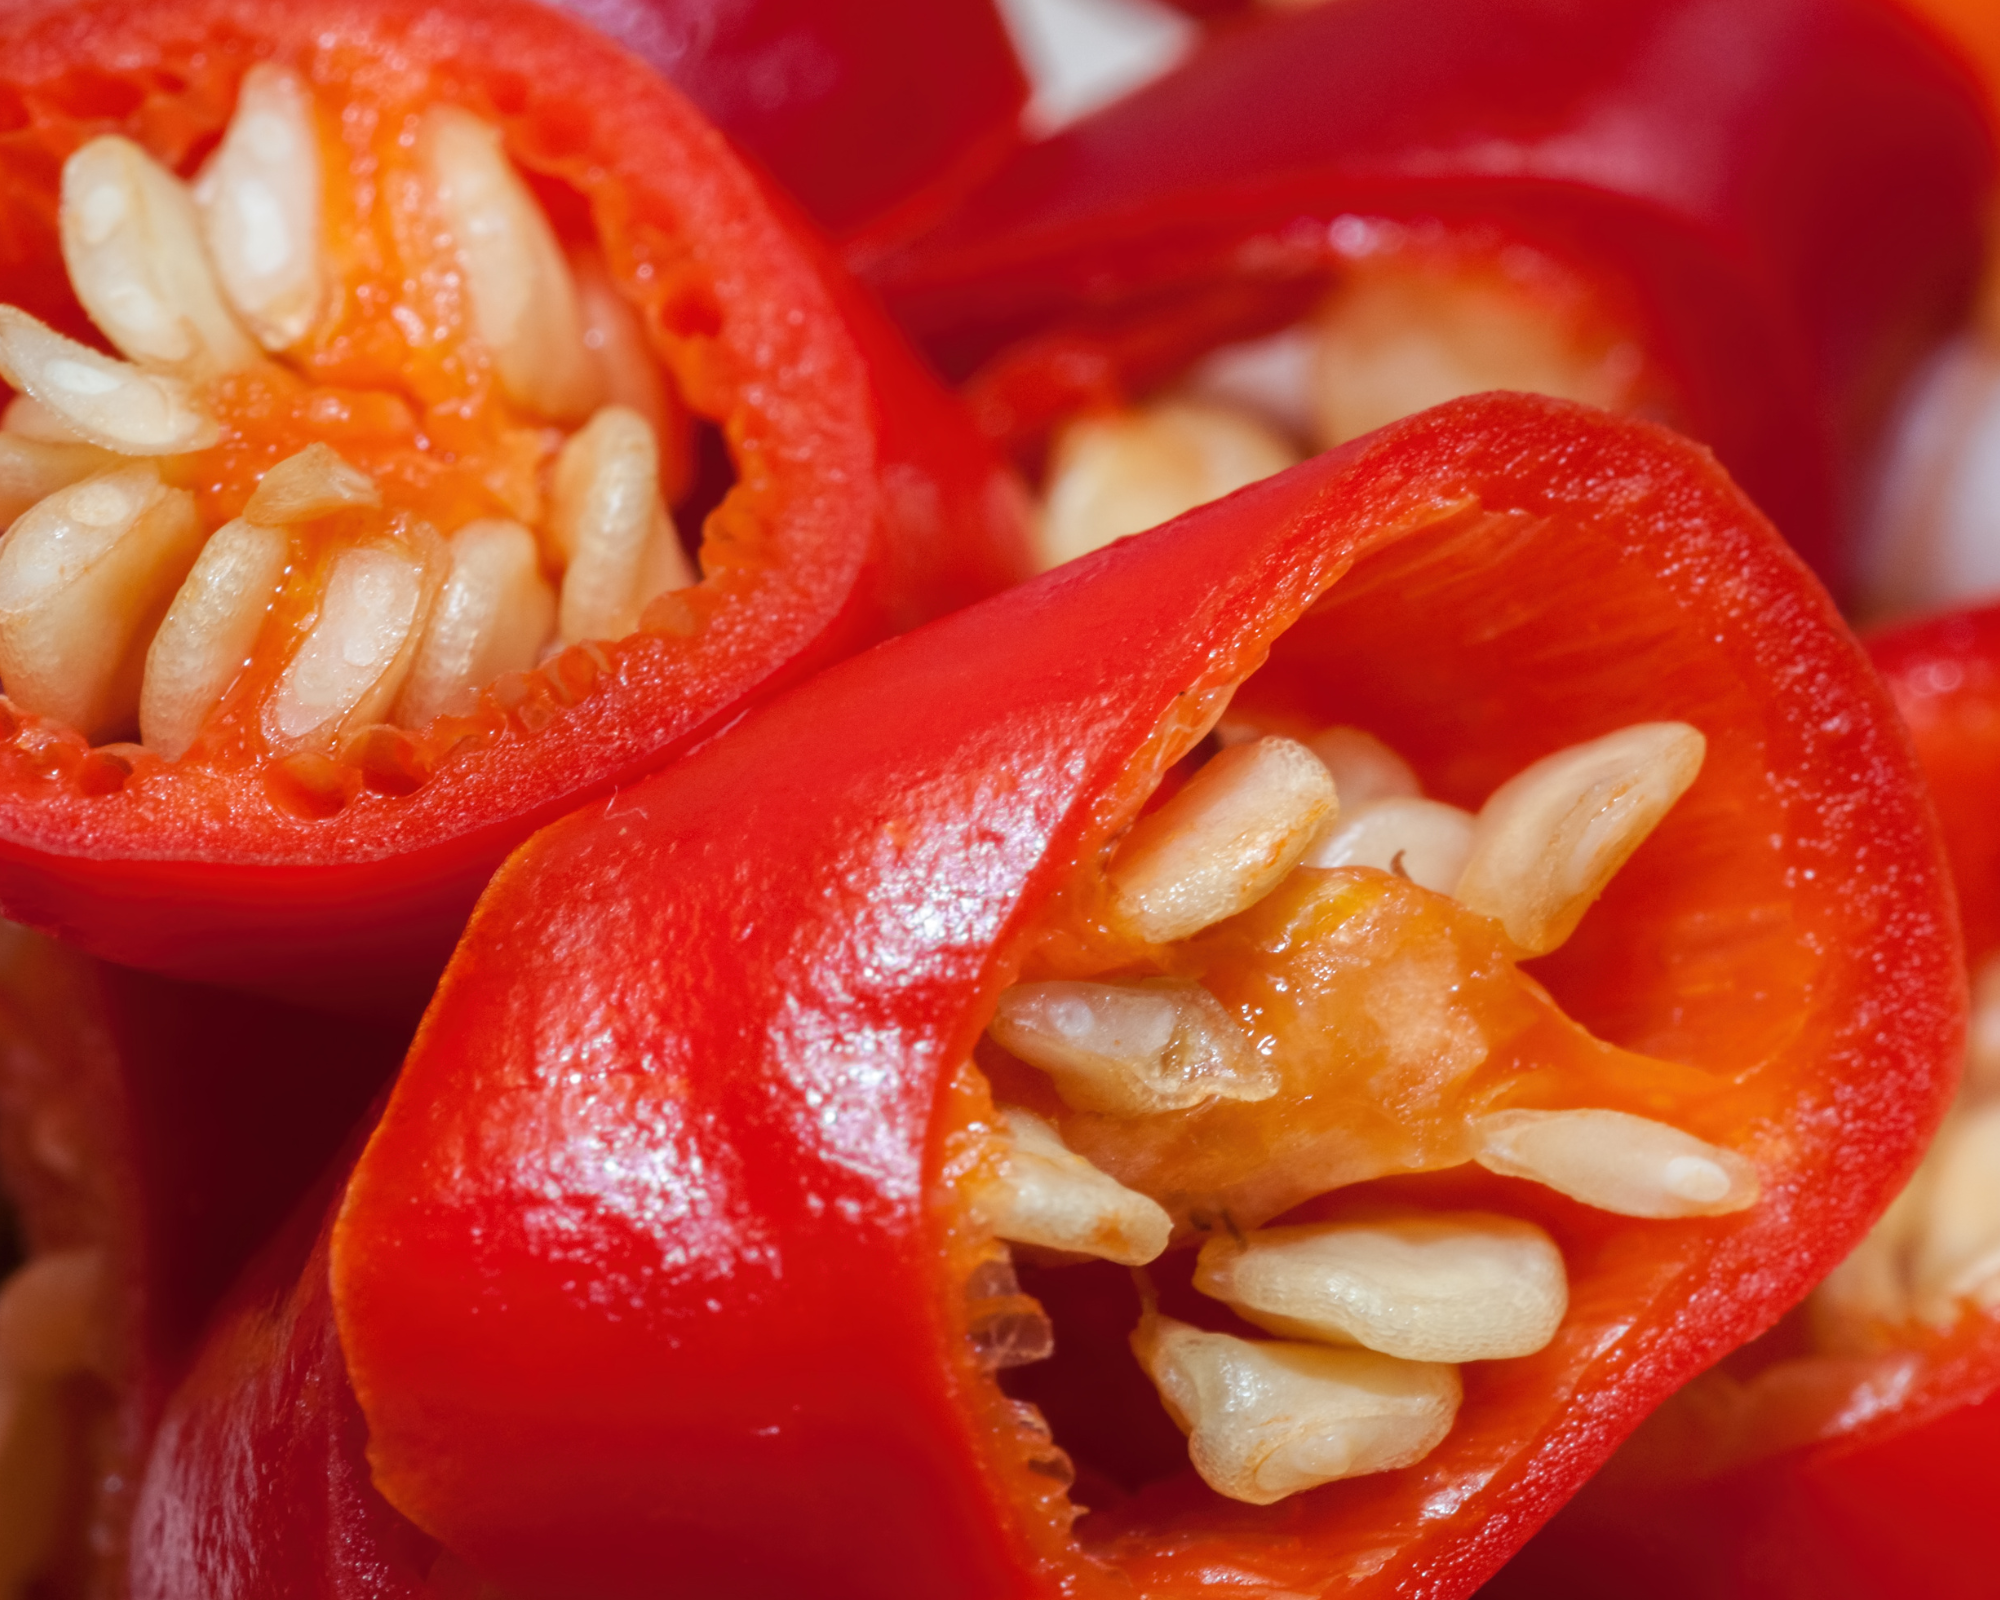
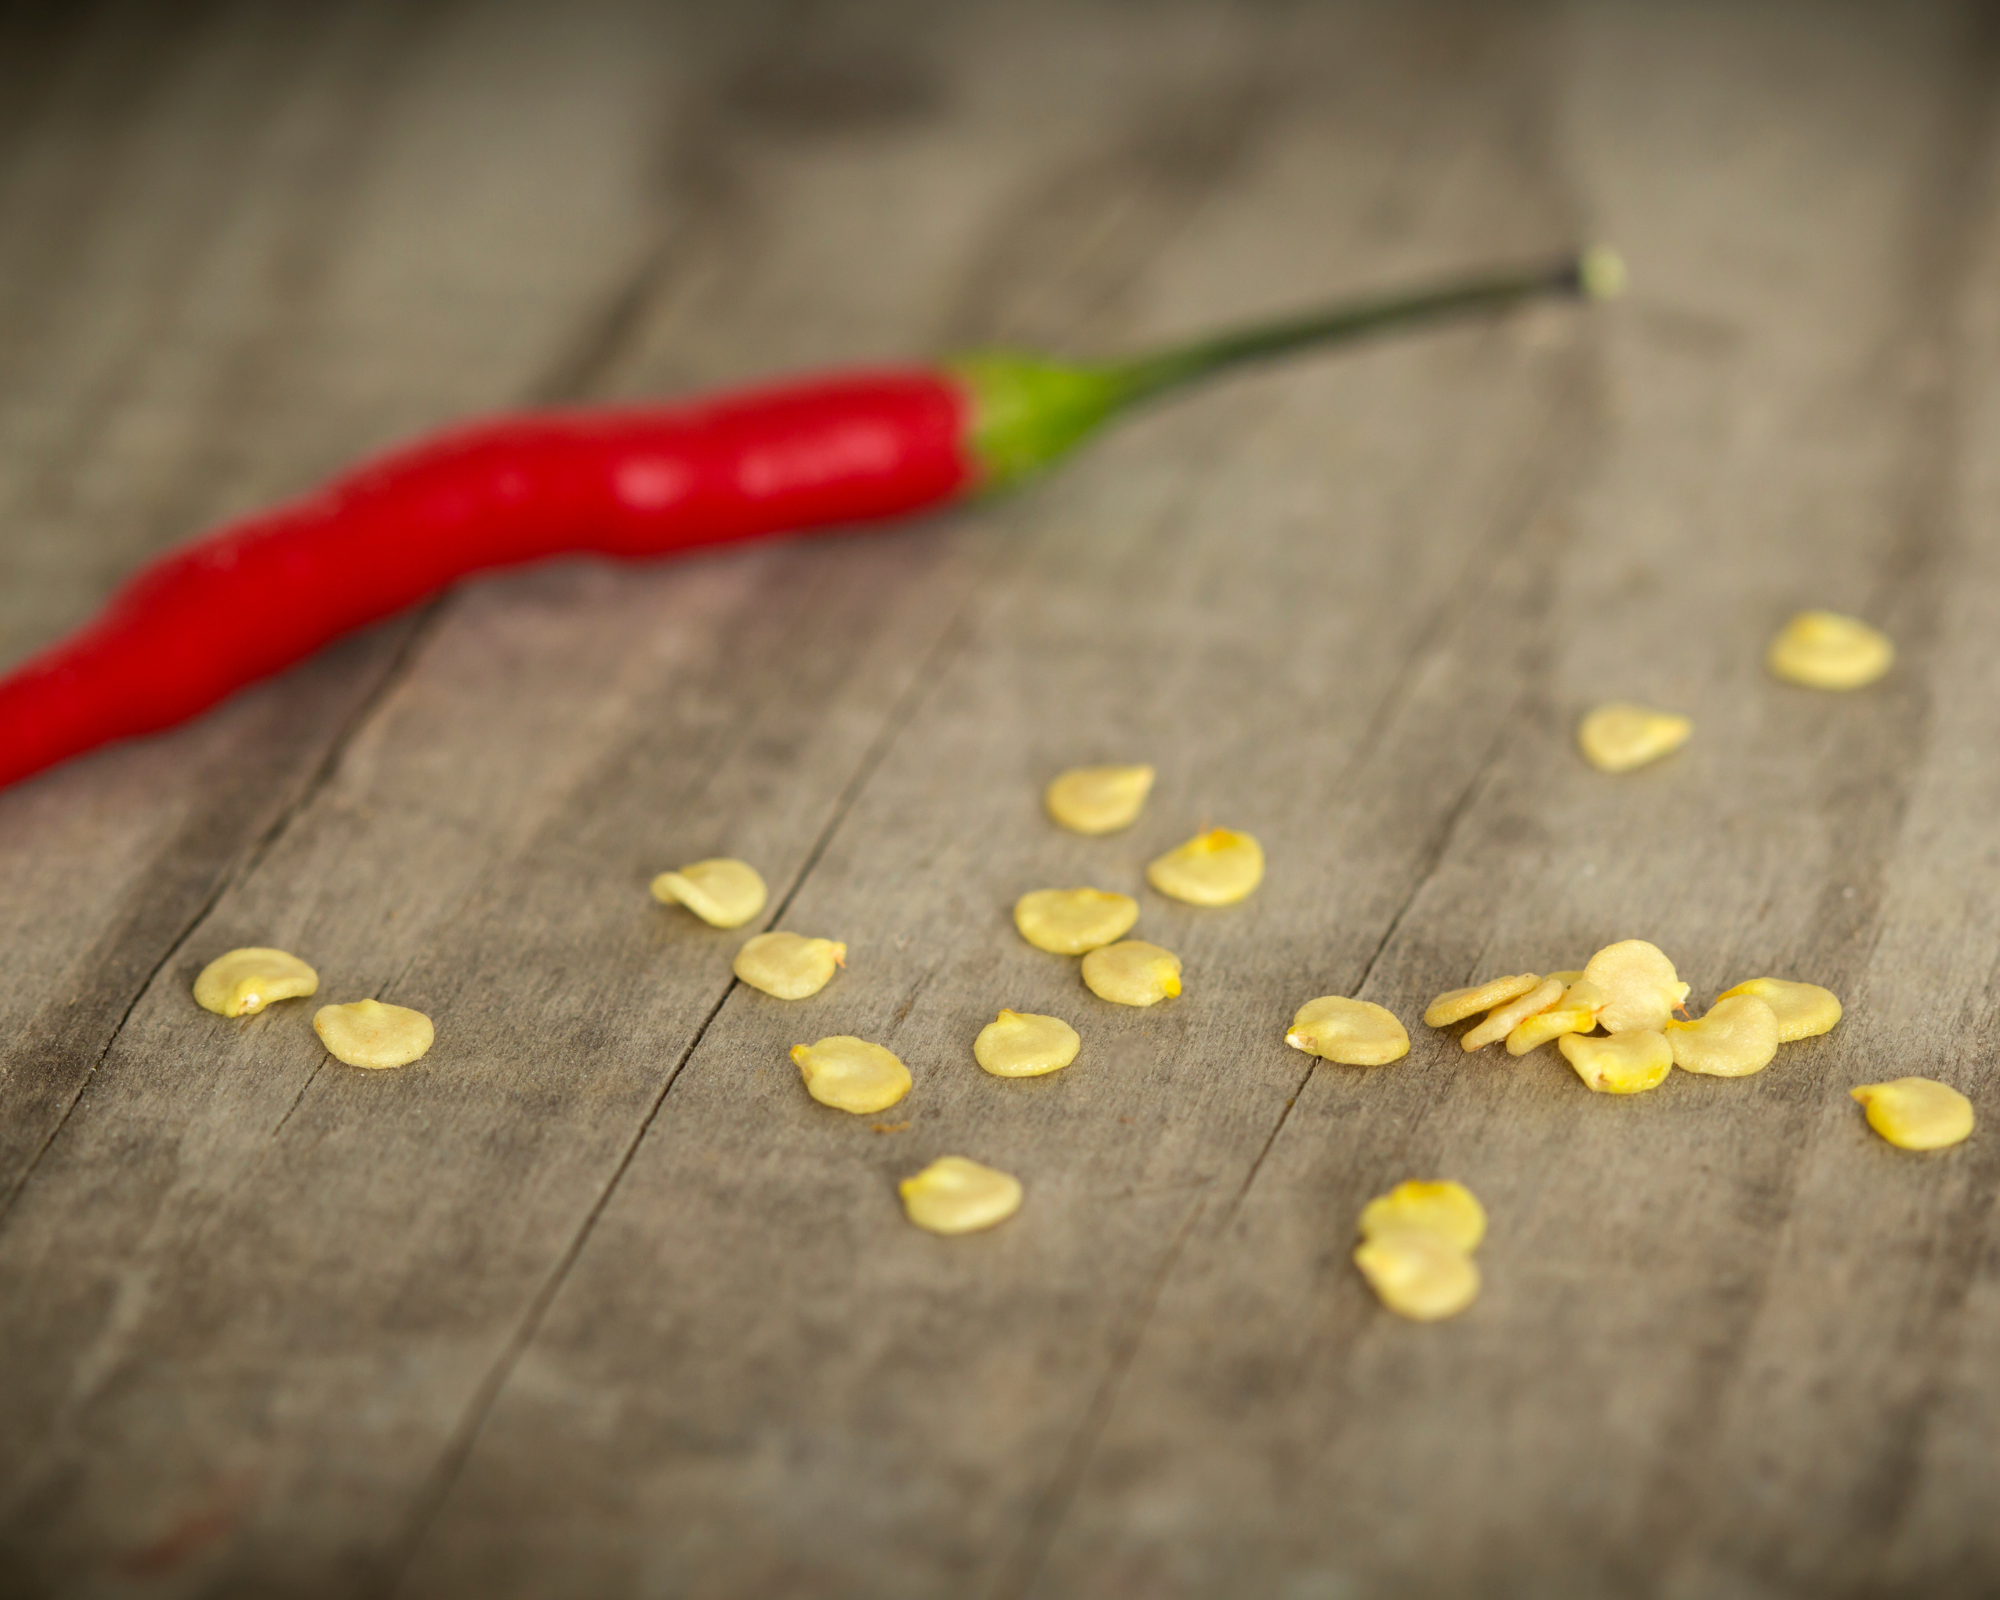
2. Harvesting the seeds
Wash the fruit and cut it in half, taking care to leave the seeds and placenta. Warning: for hot peppers, wear gloves and a mask to avoid burns from the irritating vapors.
Beans and peas
Harvest and save chili and bell pepper seeds in 4 steps.
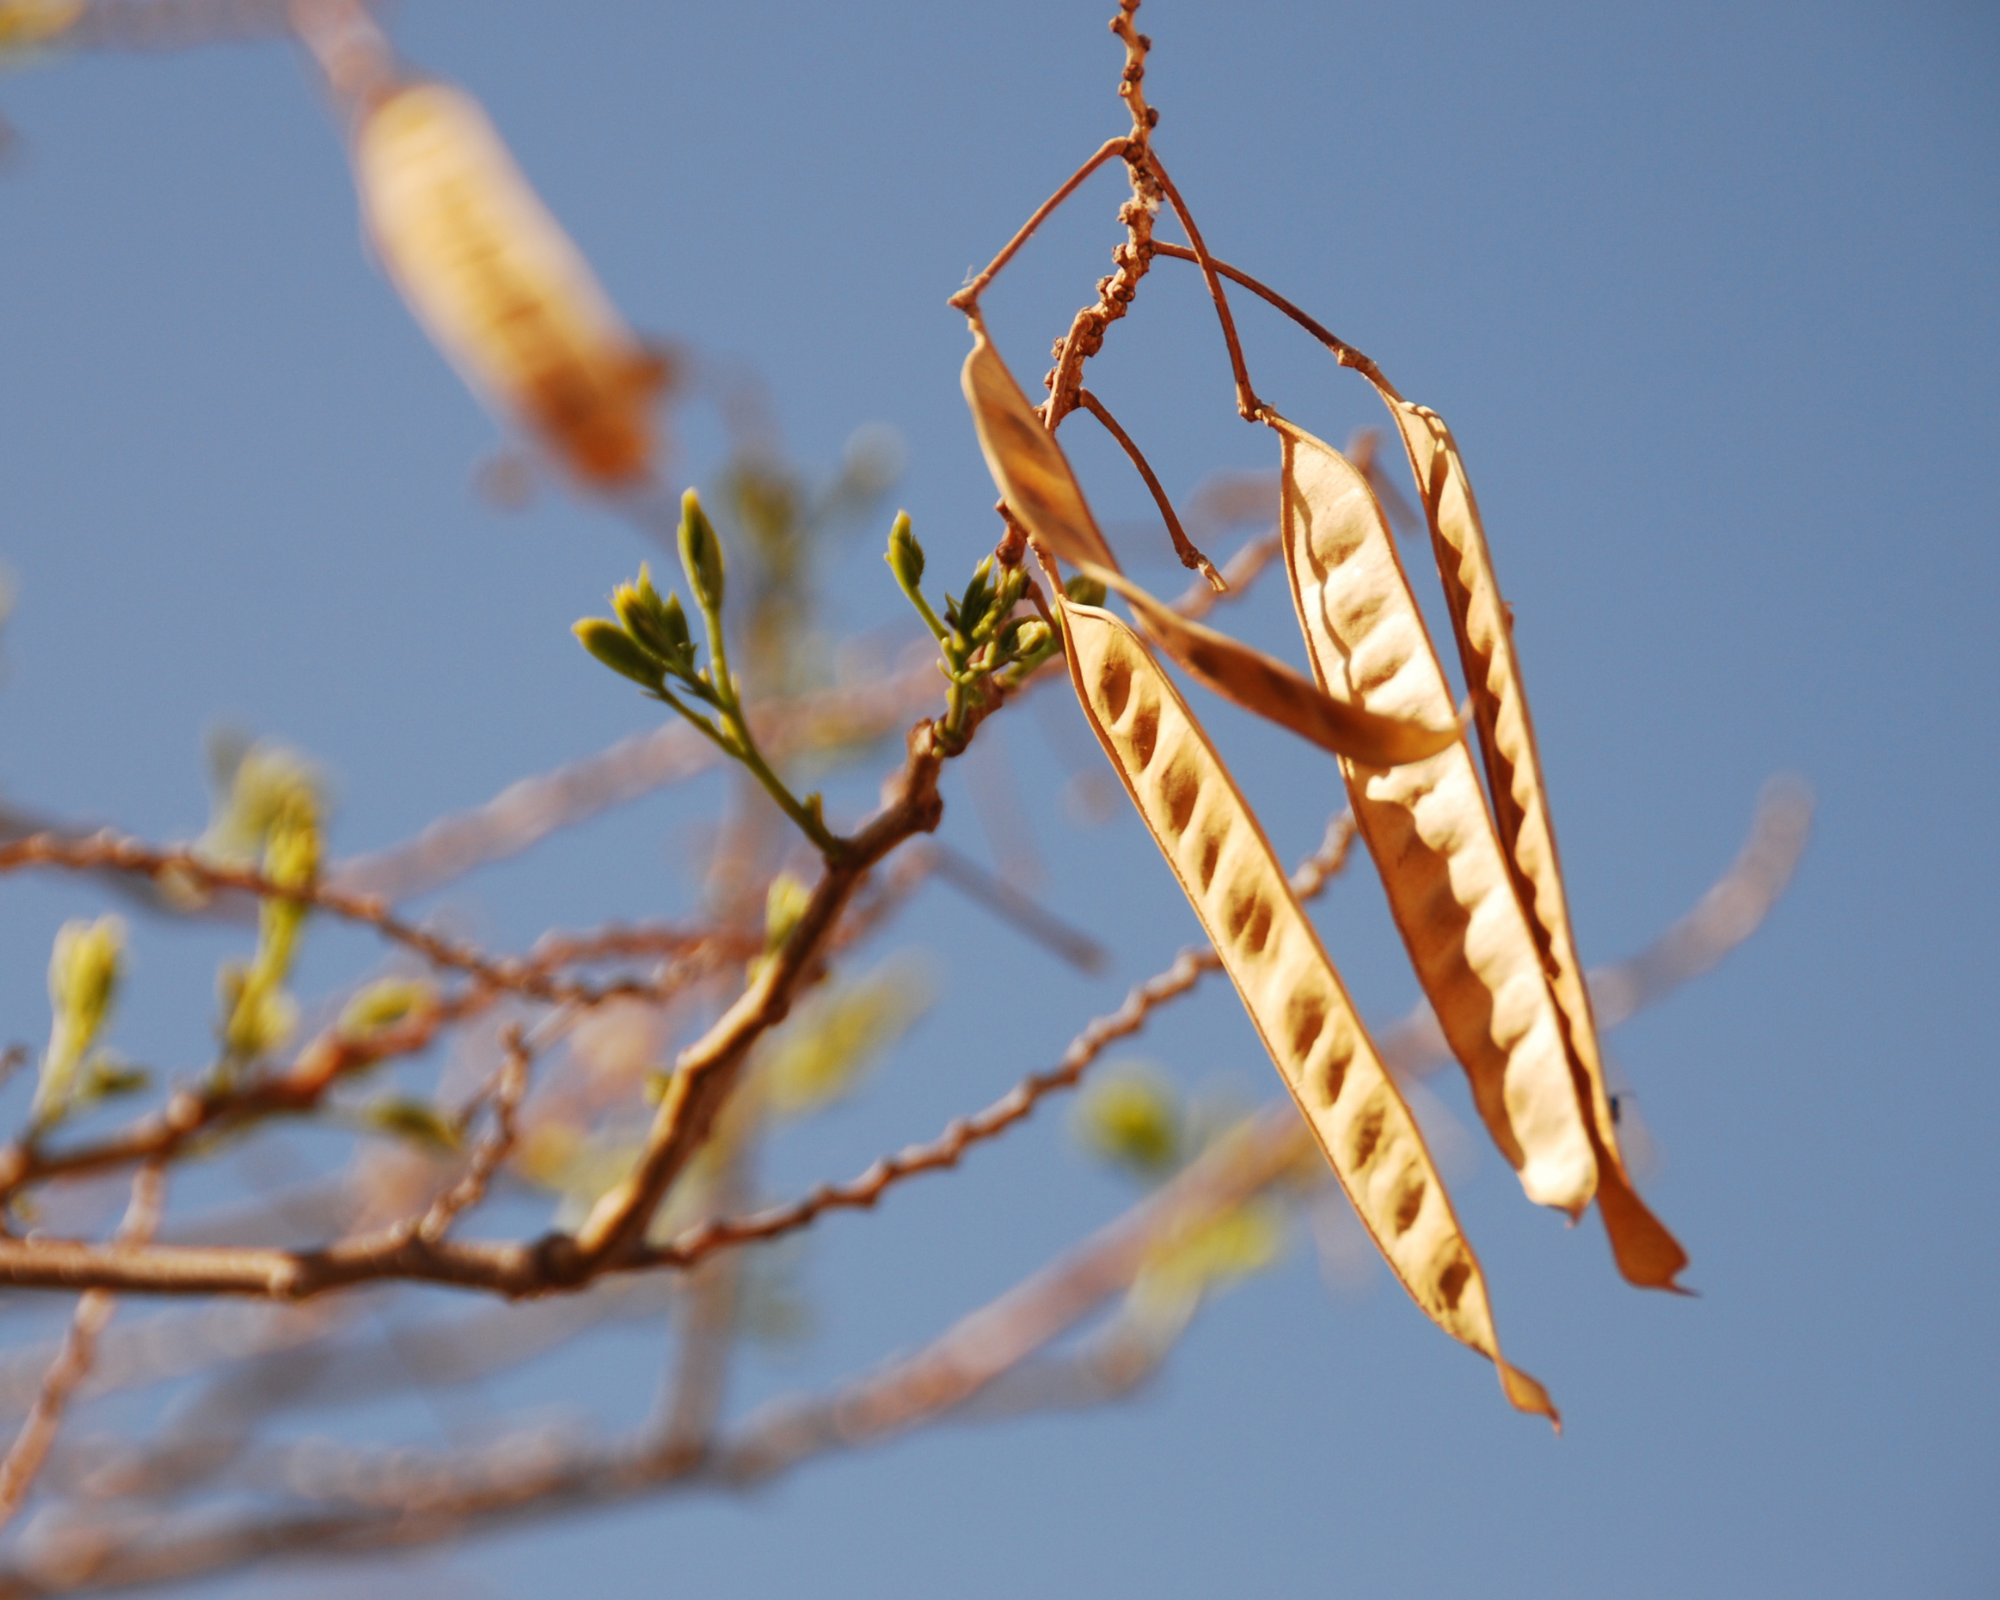
1. Waiting for full maturity
It is necessary to wait for the total desiccation of the pods before picking them. This is quite easy on early sown plants as you get these kinds of pods in early August. On the other hand, on later plants, the return of cool weather and rains can hinder the maturation of the seeds.
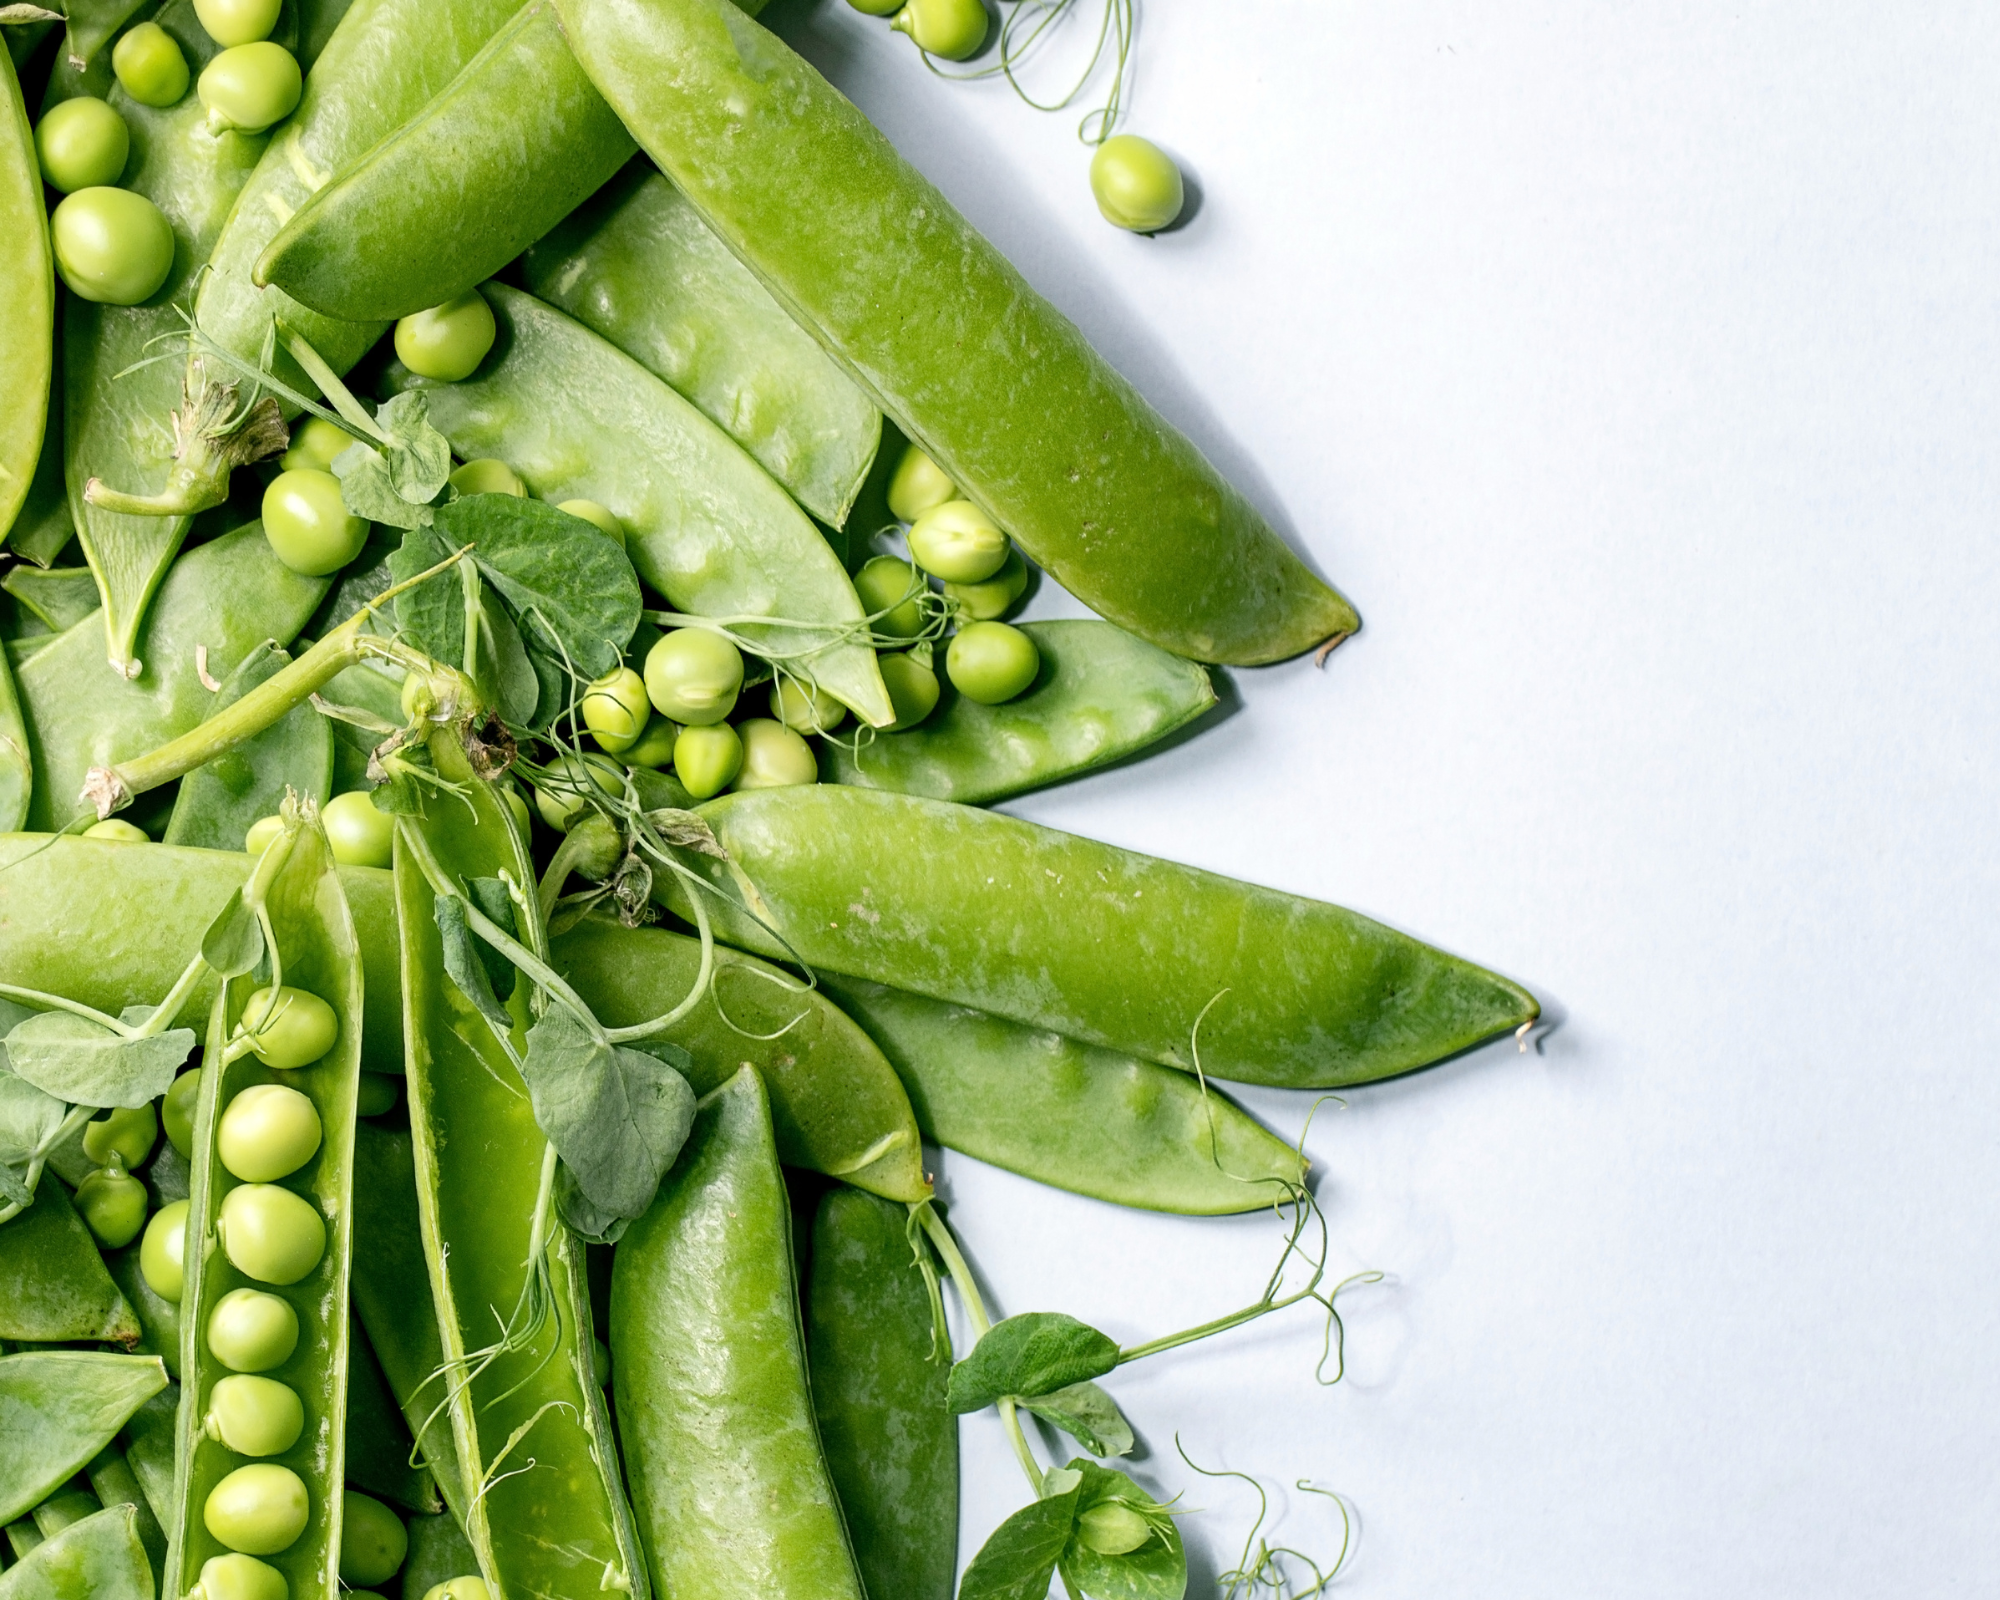
2. Collecting the seeds
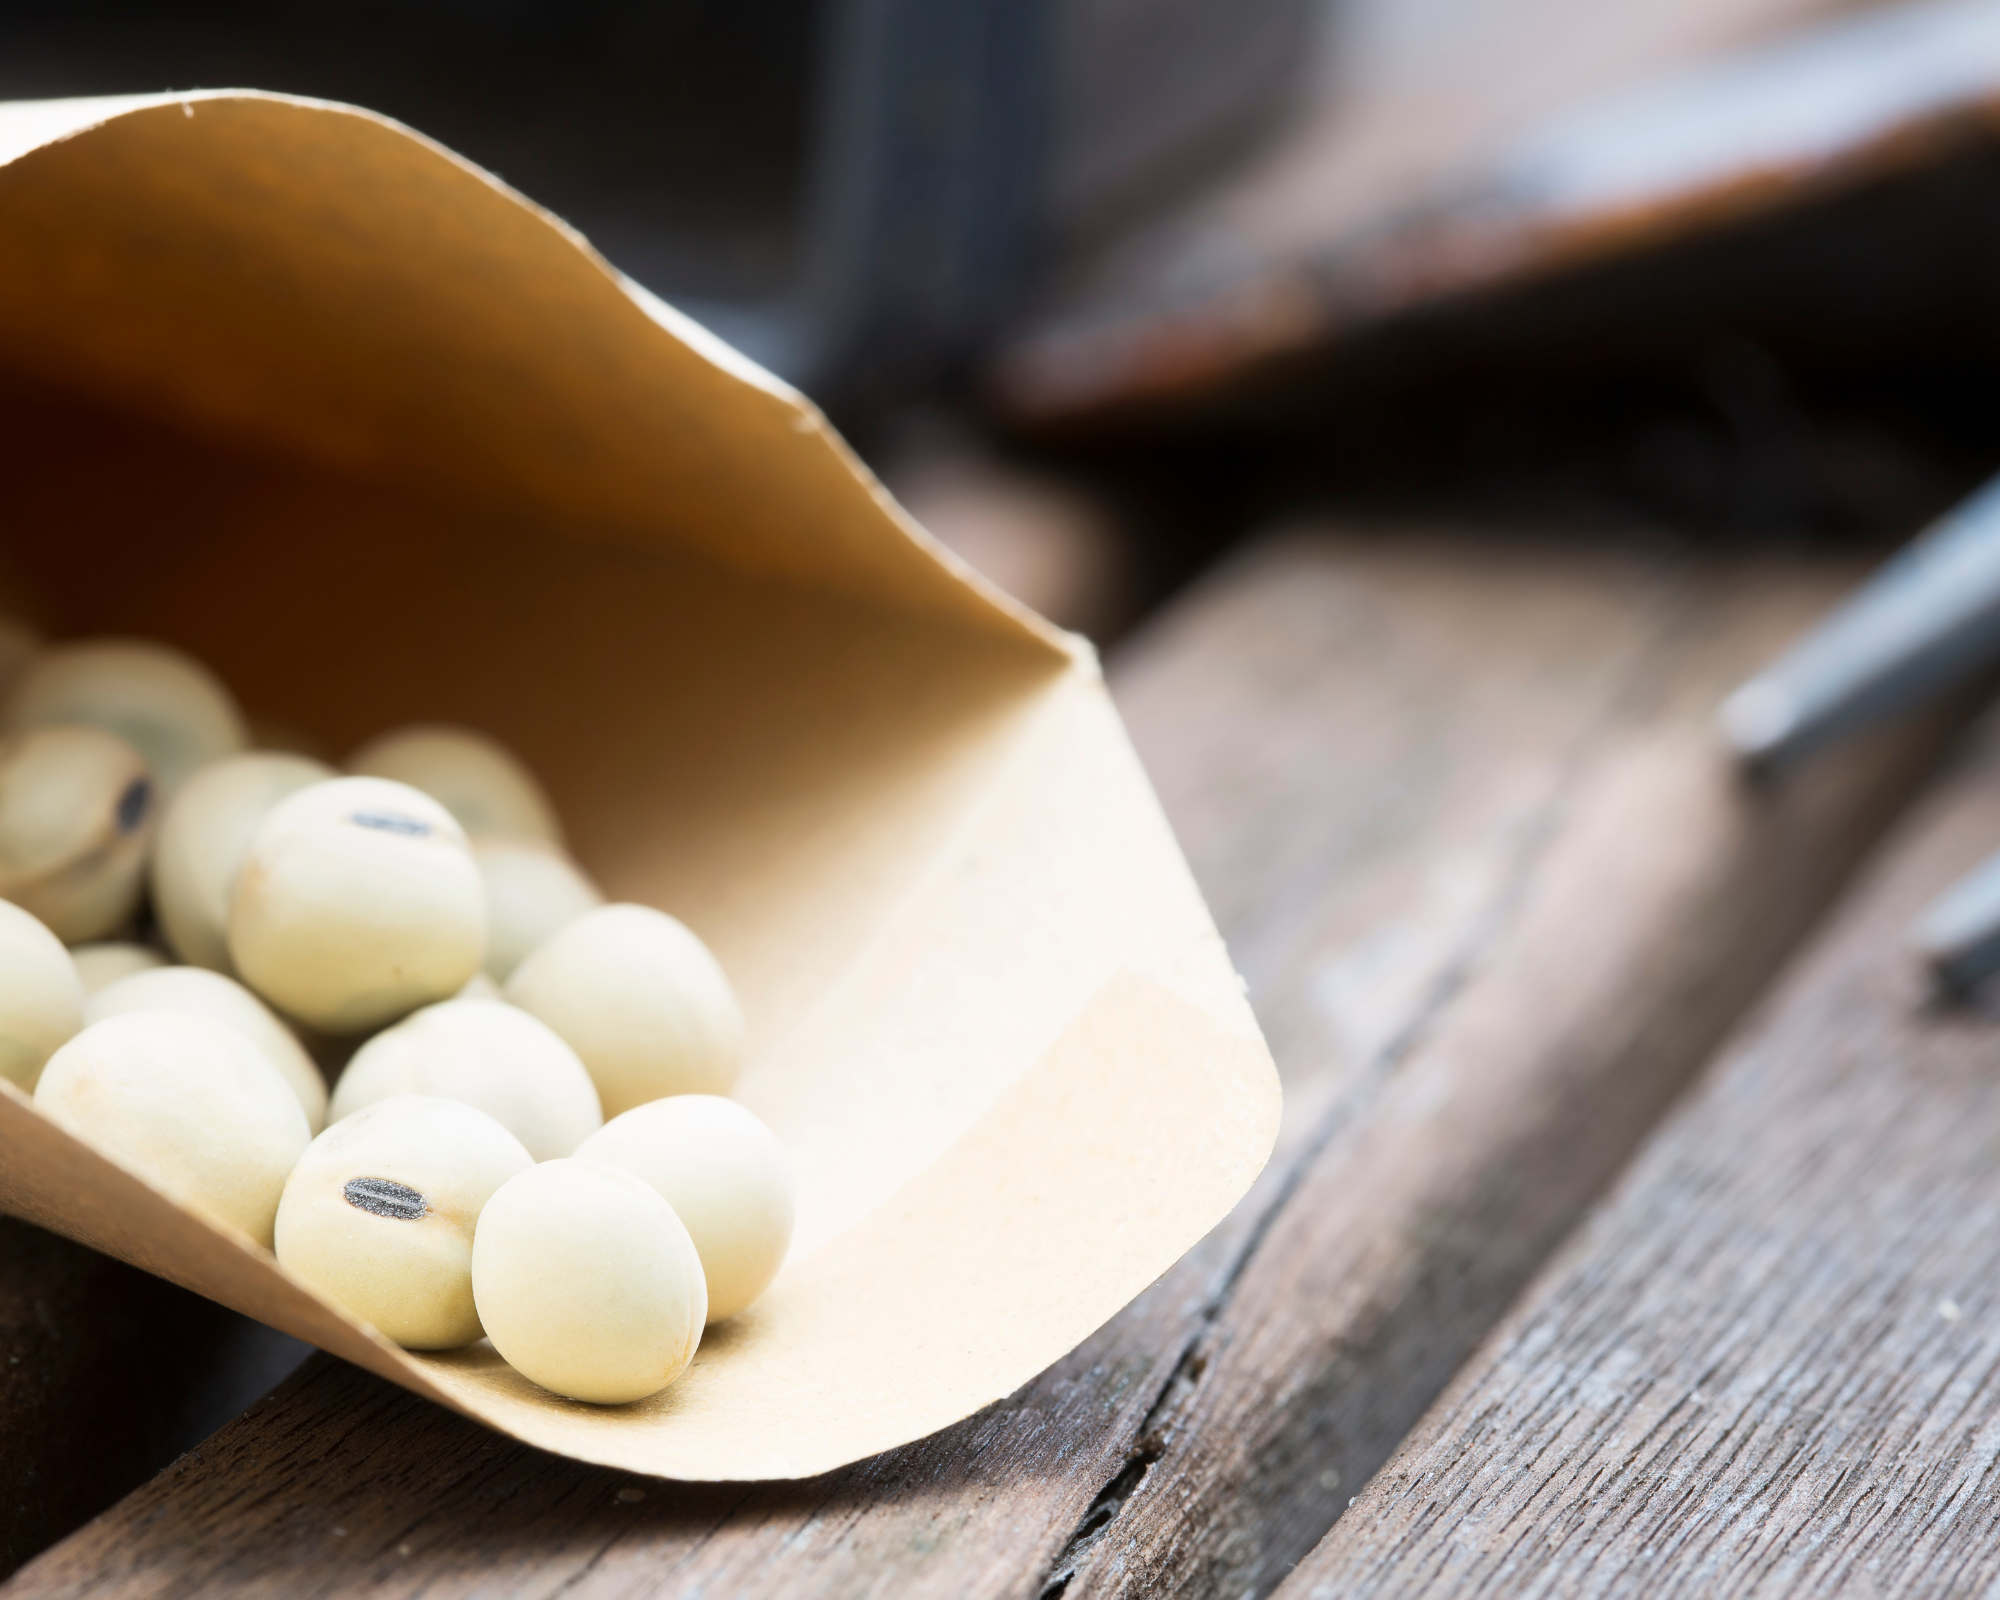
The rest of the operations is very simple, you just have to shell the pods and let the seeds dehydrate completely in the open air in a well ventilated place. It is necessary to count minimum 2 weeks in order to put all the chances on your side for a good conservation thereafter.
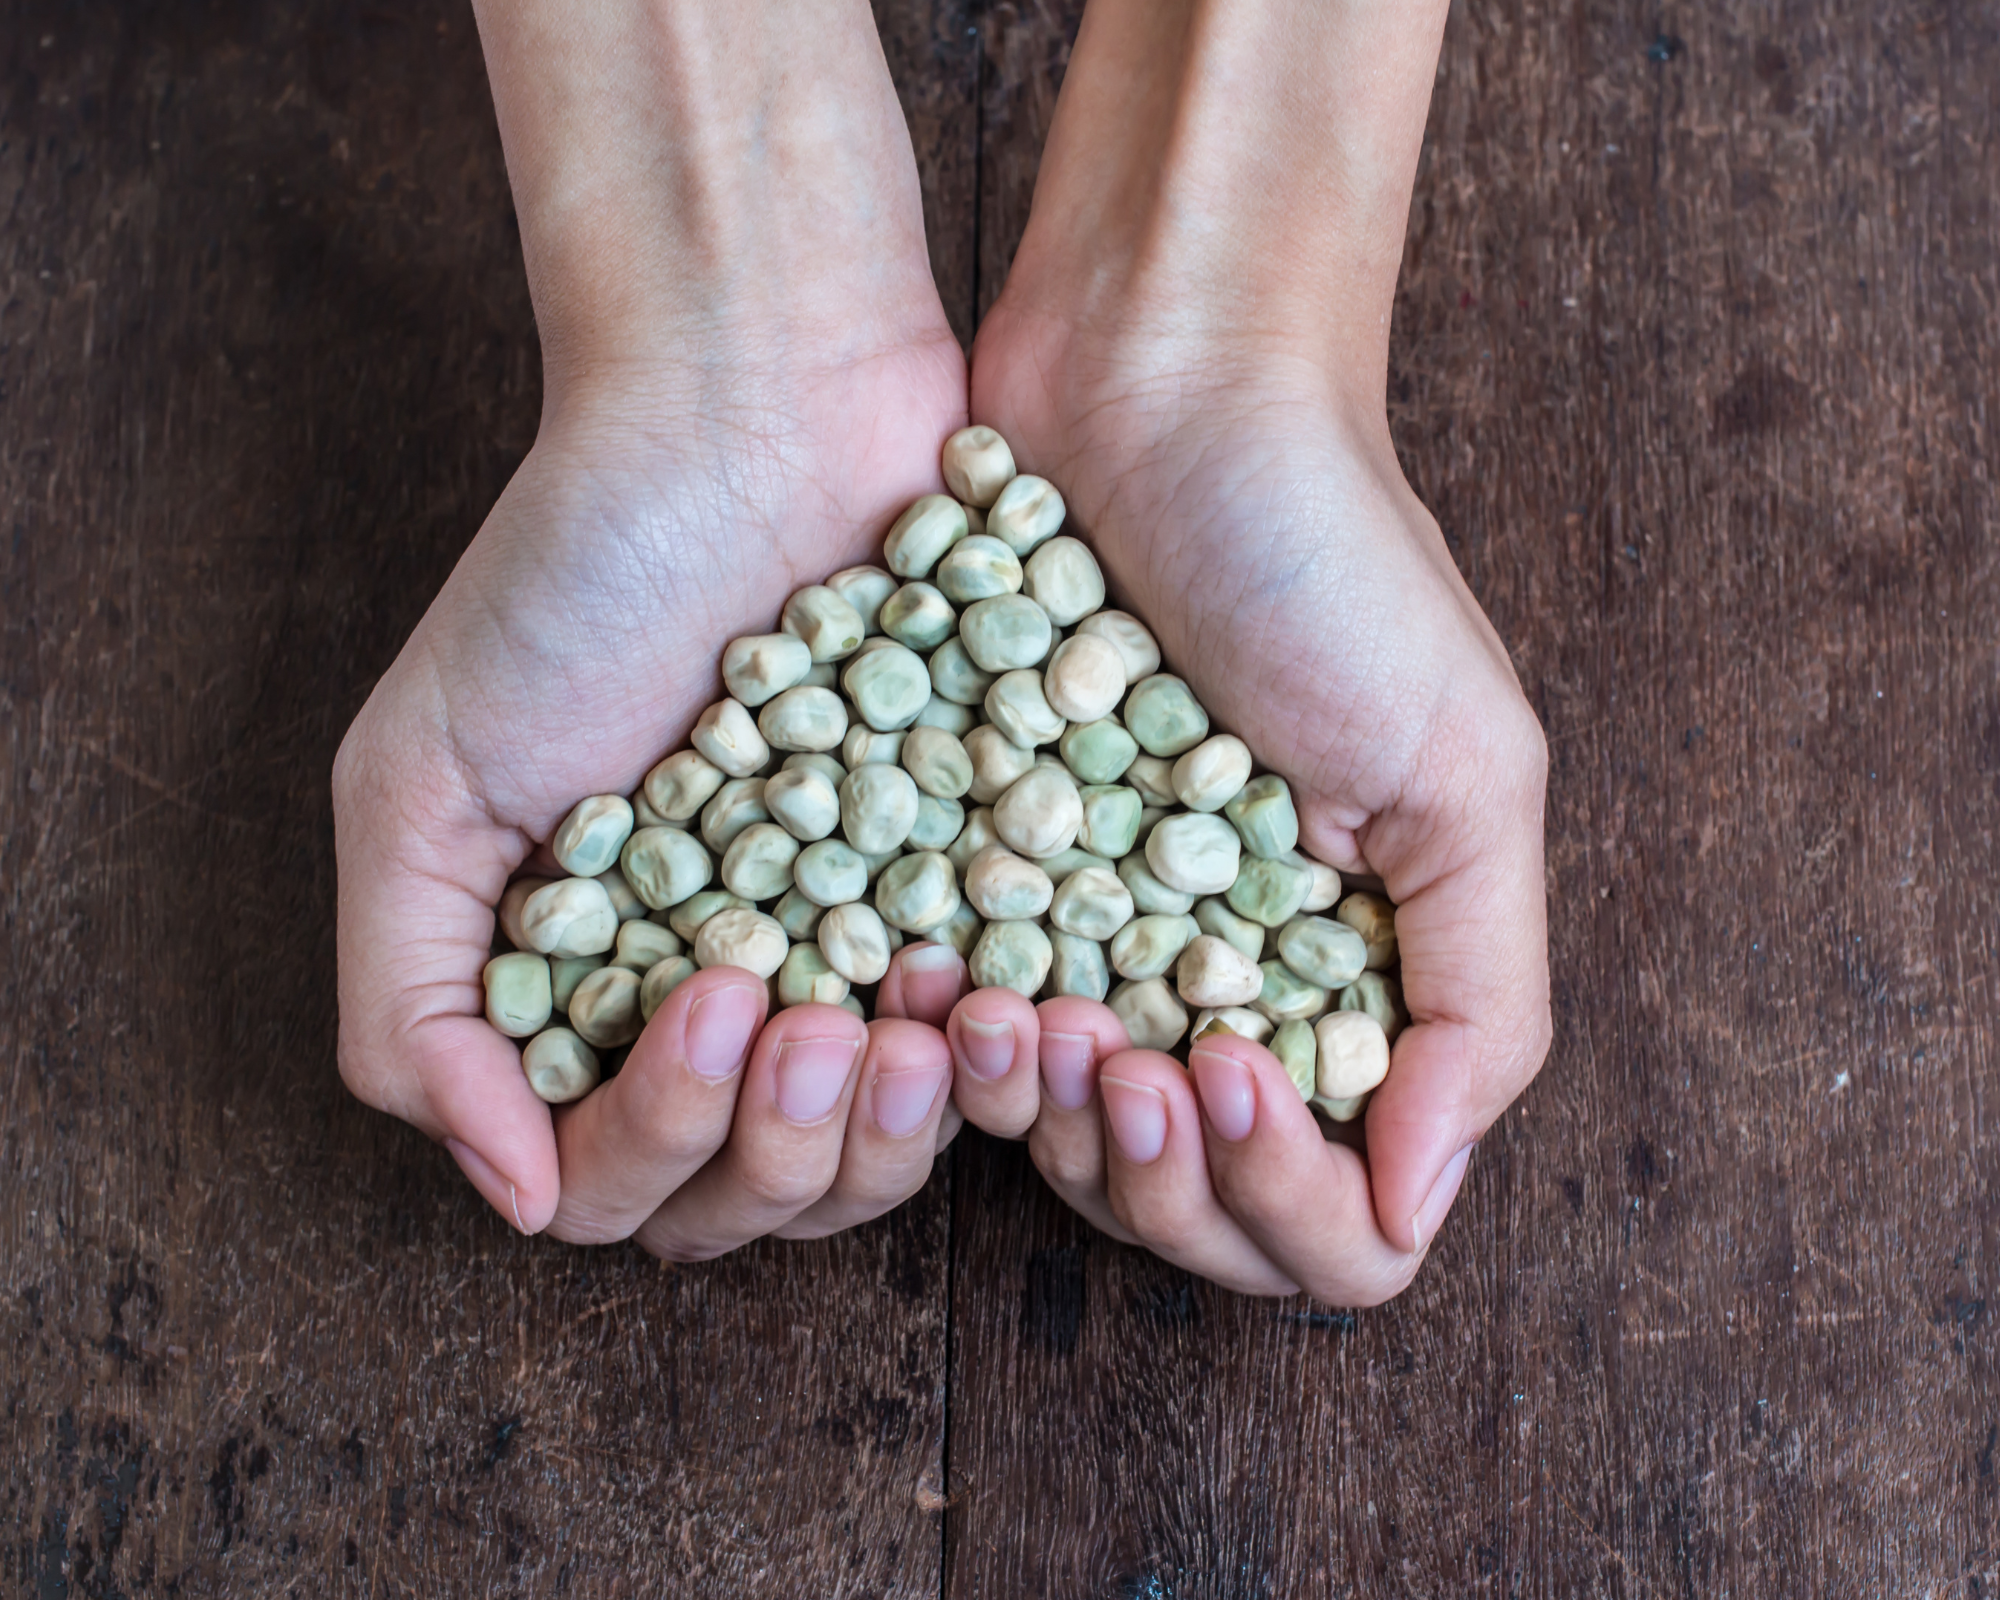
3. Checking
Tip to know if the seeds are dry enough: drop them on a table. If the sound is a bit muffled, the seed is not dry enough. If the sound is dry, the seed is dry too!
4. Proper seed storage
Once the seeds are dry, simply bag them up, taking care to remove any waste. Important: bean seeds, like peas or beans, are exposed to parasites that can ruin your entire bag in no time! To avoid any risk, a passage in the freezer (minimum 48h) is essential.
Cucurbits: squash, cucumbers, pumpkins, etc.
Harvest and save cucurbit seeds in 4 steps.
1. Manual pollination
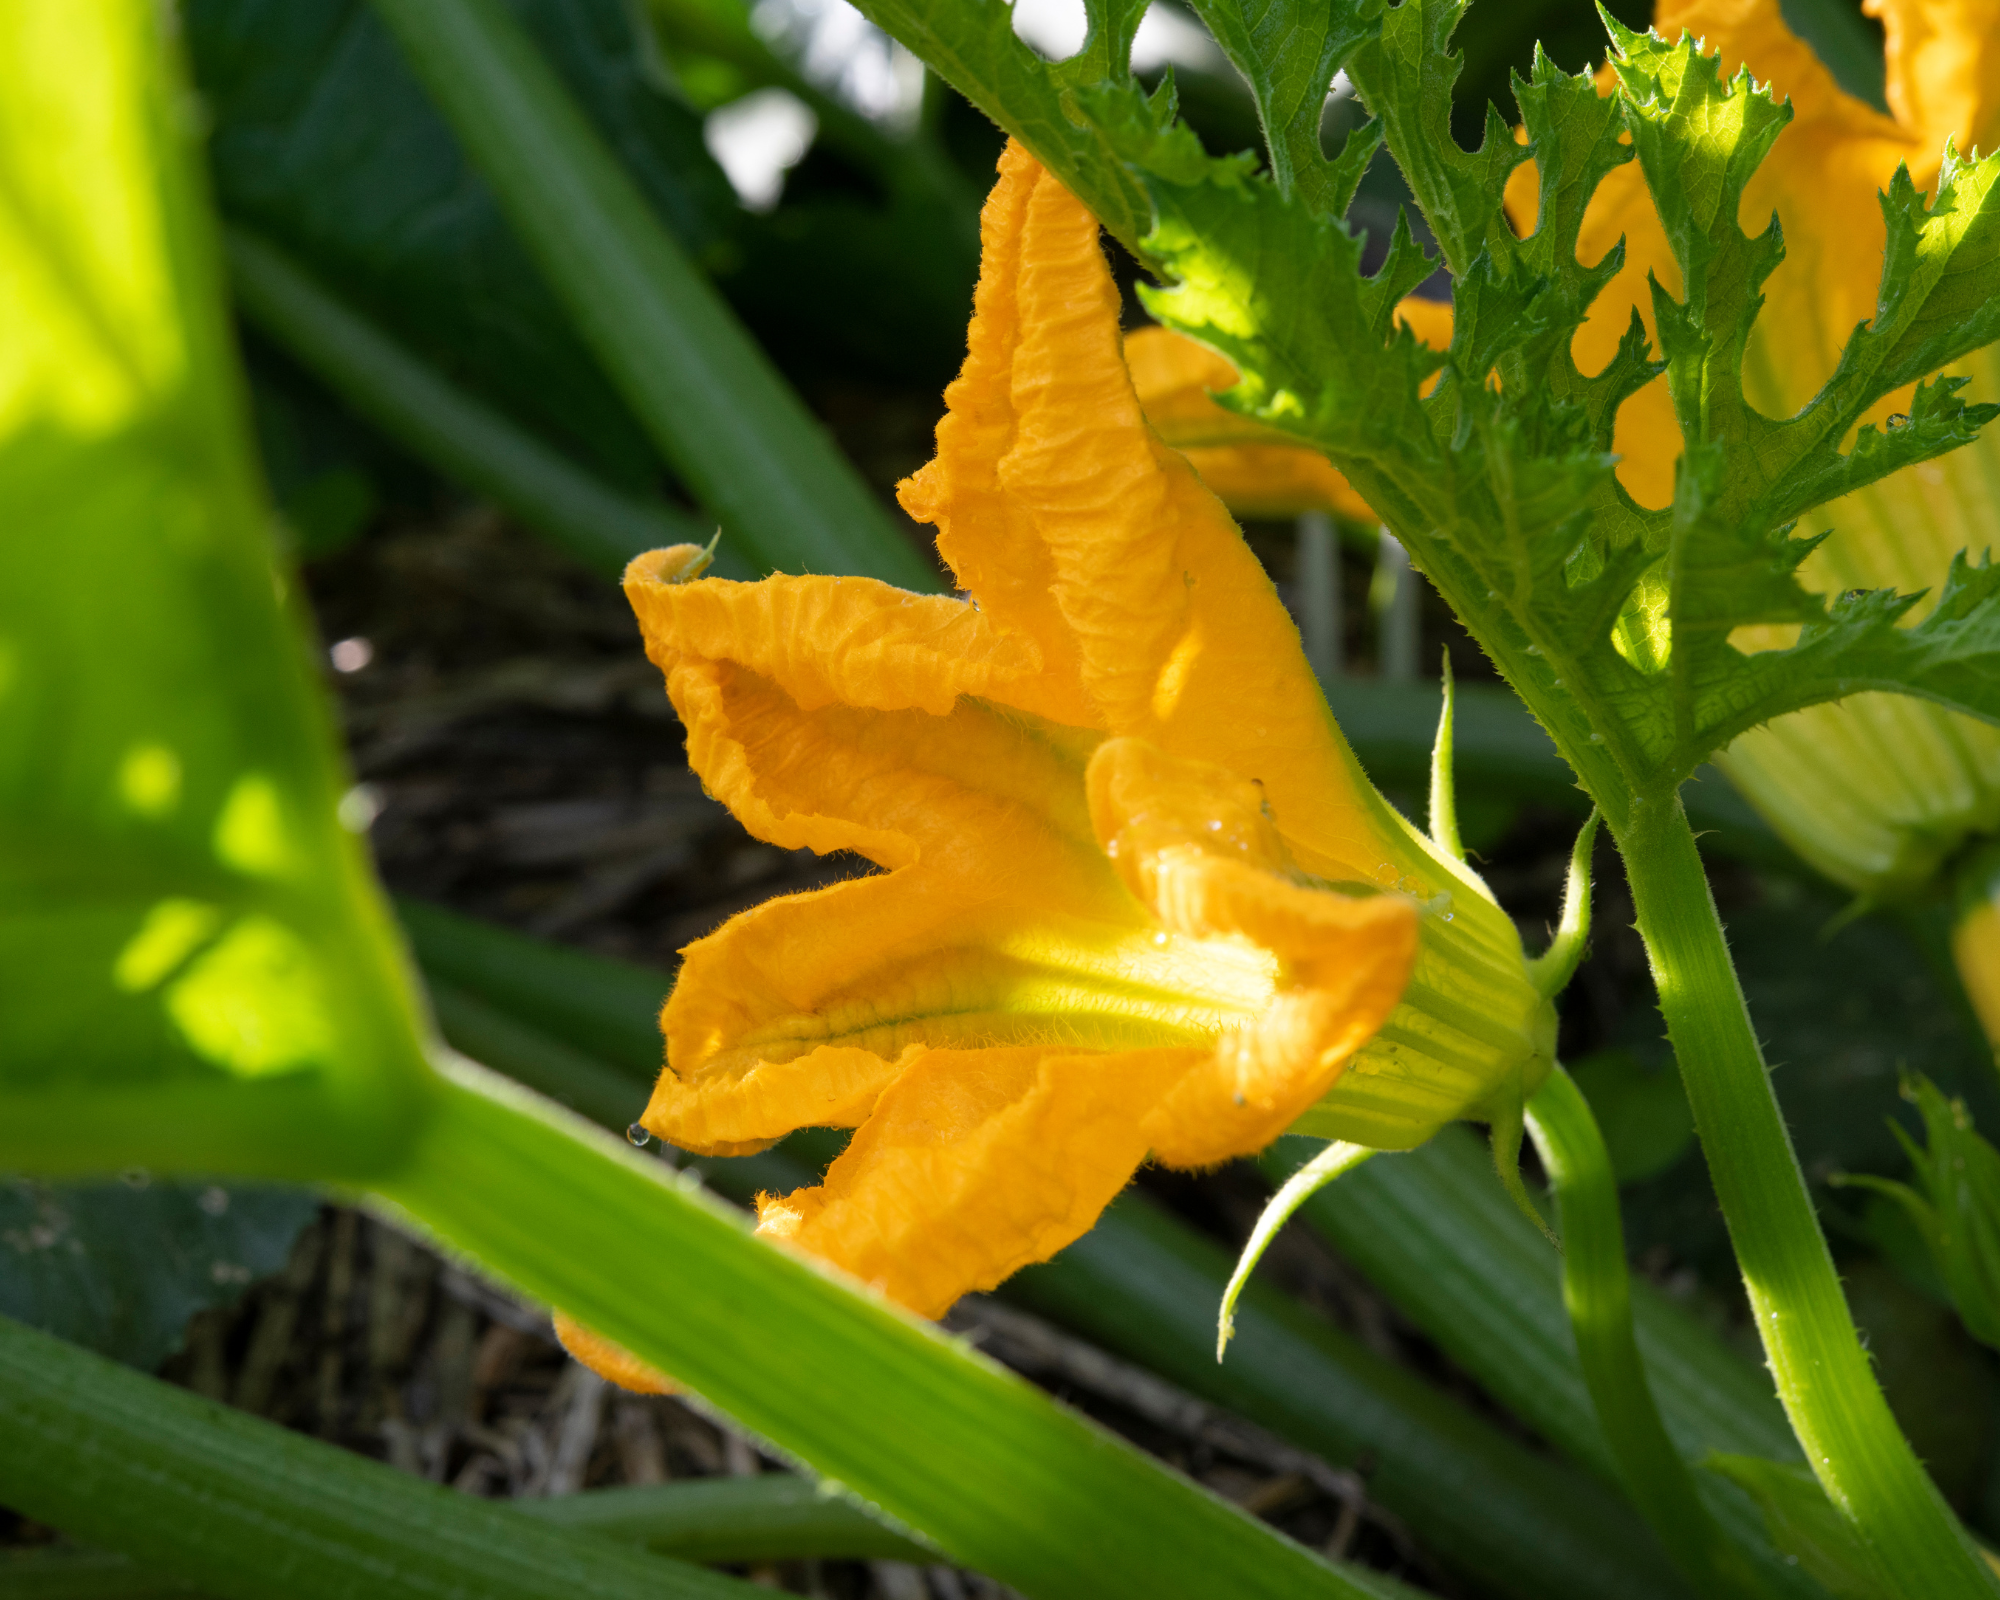
Get two clothespins. On your squash plant, locate an unopened male and female flower. Very gently pinch the tips of the flowers. It is important to do this on the male flowers as well, because even if they are not bearing fruit, they can be visited by pollinators who will deposit pollen from another variety. Once the flowers are ready to open, remove the clothespins and with a cotton swab, collect the pollen from the male flower and deposit it on the female flower. Then put the clip back on the female flower. All that remains is to hope that the fertilization has taken place. Afterwards, let the fruit ripen well (it can reach colossal sizes) until it wilts.
2. Harvesting the seeds
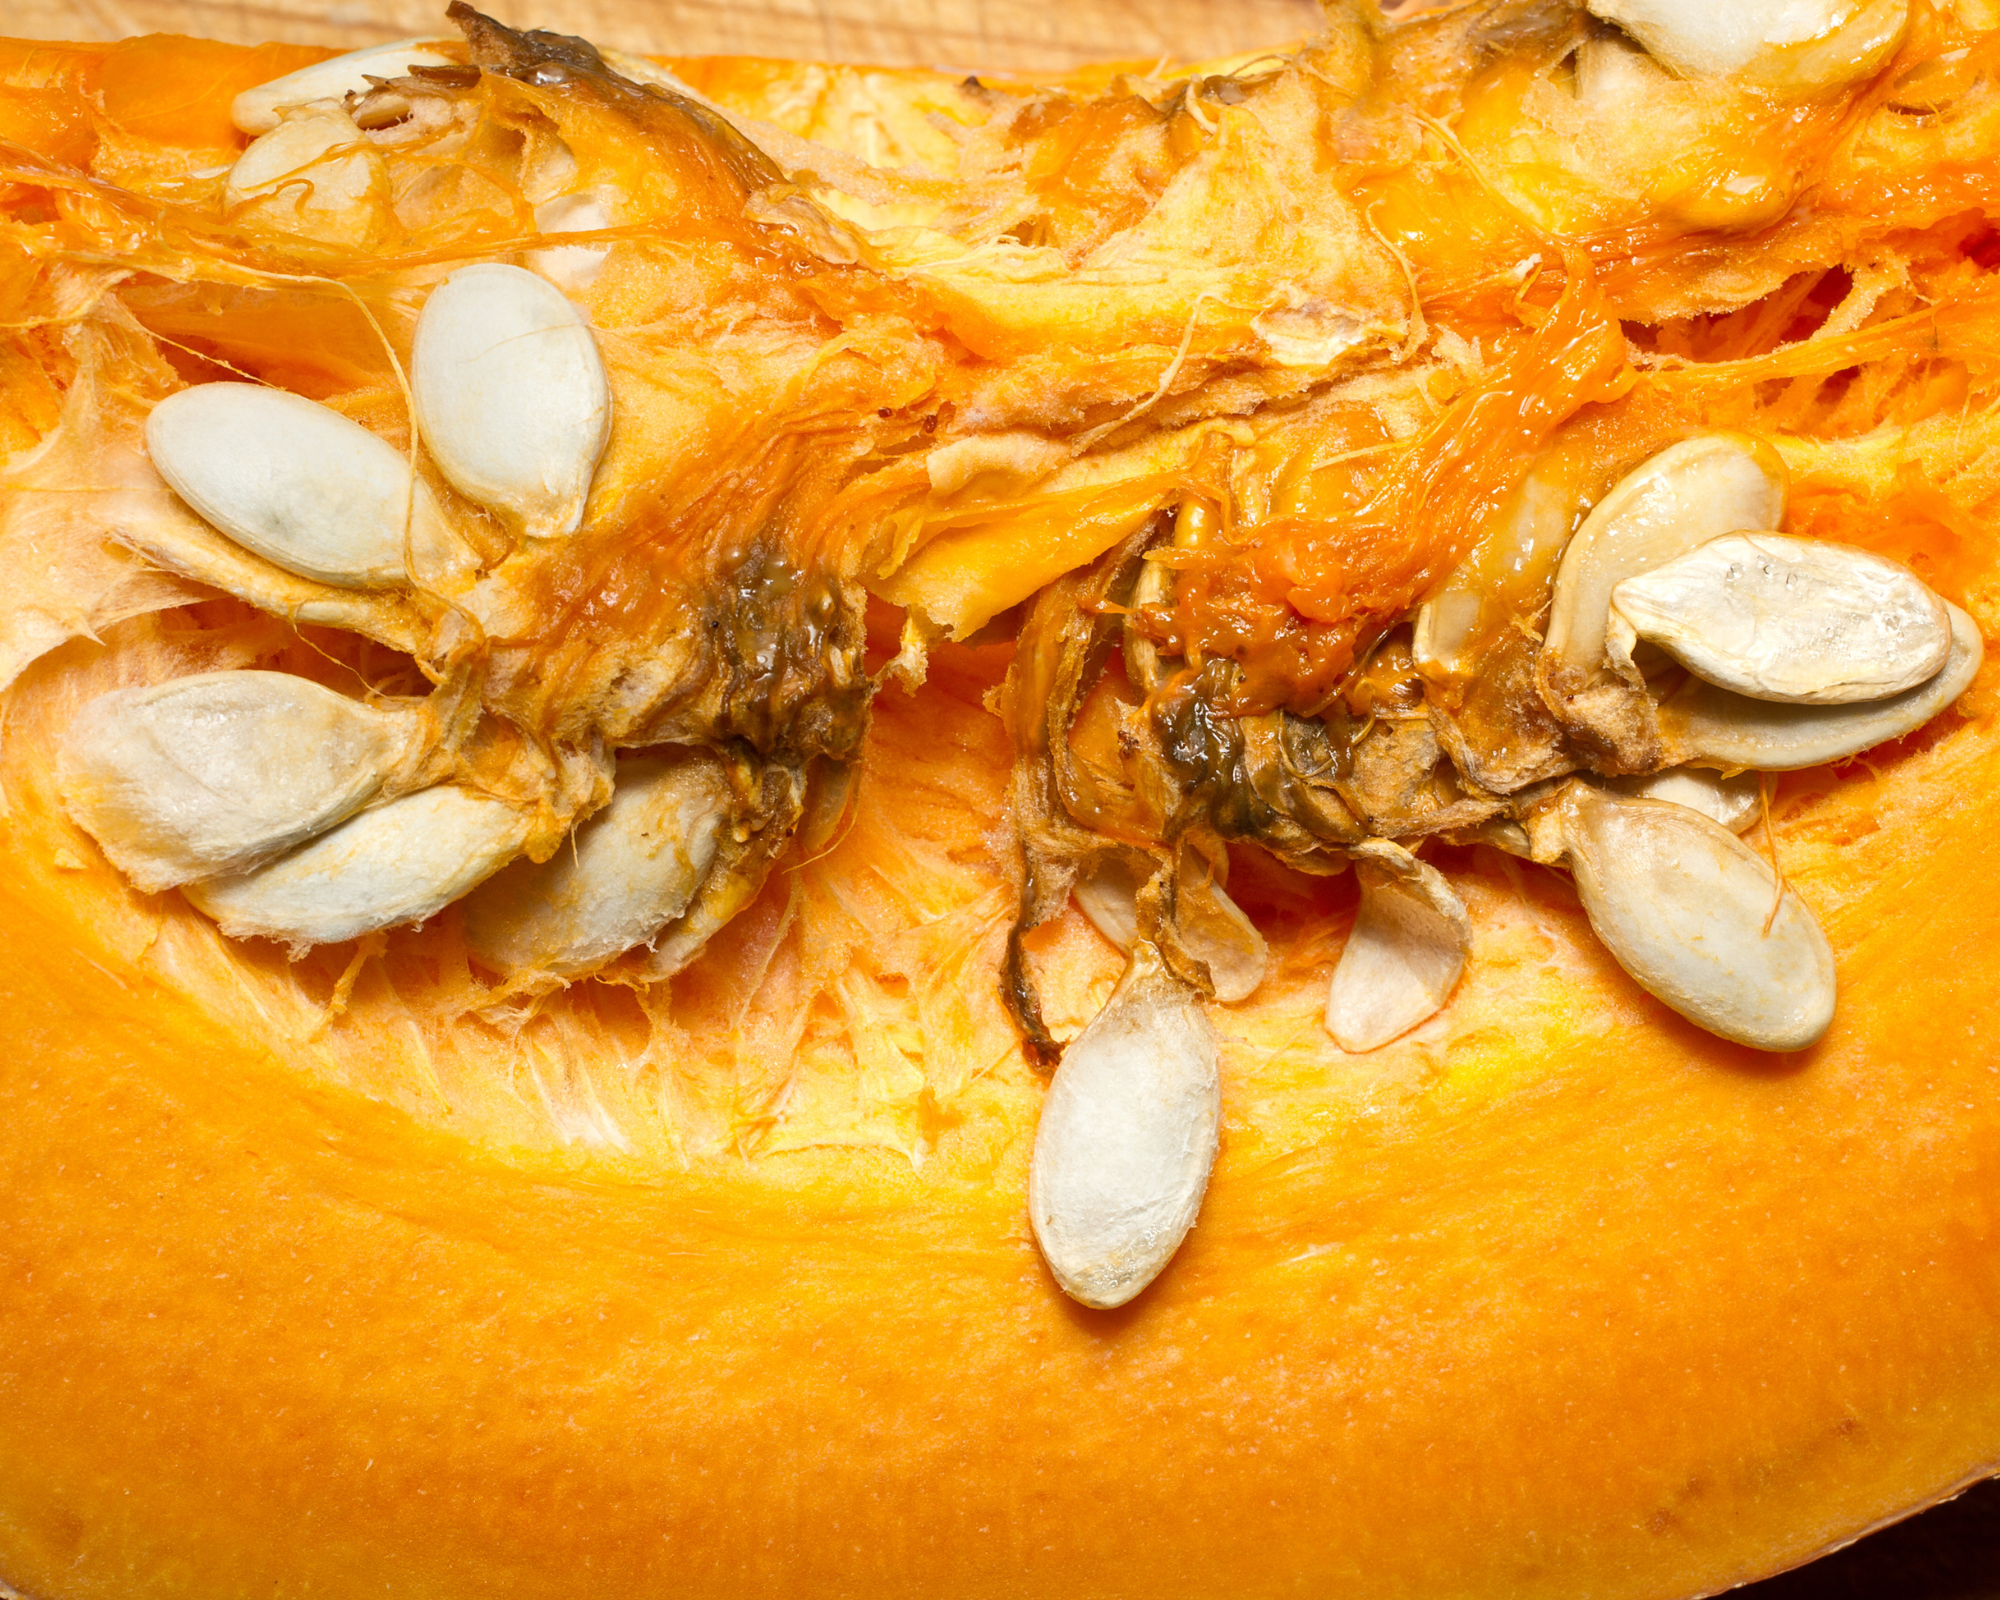
Cut the squash in half and scrape out the seeds. Since there are so many seeds, choose the best and biggest ones. The flesh remains edible for a good soup!
3. Wash the seeds
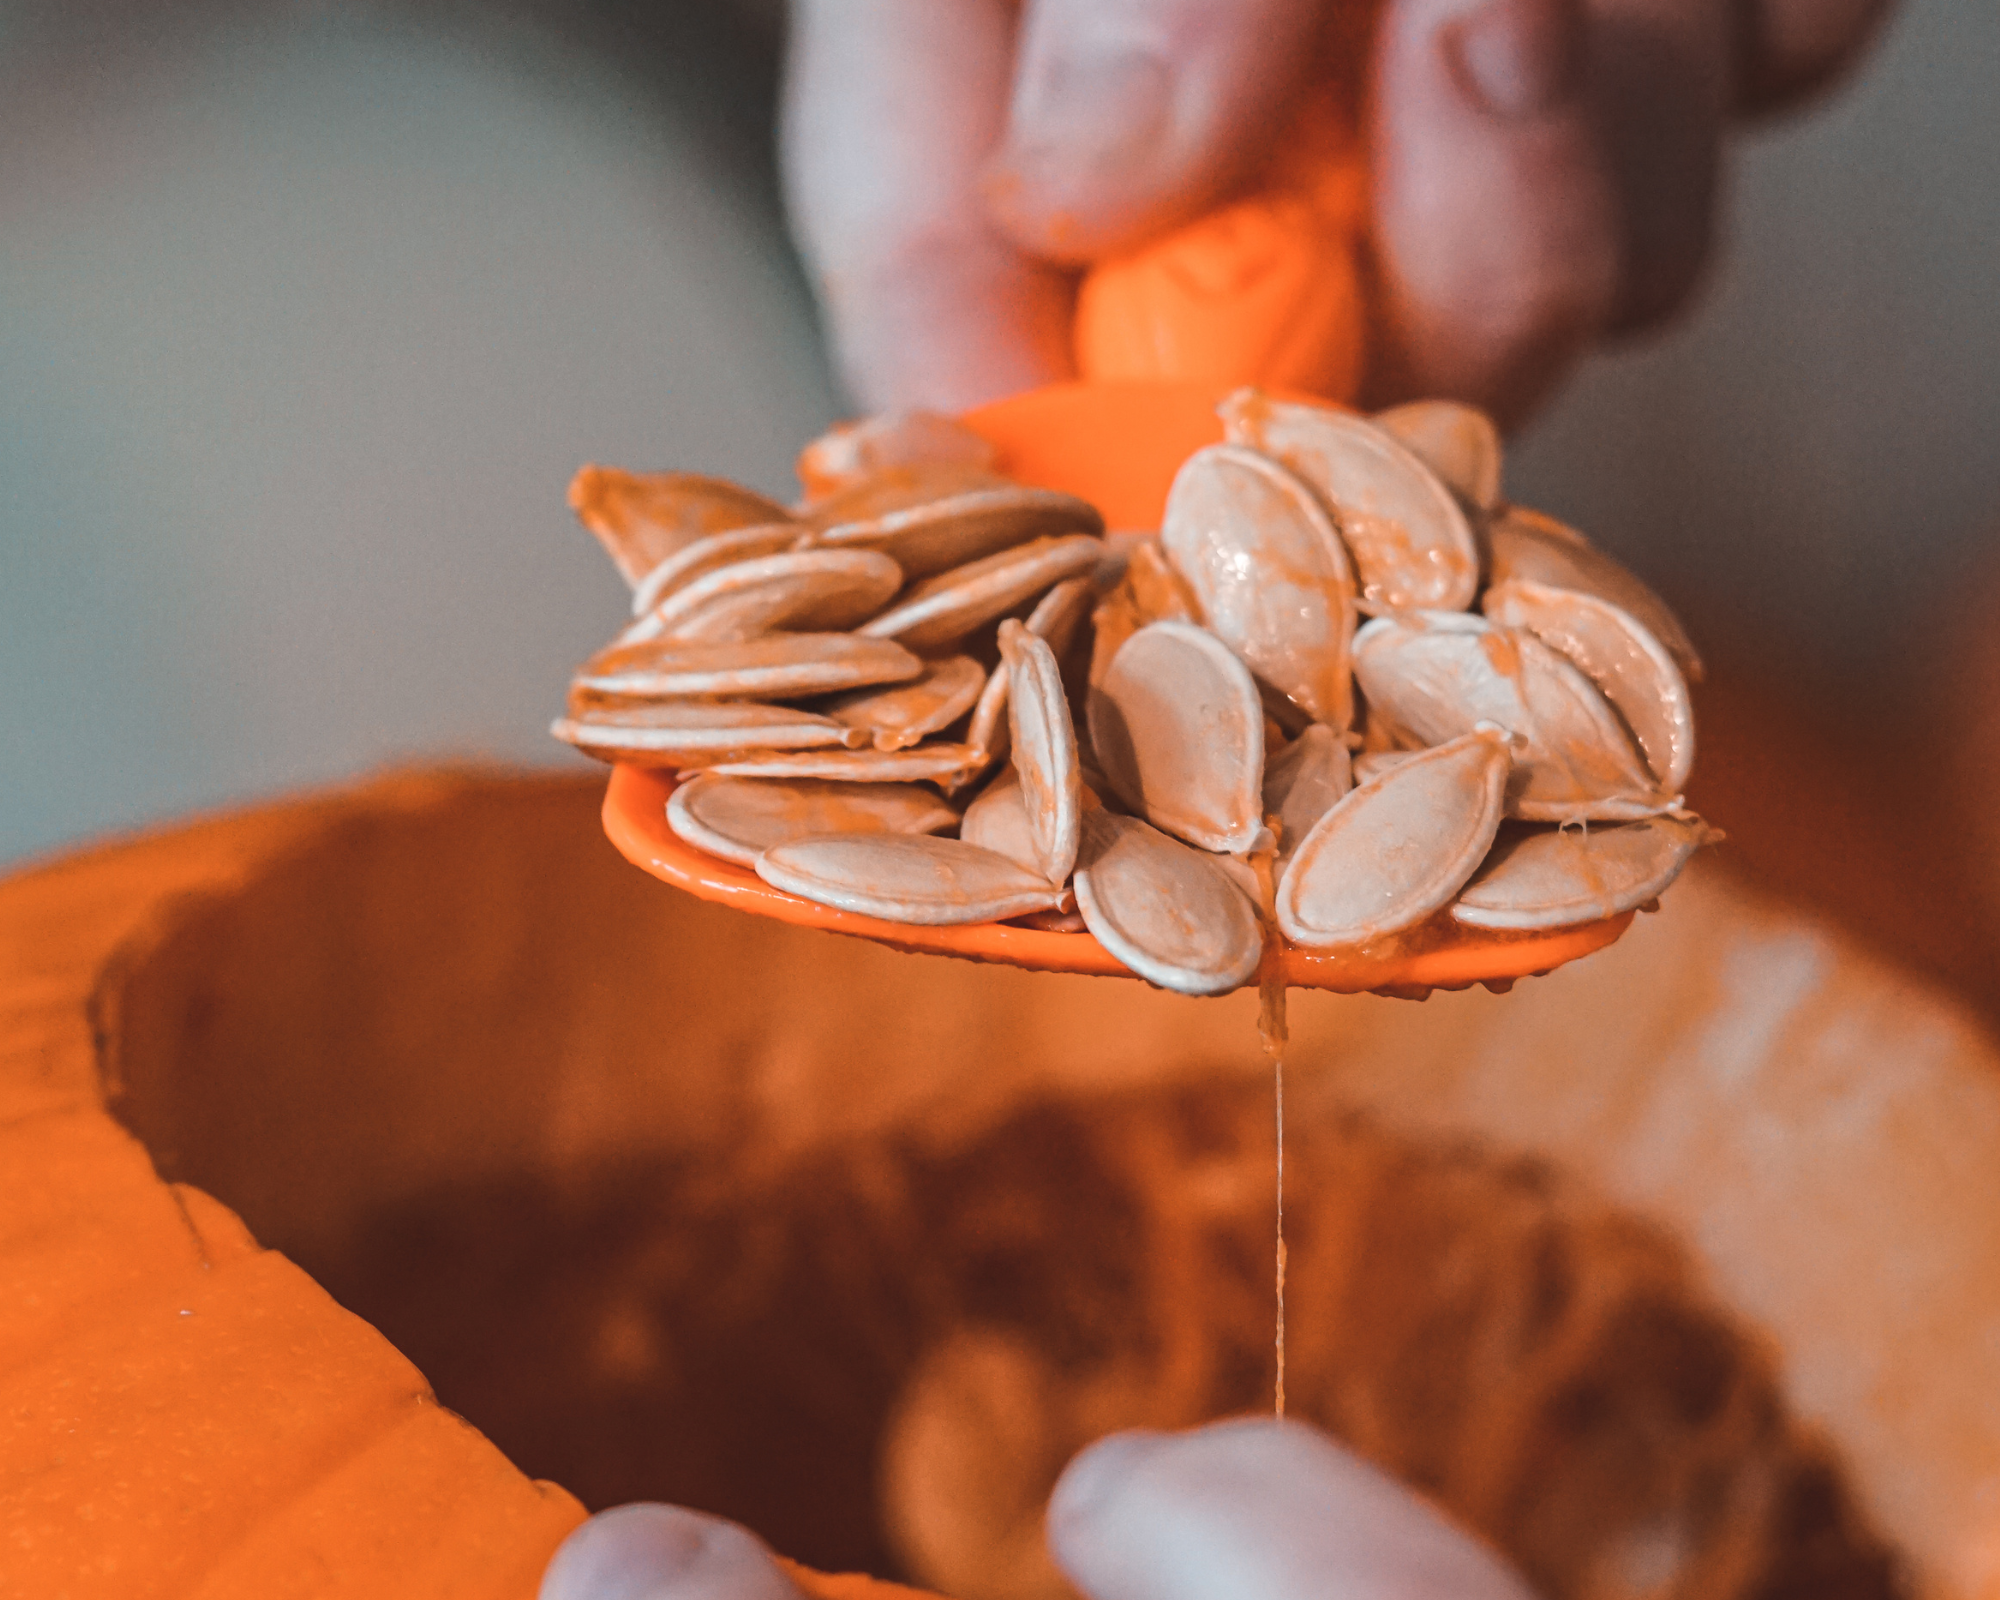
Squash seeds are covered with a kind of pulp that is important to remove because it can lead to mold when the seeds are stored. To do this, rinse the seeds thoroughly with clean water, rubbing the pulp into the seeds.
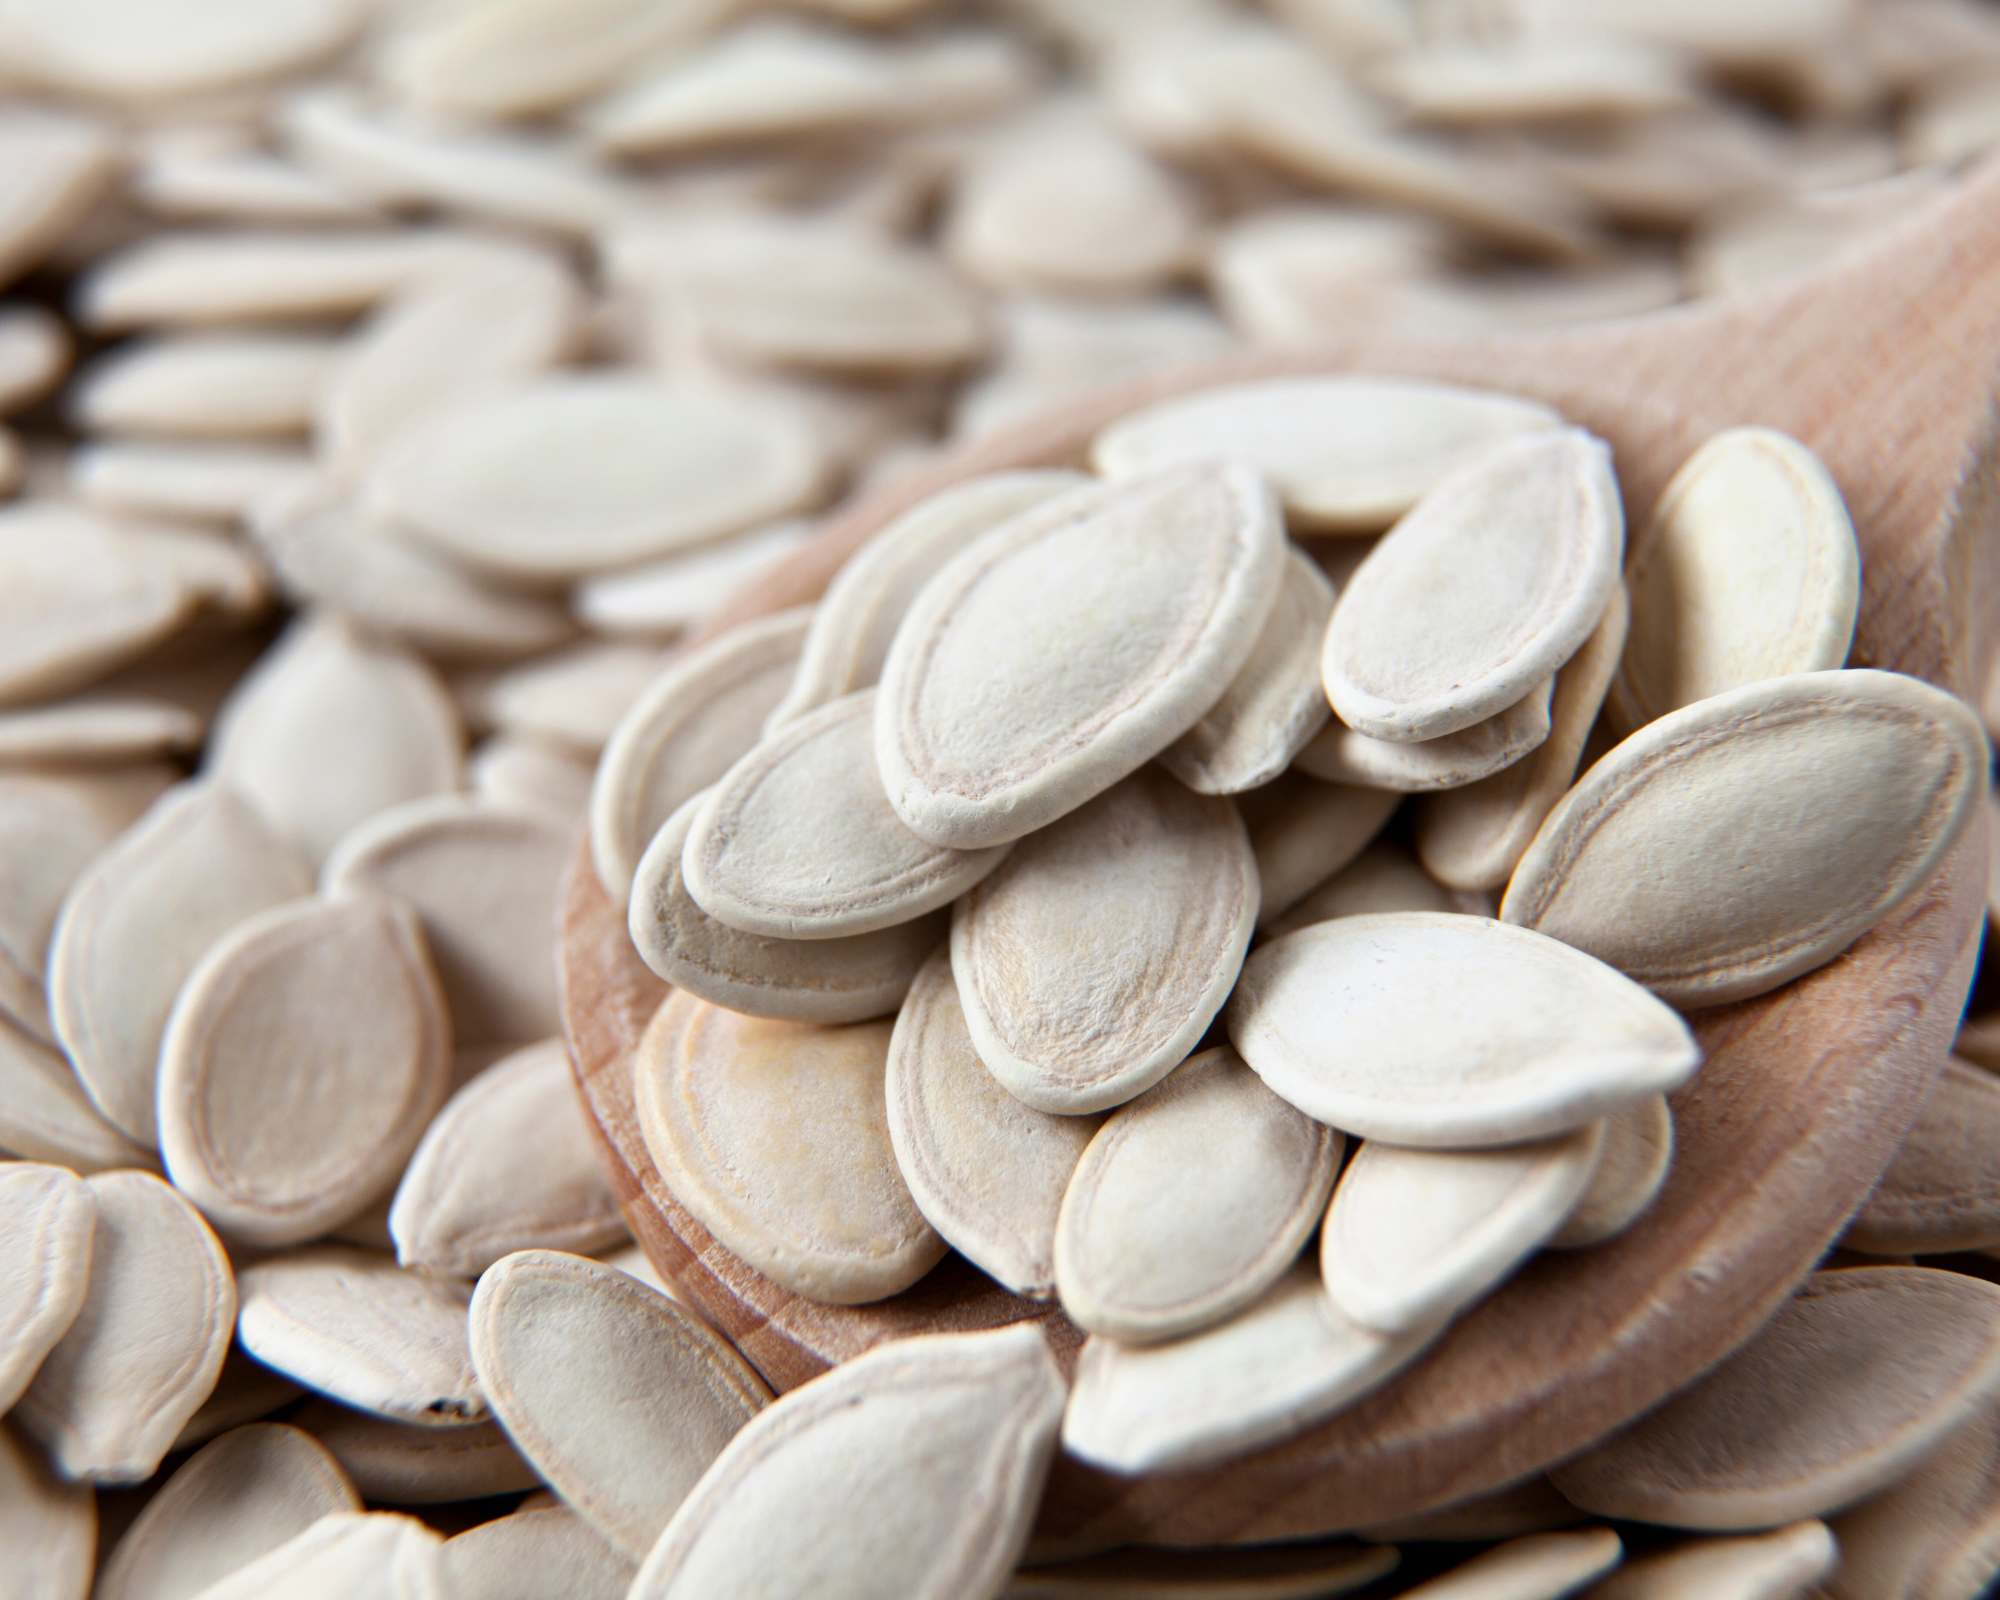
4. Drying the seeds
Once clean, spread the seeds on cups or parchment paper (baking paper). Again, do not use paper towels! It takes about 2 weeks for the seeds to be completely dry. You will just have to store them in the way you want (bags or freezer). A label and they will keep for 5 to 8 years!
Fine herbs
Some herbs and aromatic plants are perennial if they are grown in the ground: oregano, chives, lemon balm, thyme… No need to harvest their seeds, they will grow again next season!
Others are bi-annual like parsley. This one is not perennial, so it is difficult to keep the plant alive from one summer to another to harvest the seeds. Unless of course you have a greenhouse or a well-lit window.
Basil
Harvest and save basil seeds in 4 steps.
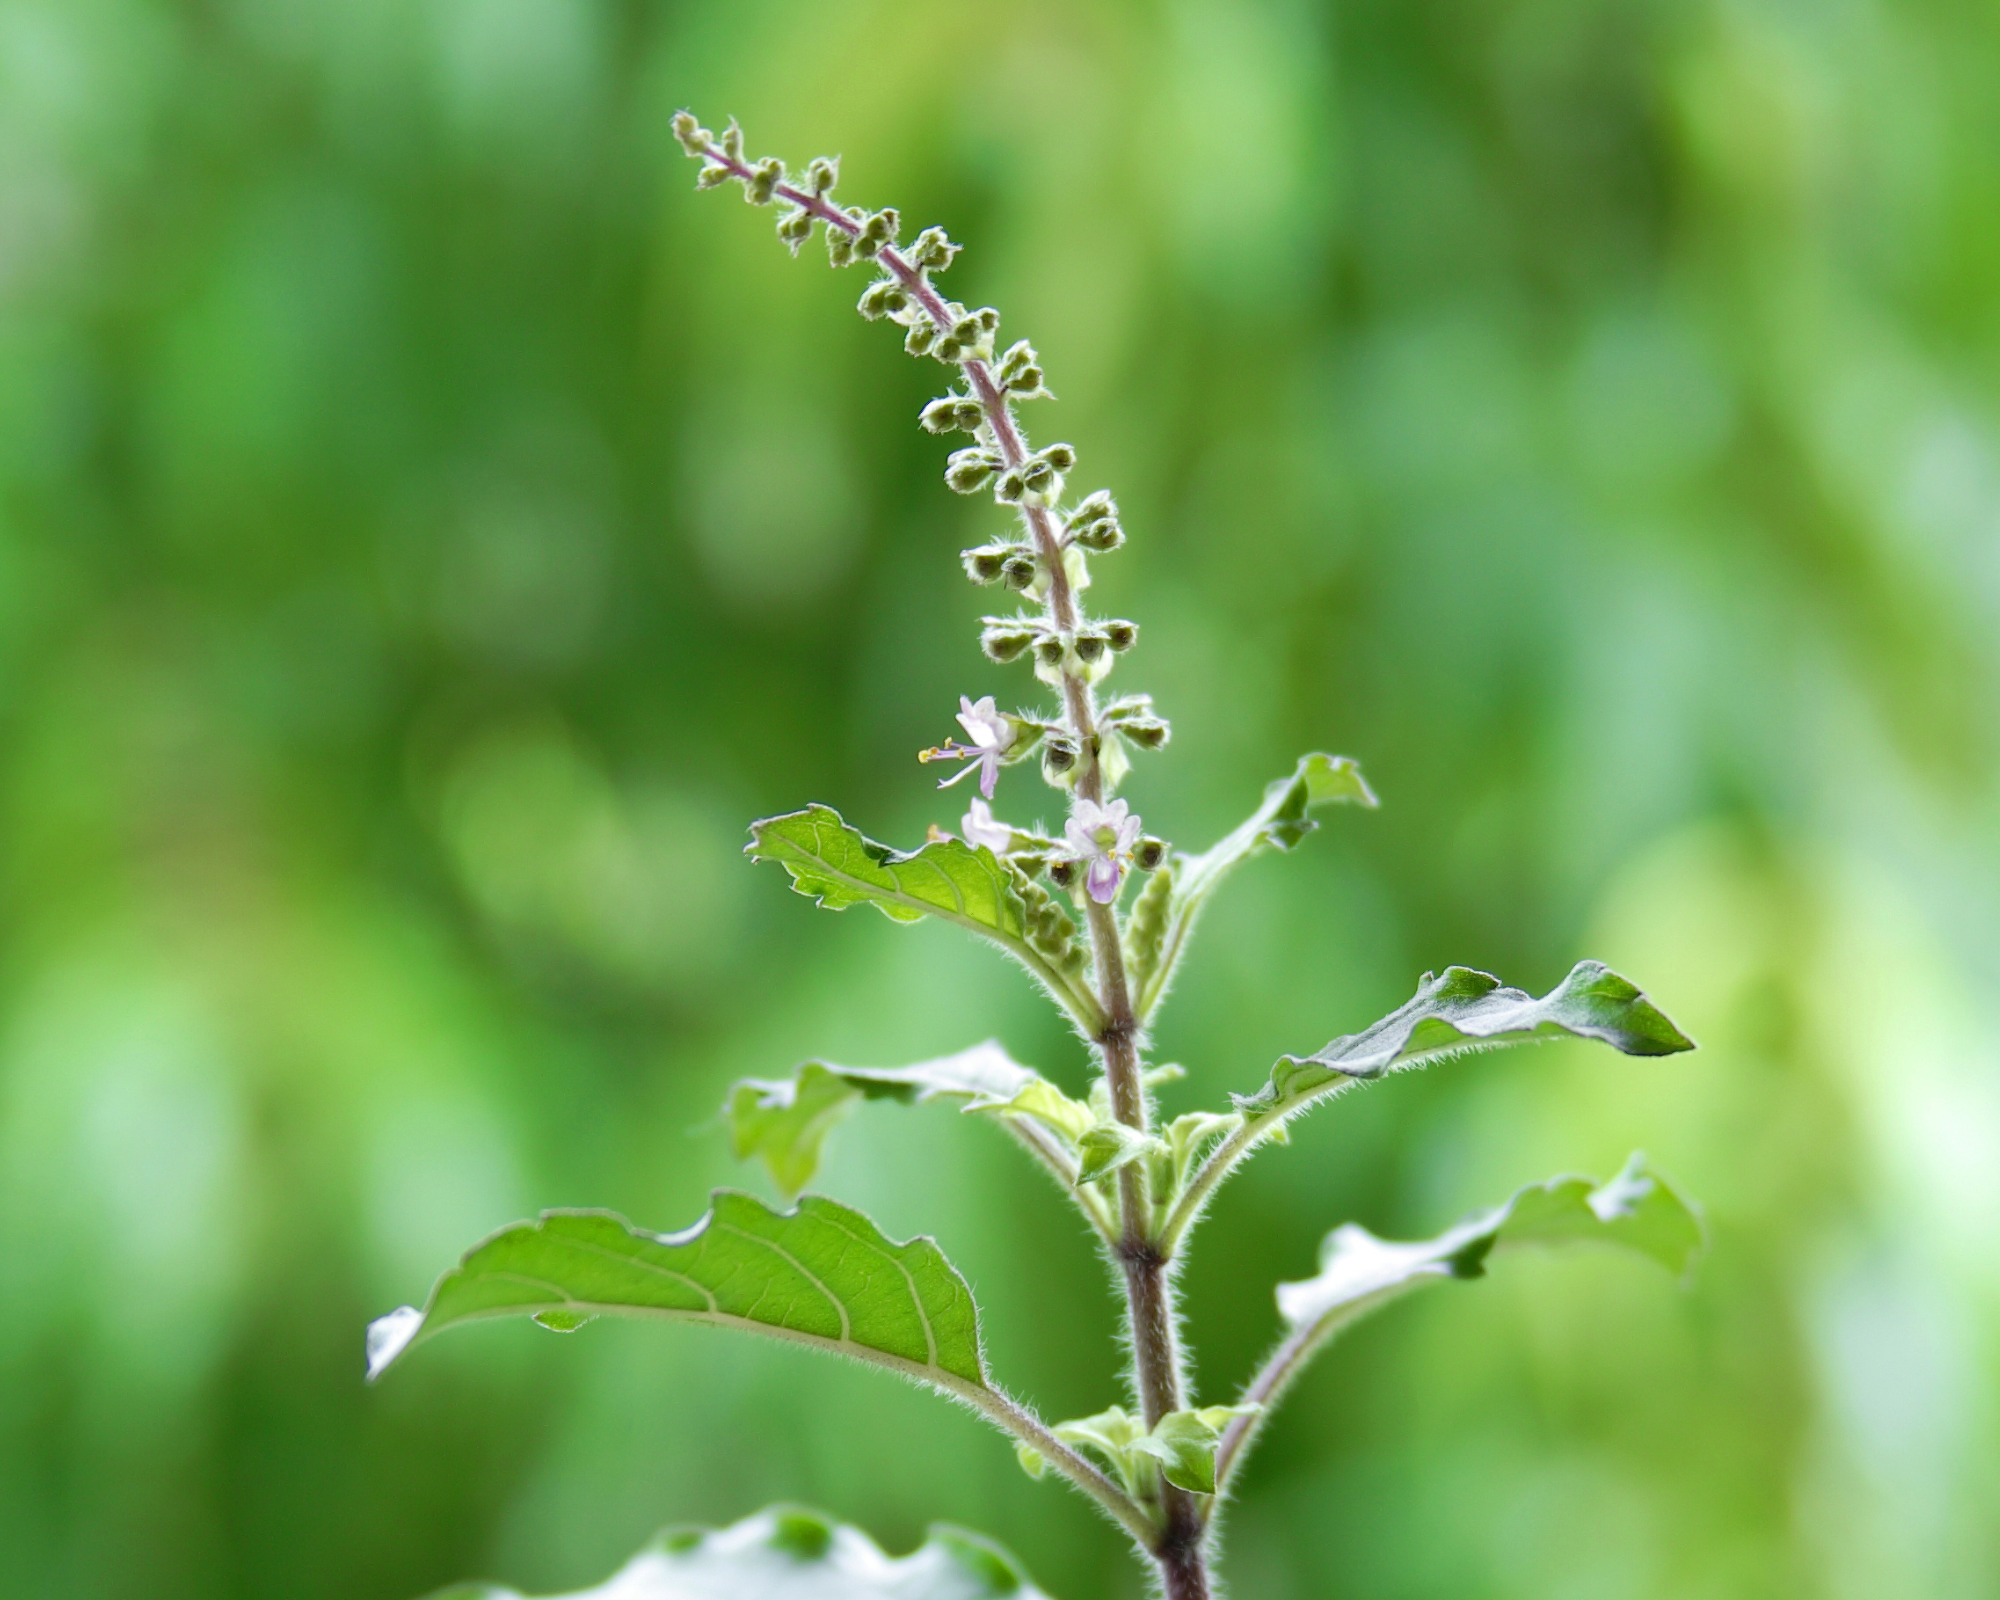
1. Wait for flowering
Wait until the plant goes to seed (flowers appear) and the stems turn brown and dry out.
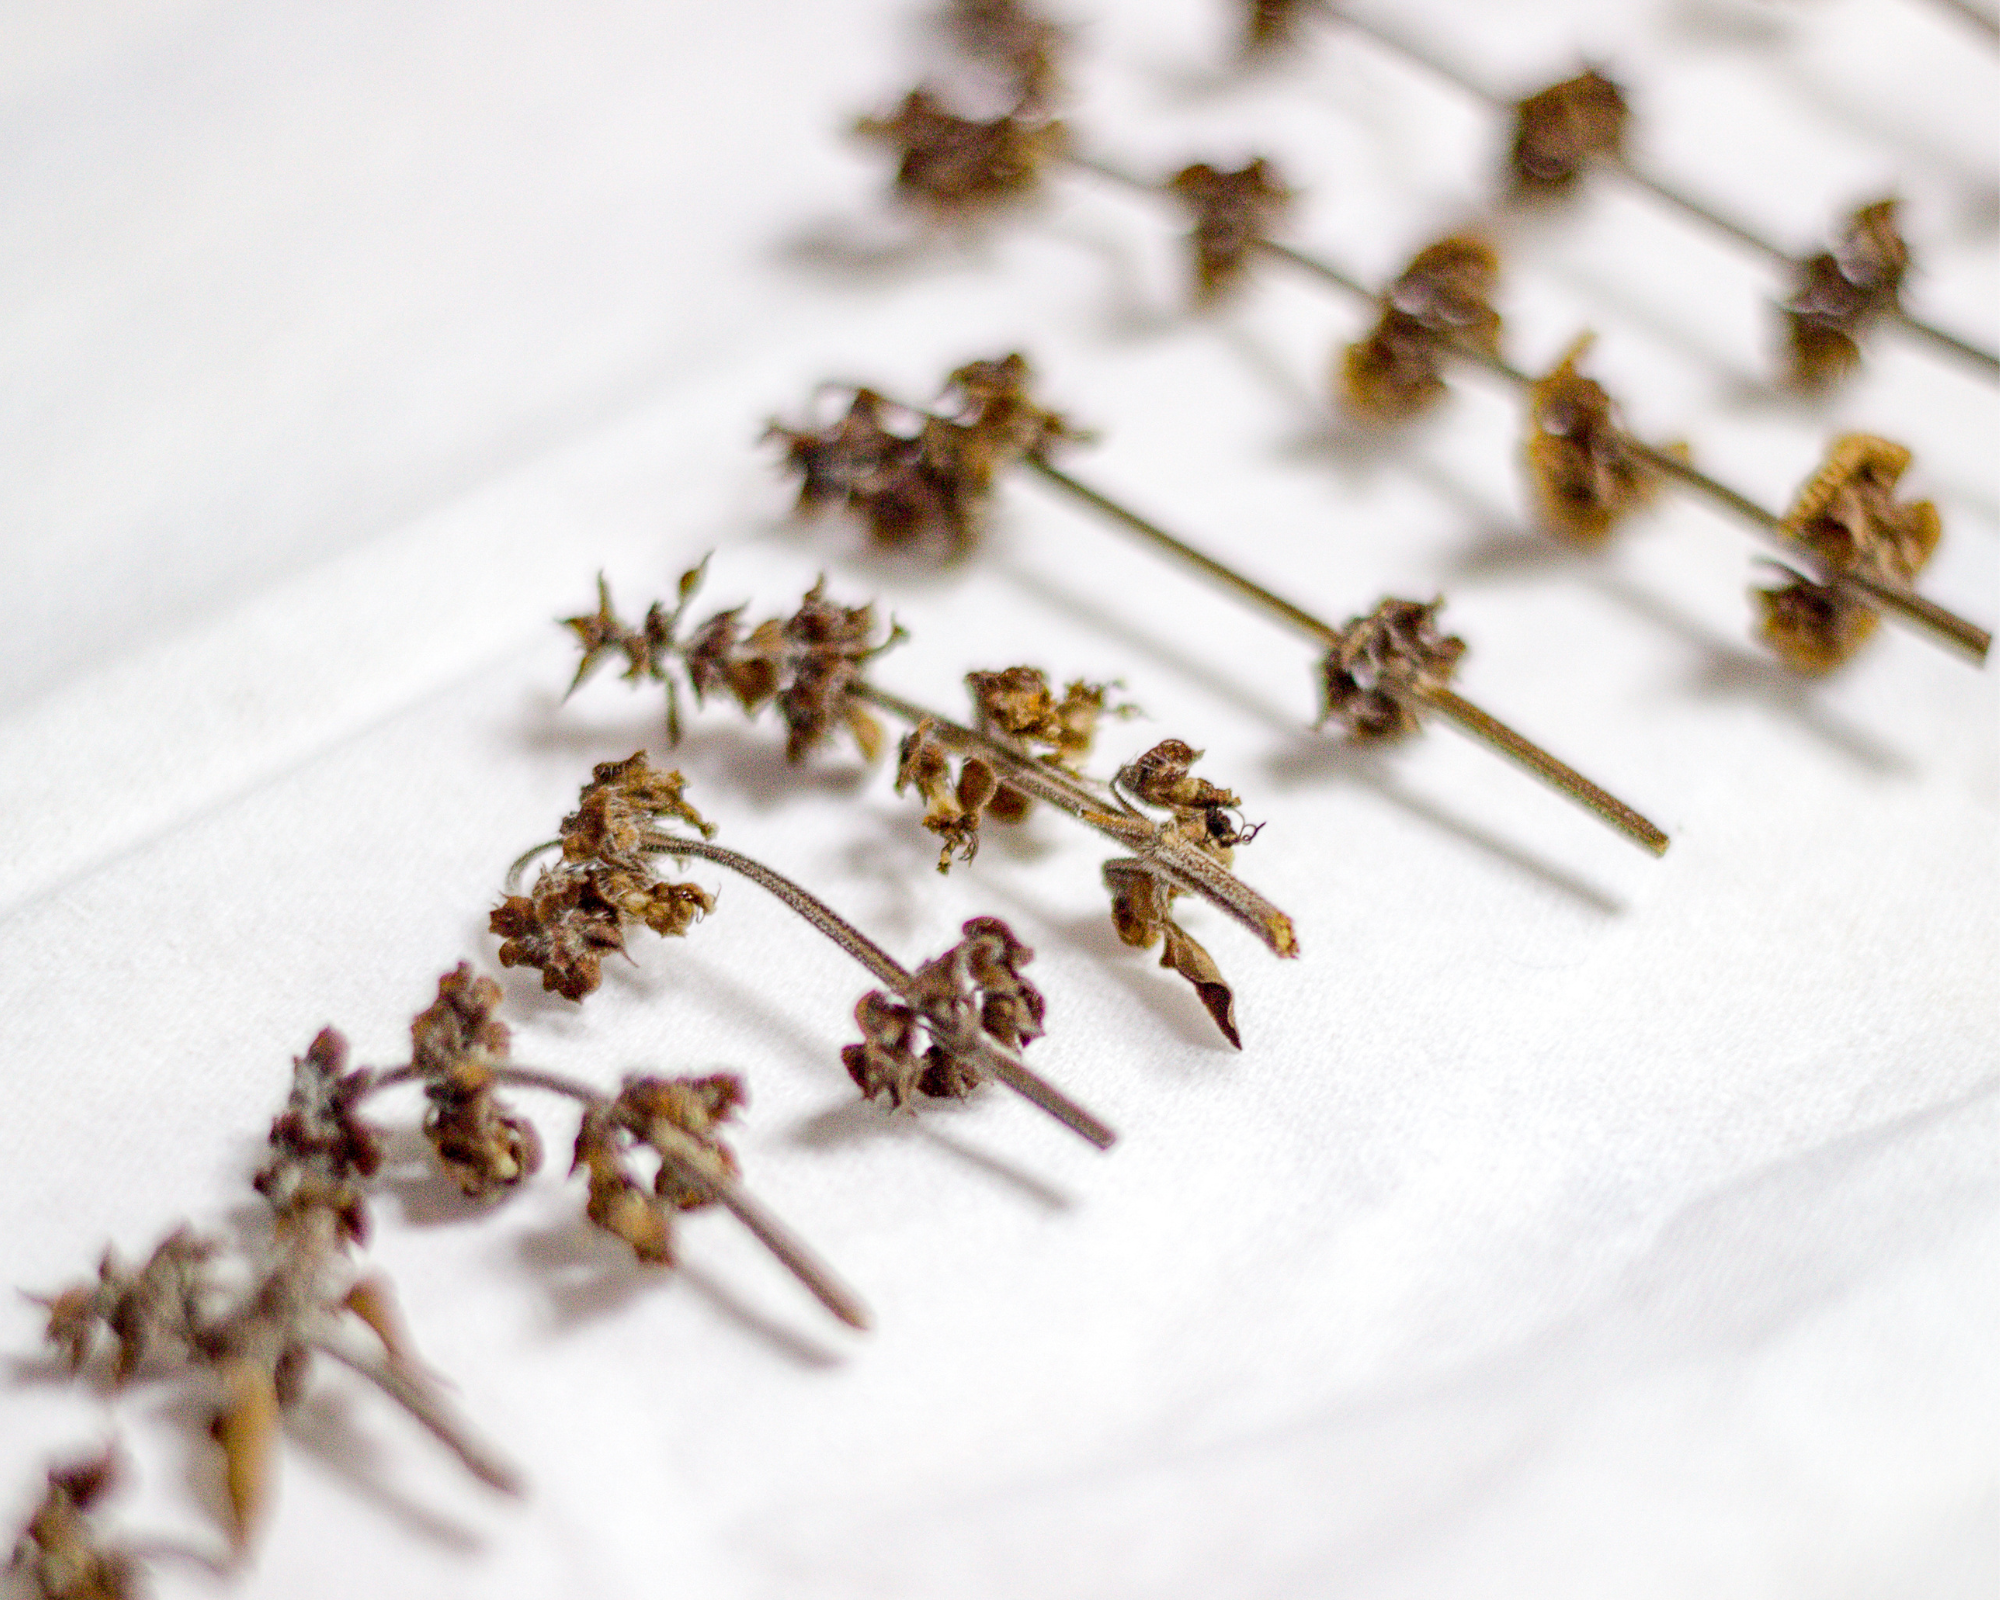
2. Drying
Cut the necessary number of stems. You can dry them again in a sheltered place, spread out on newspapers or hanging upside down.
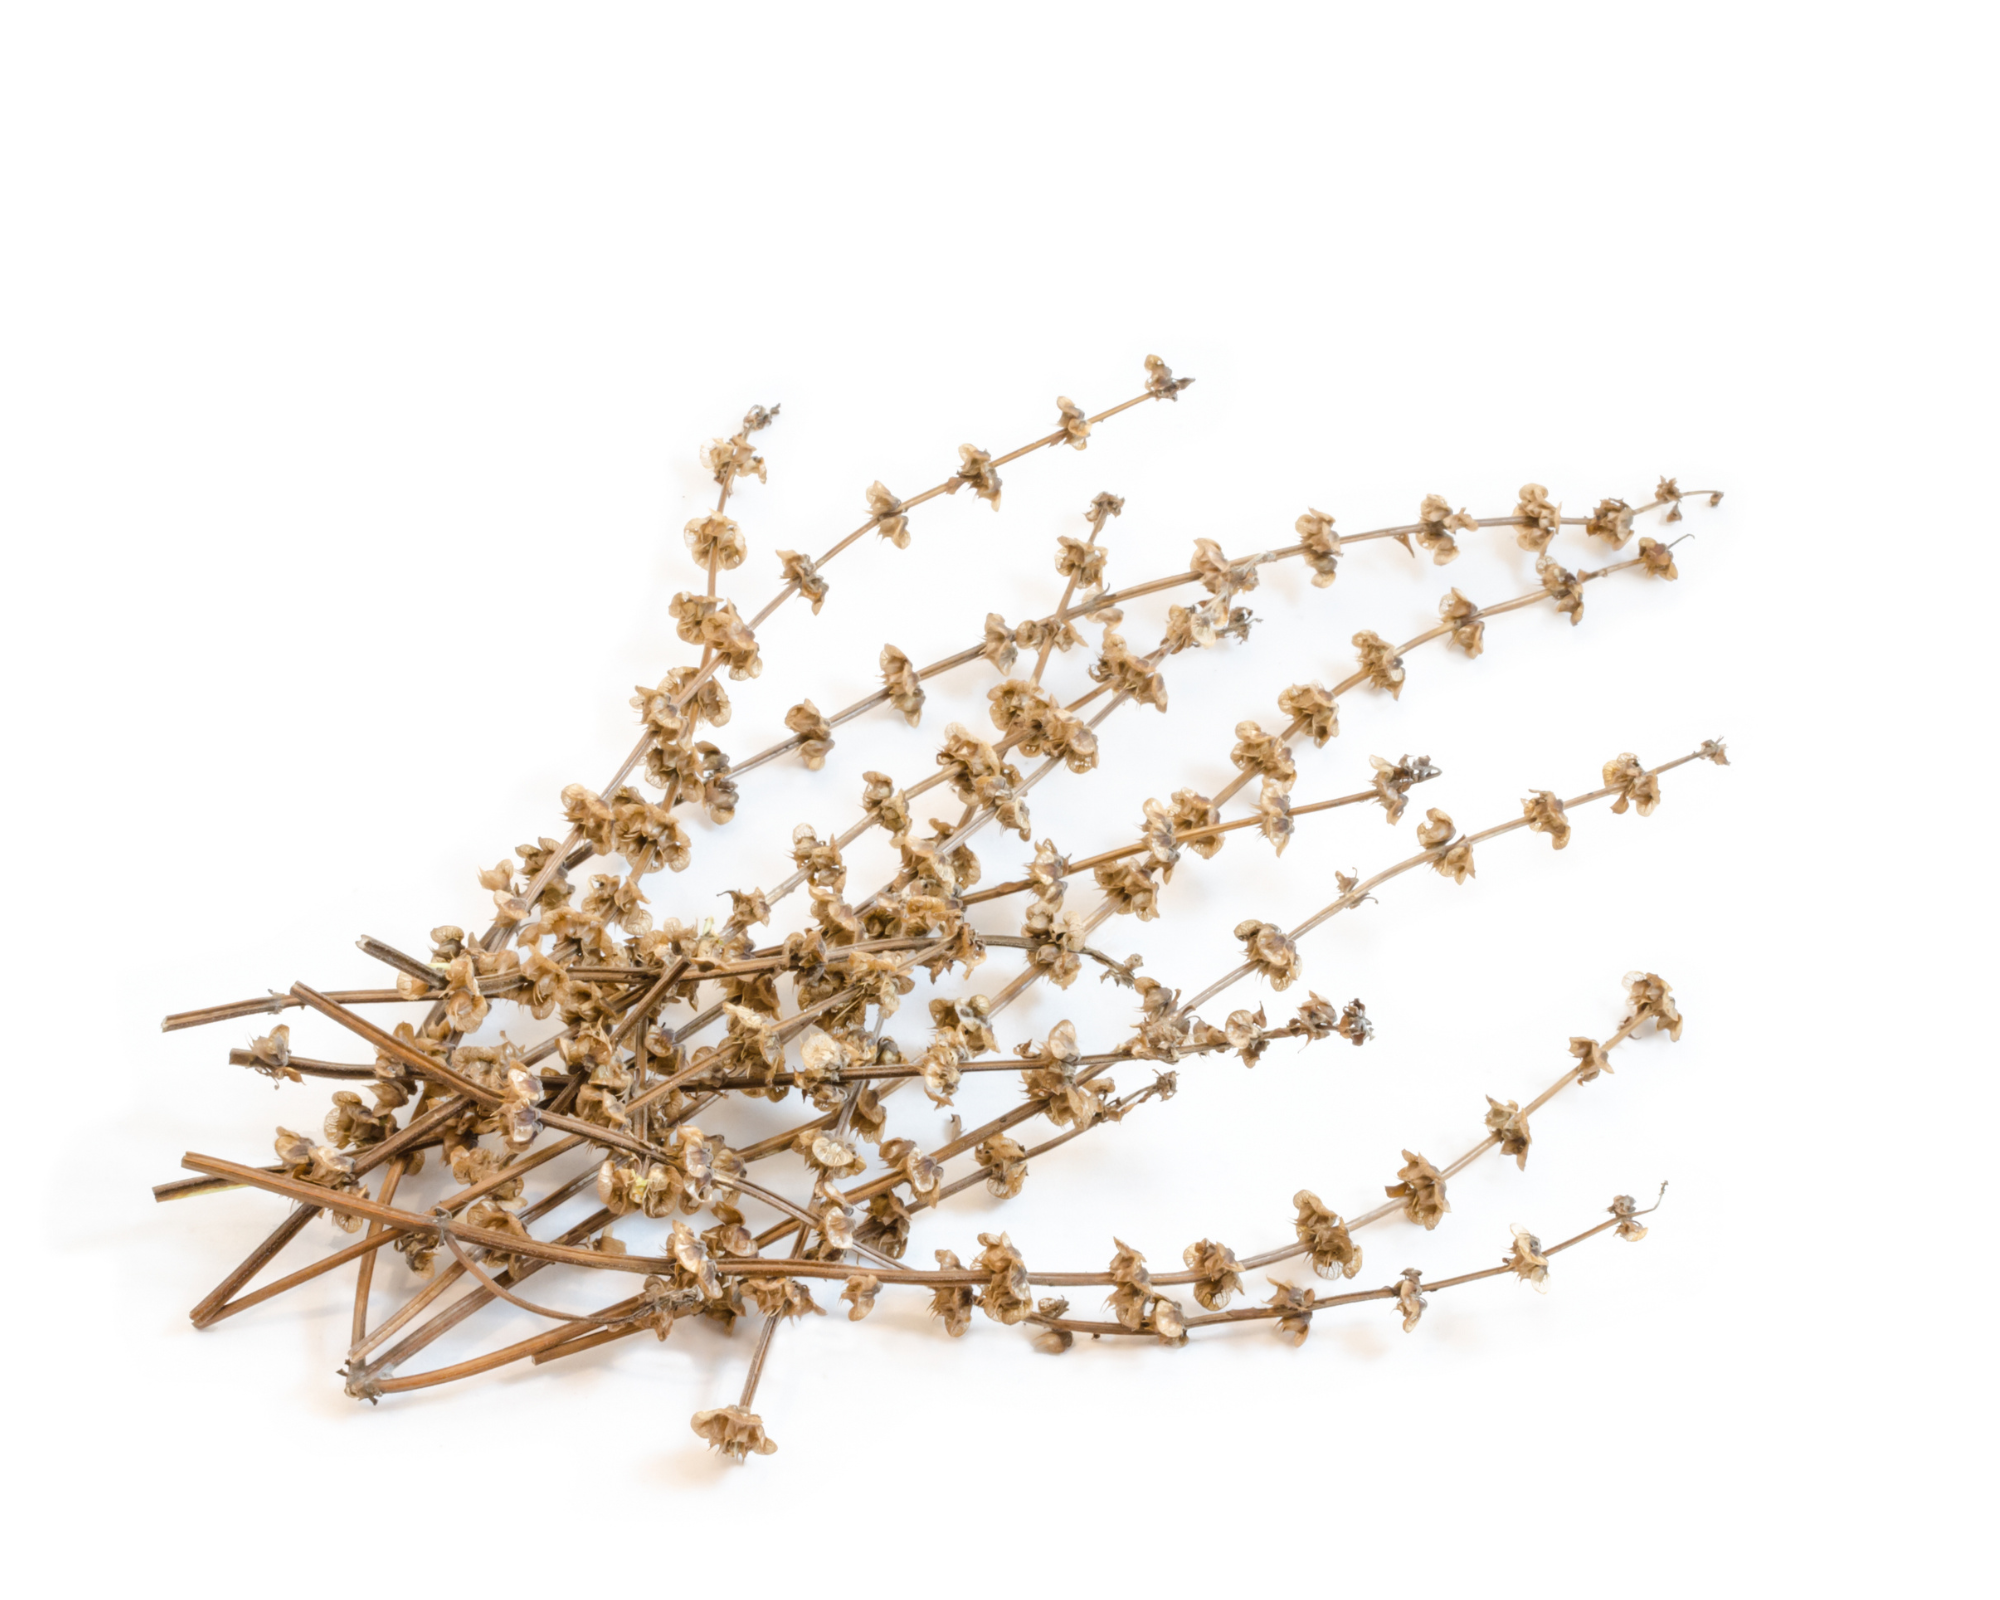
3. Cleaning
Once completely dry, vigorously tap the stems into a large container or paper bag to loosen the seeds. You can also rub the stems with your hands.
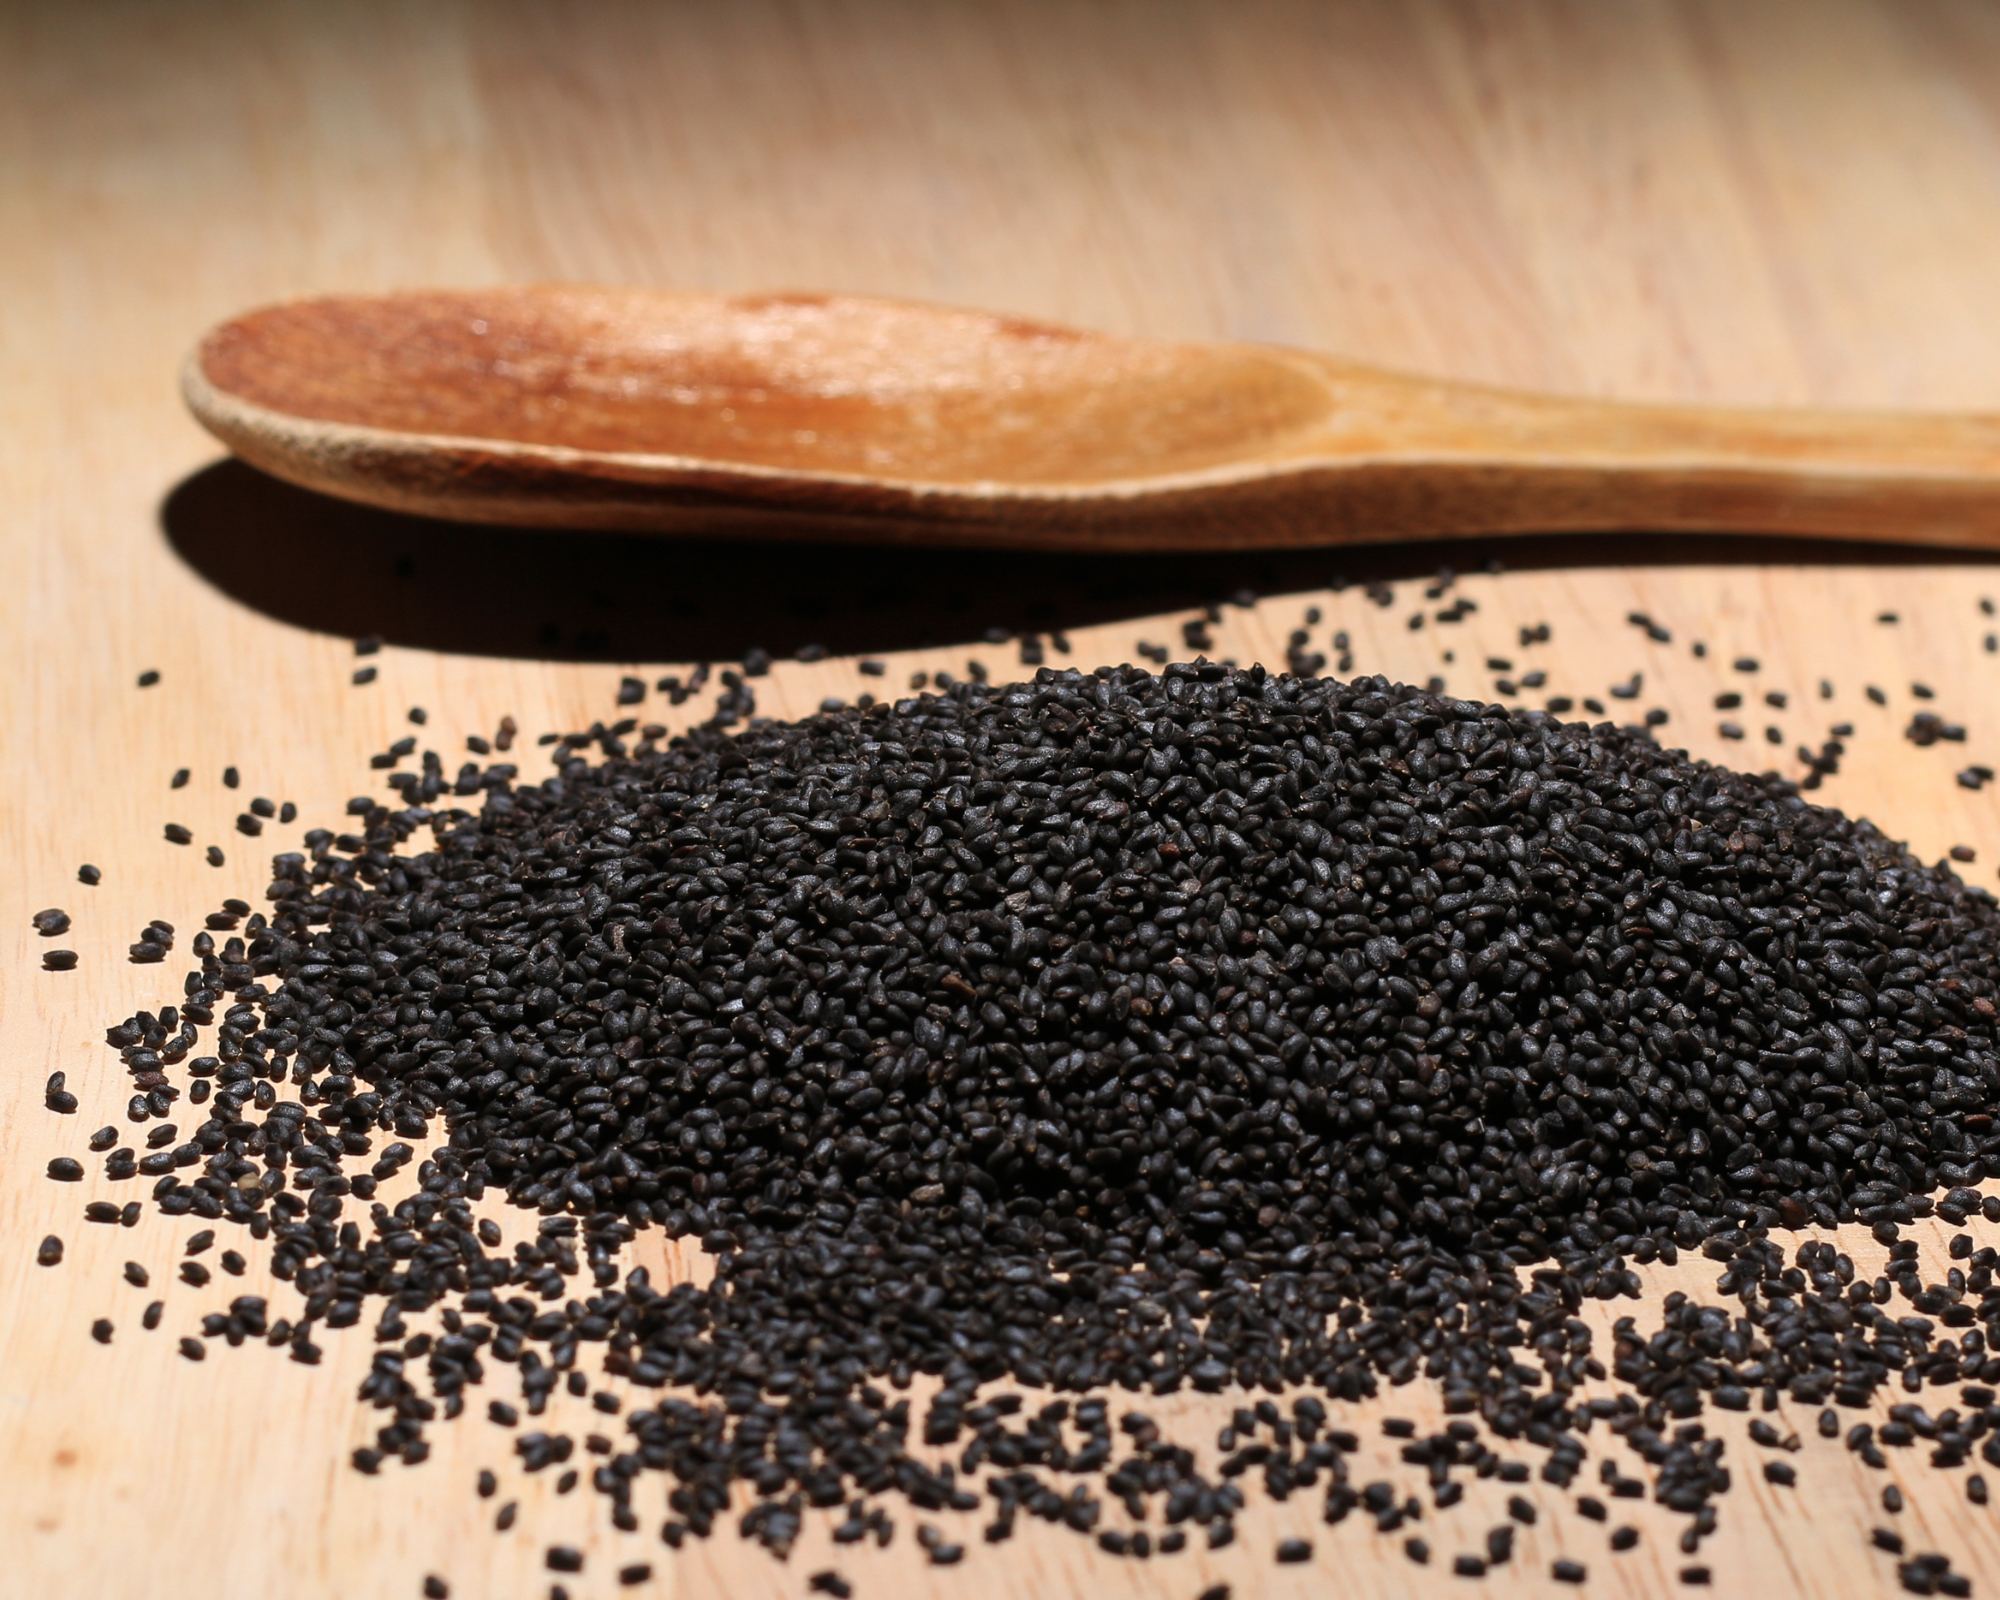
4. Storage
Before storing seeds, remove debris with a sieve.
Coriander, dill and fennel
Harvest and save seeds of coriander, dill and fennel in 4 steps.
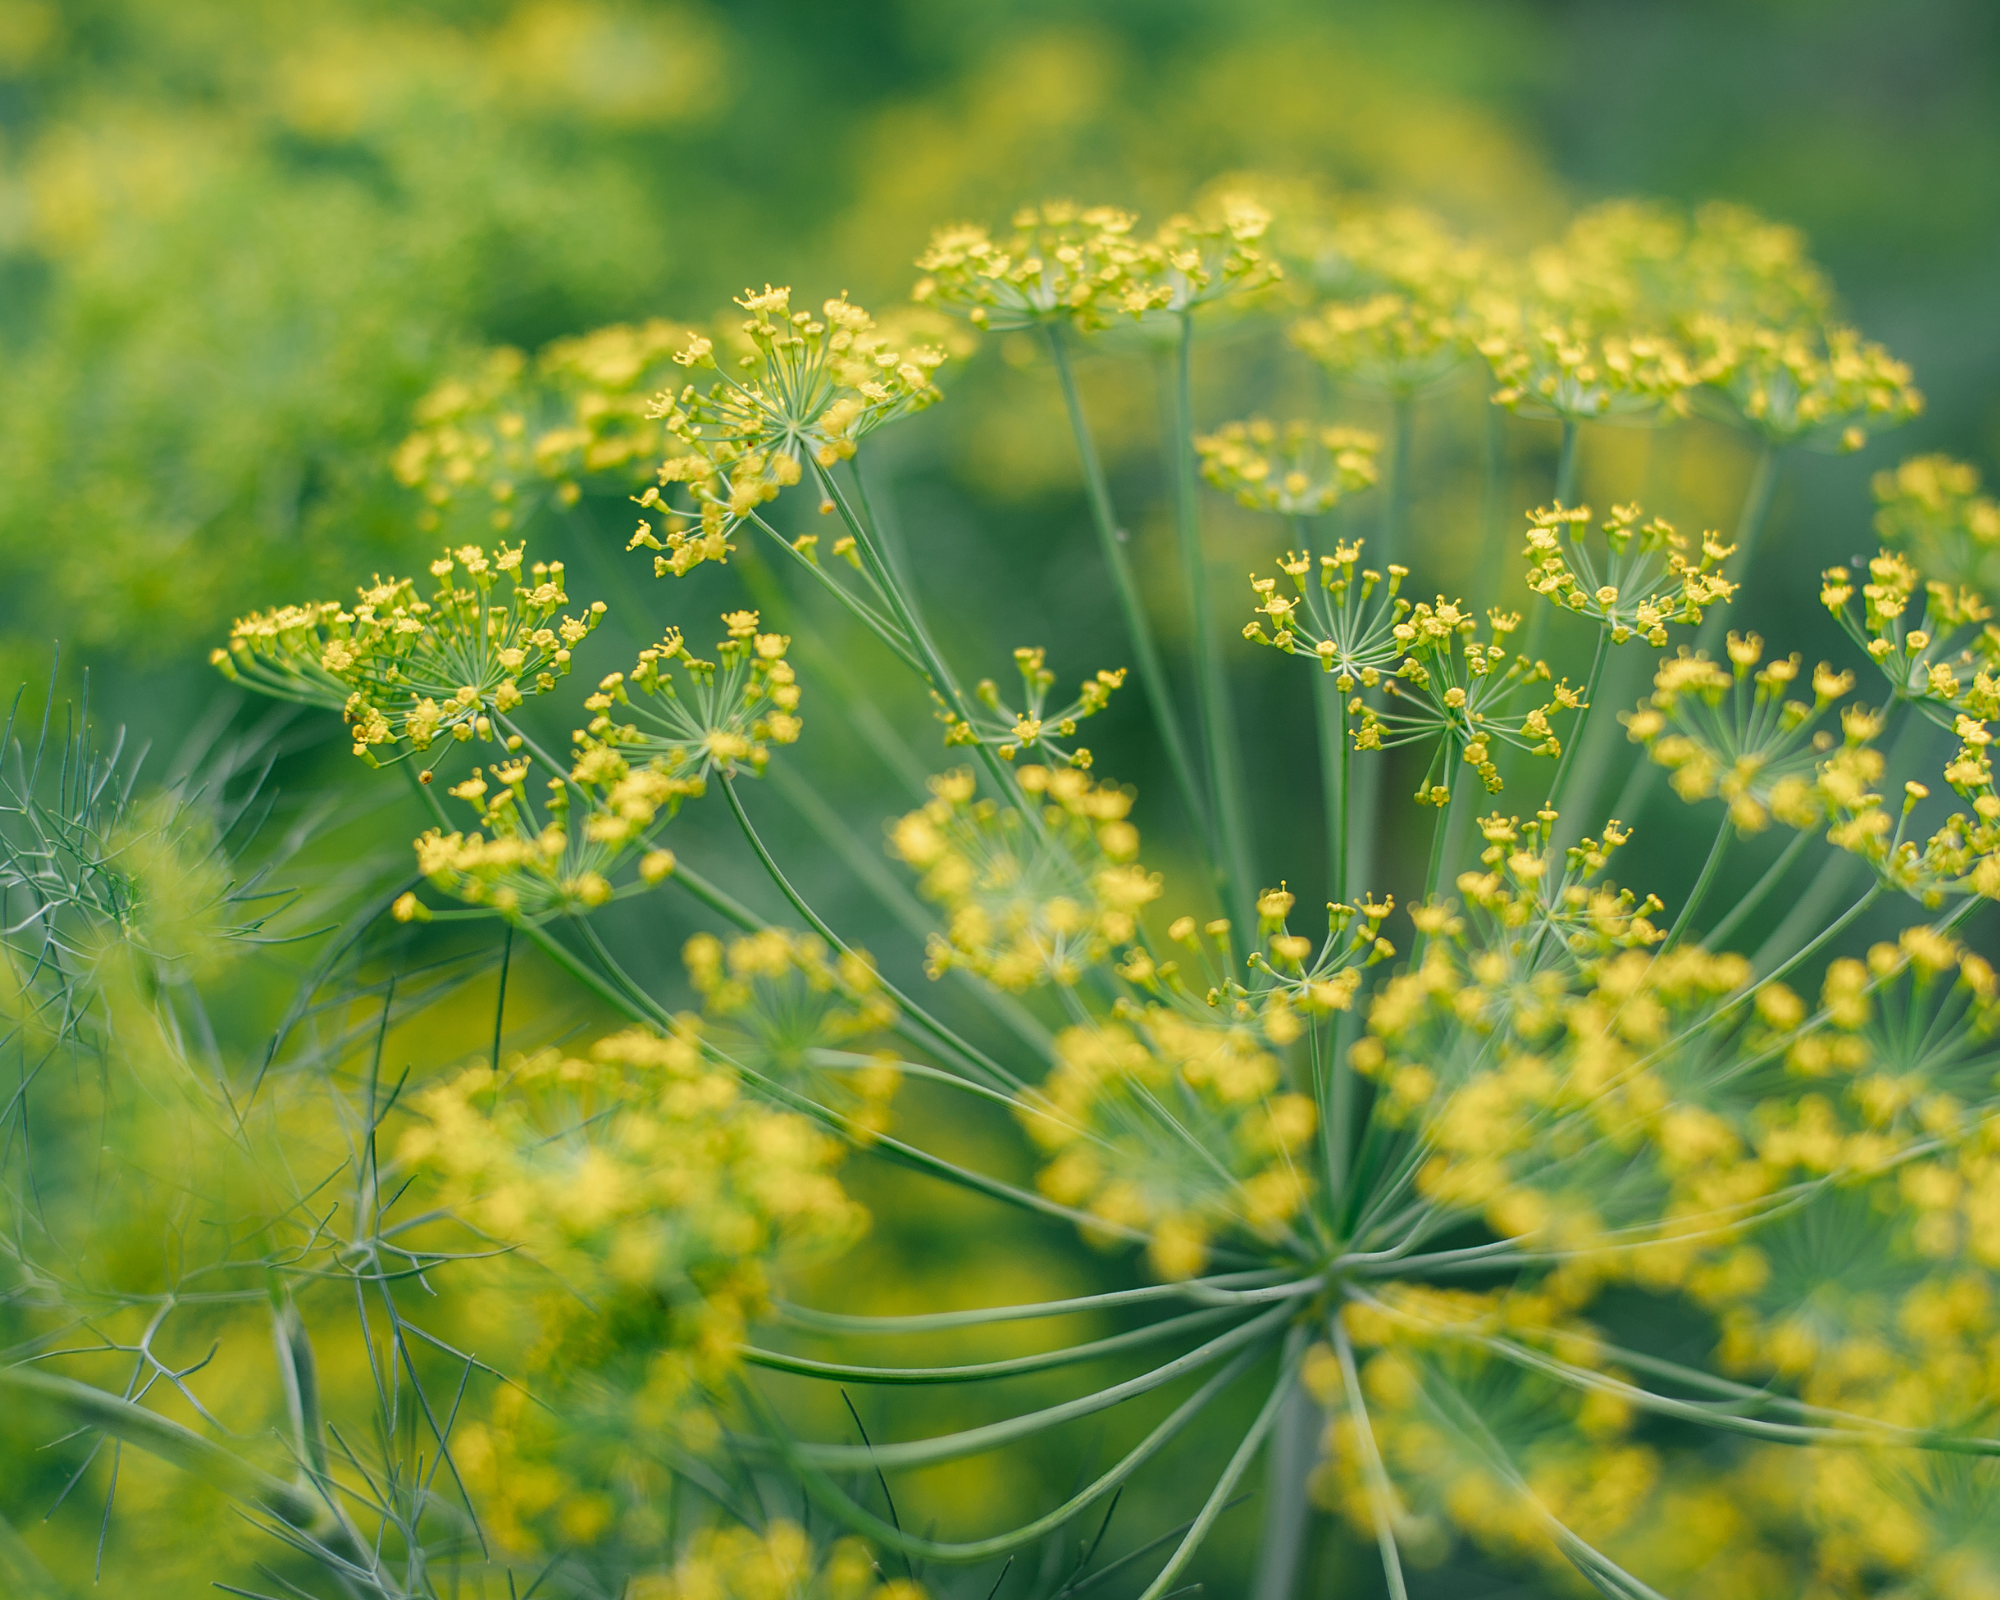
1. Wait for flowering
Wait for the flower heads to dry out a bit.
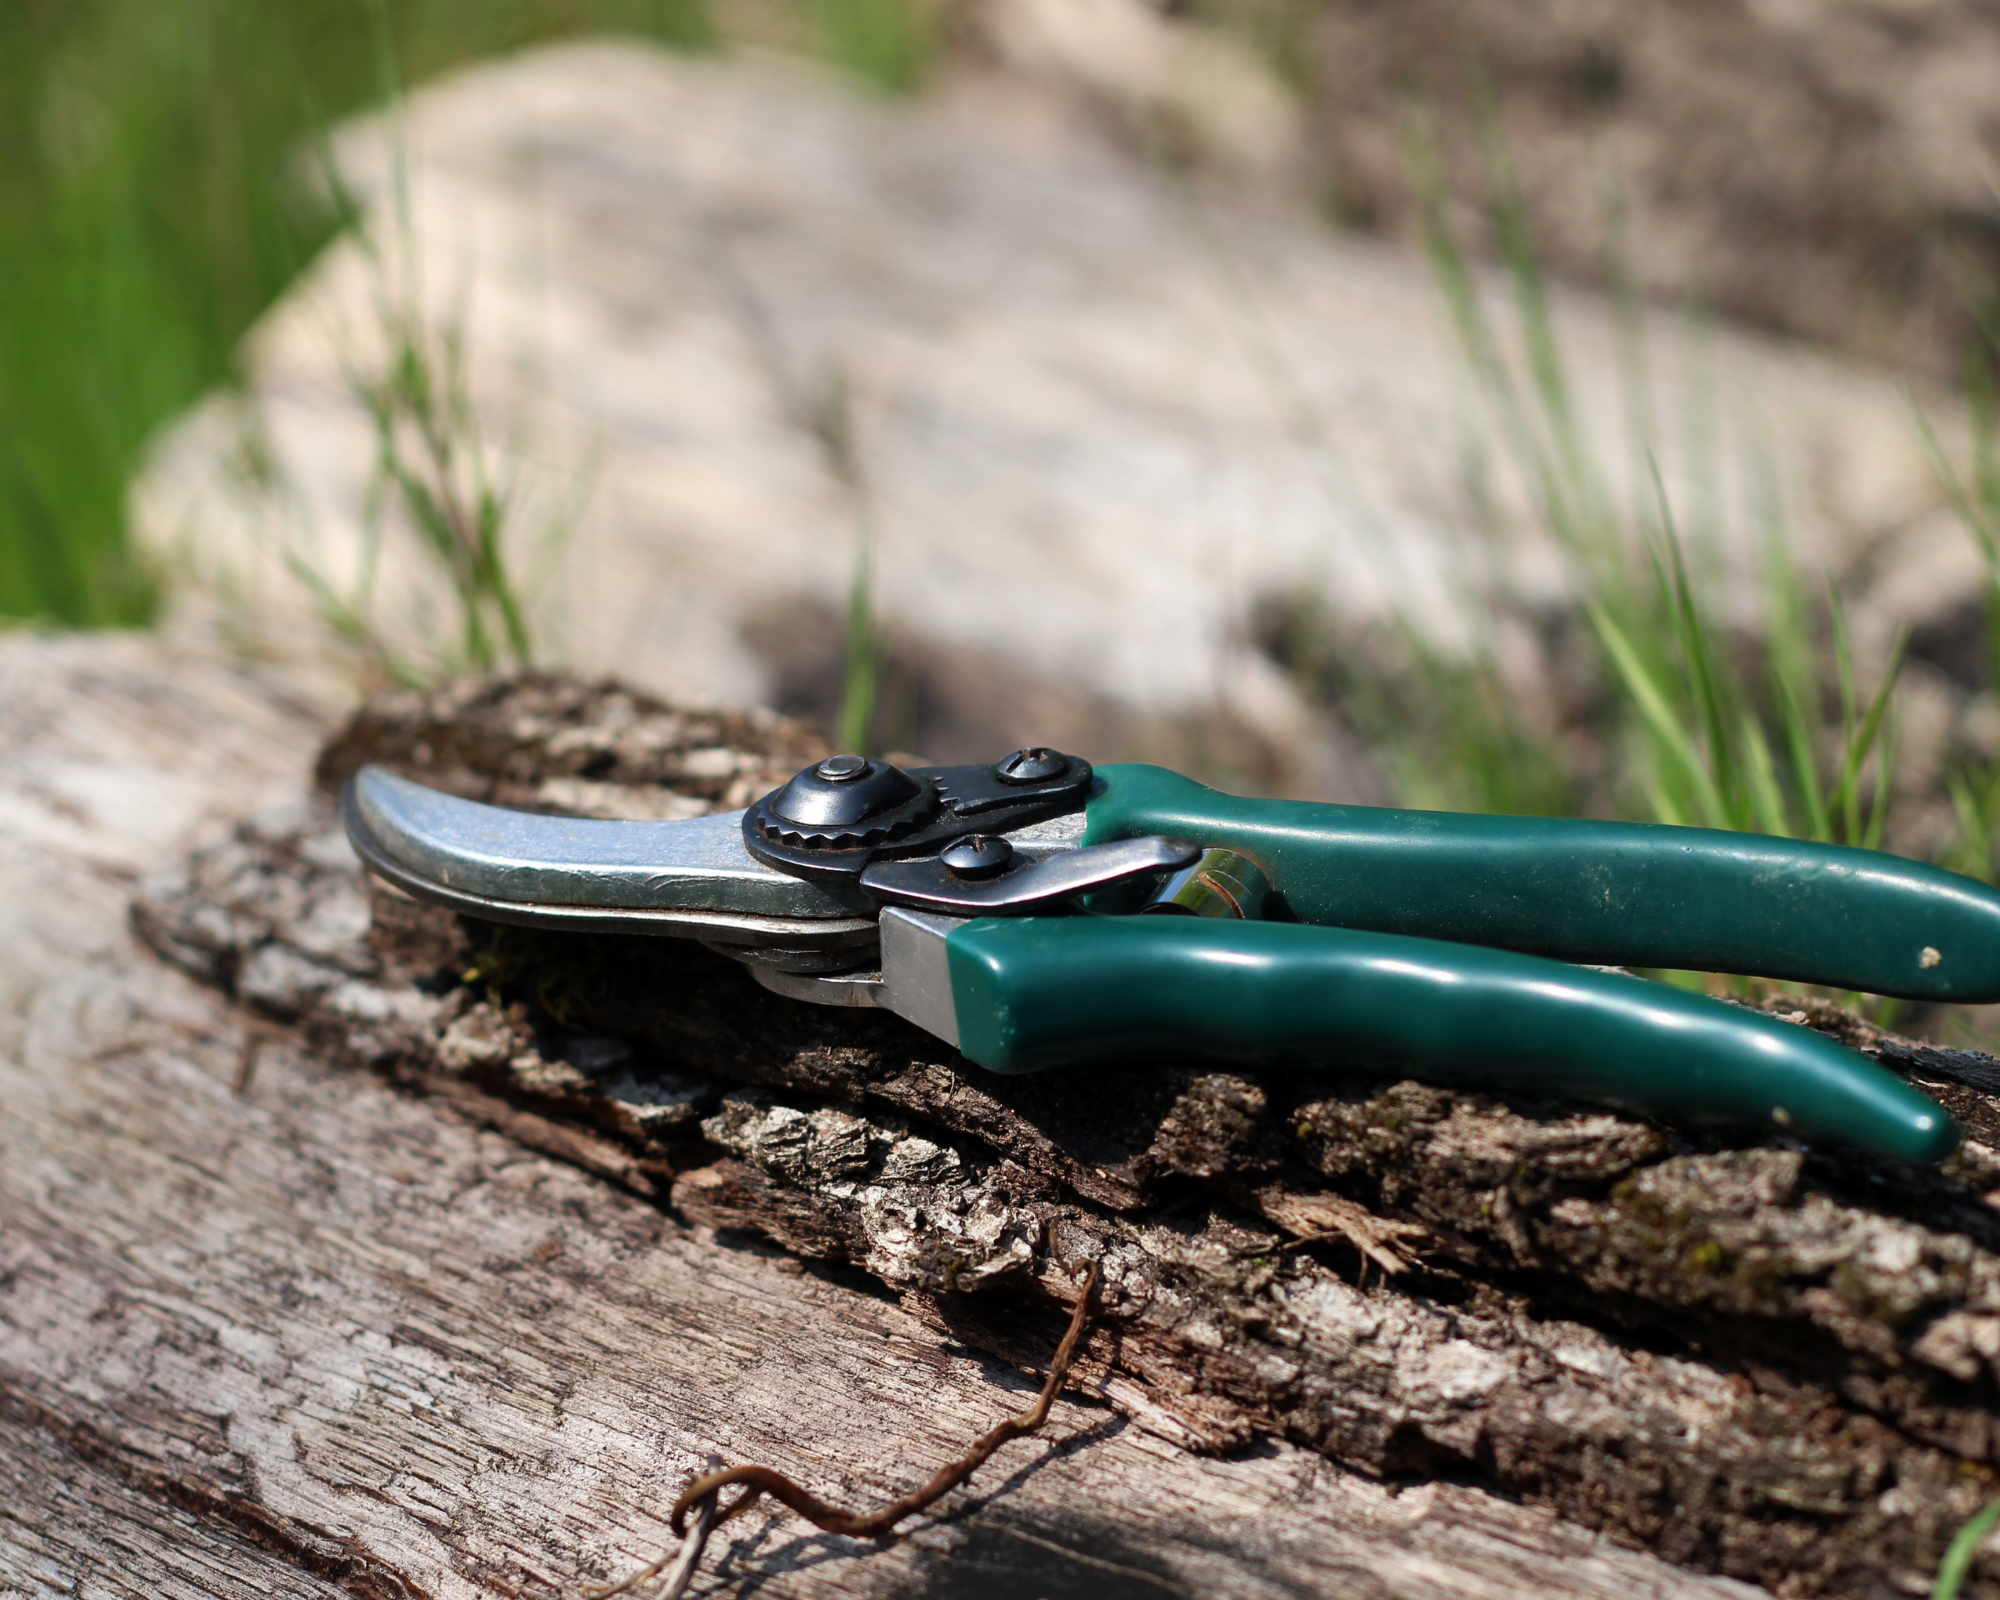
2. Cut the stems
Cut the stems and place them upside down in a paper bag.
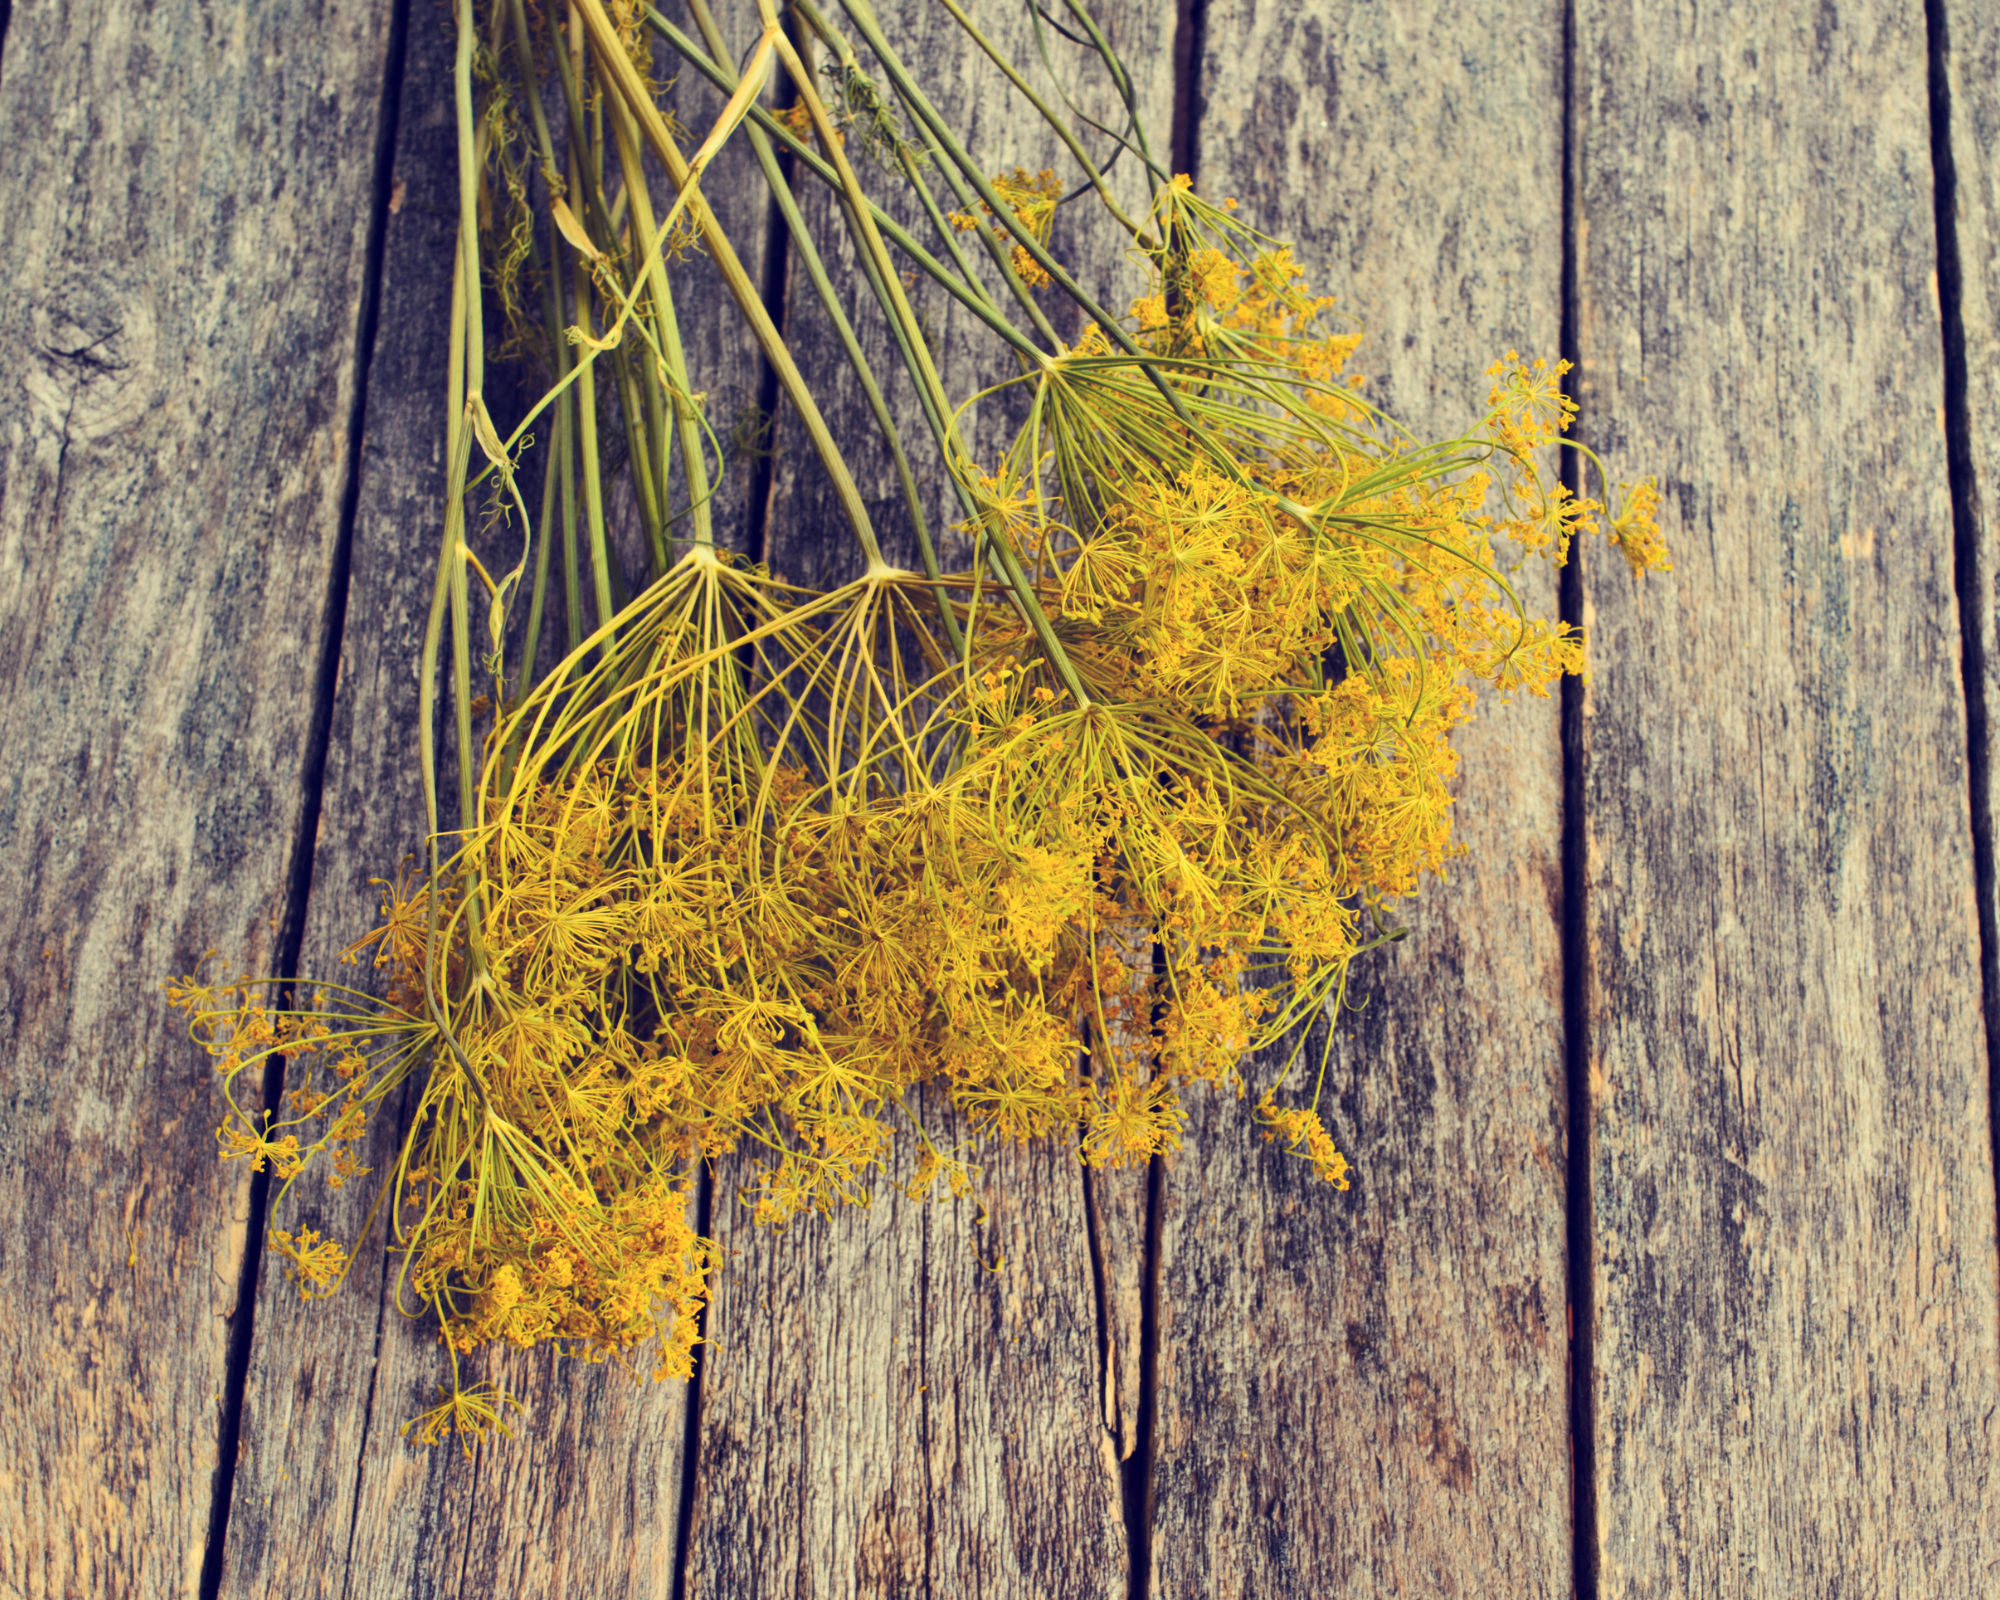
3. Let it dry
Let them dry in a dry place for a few weeks.
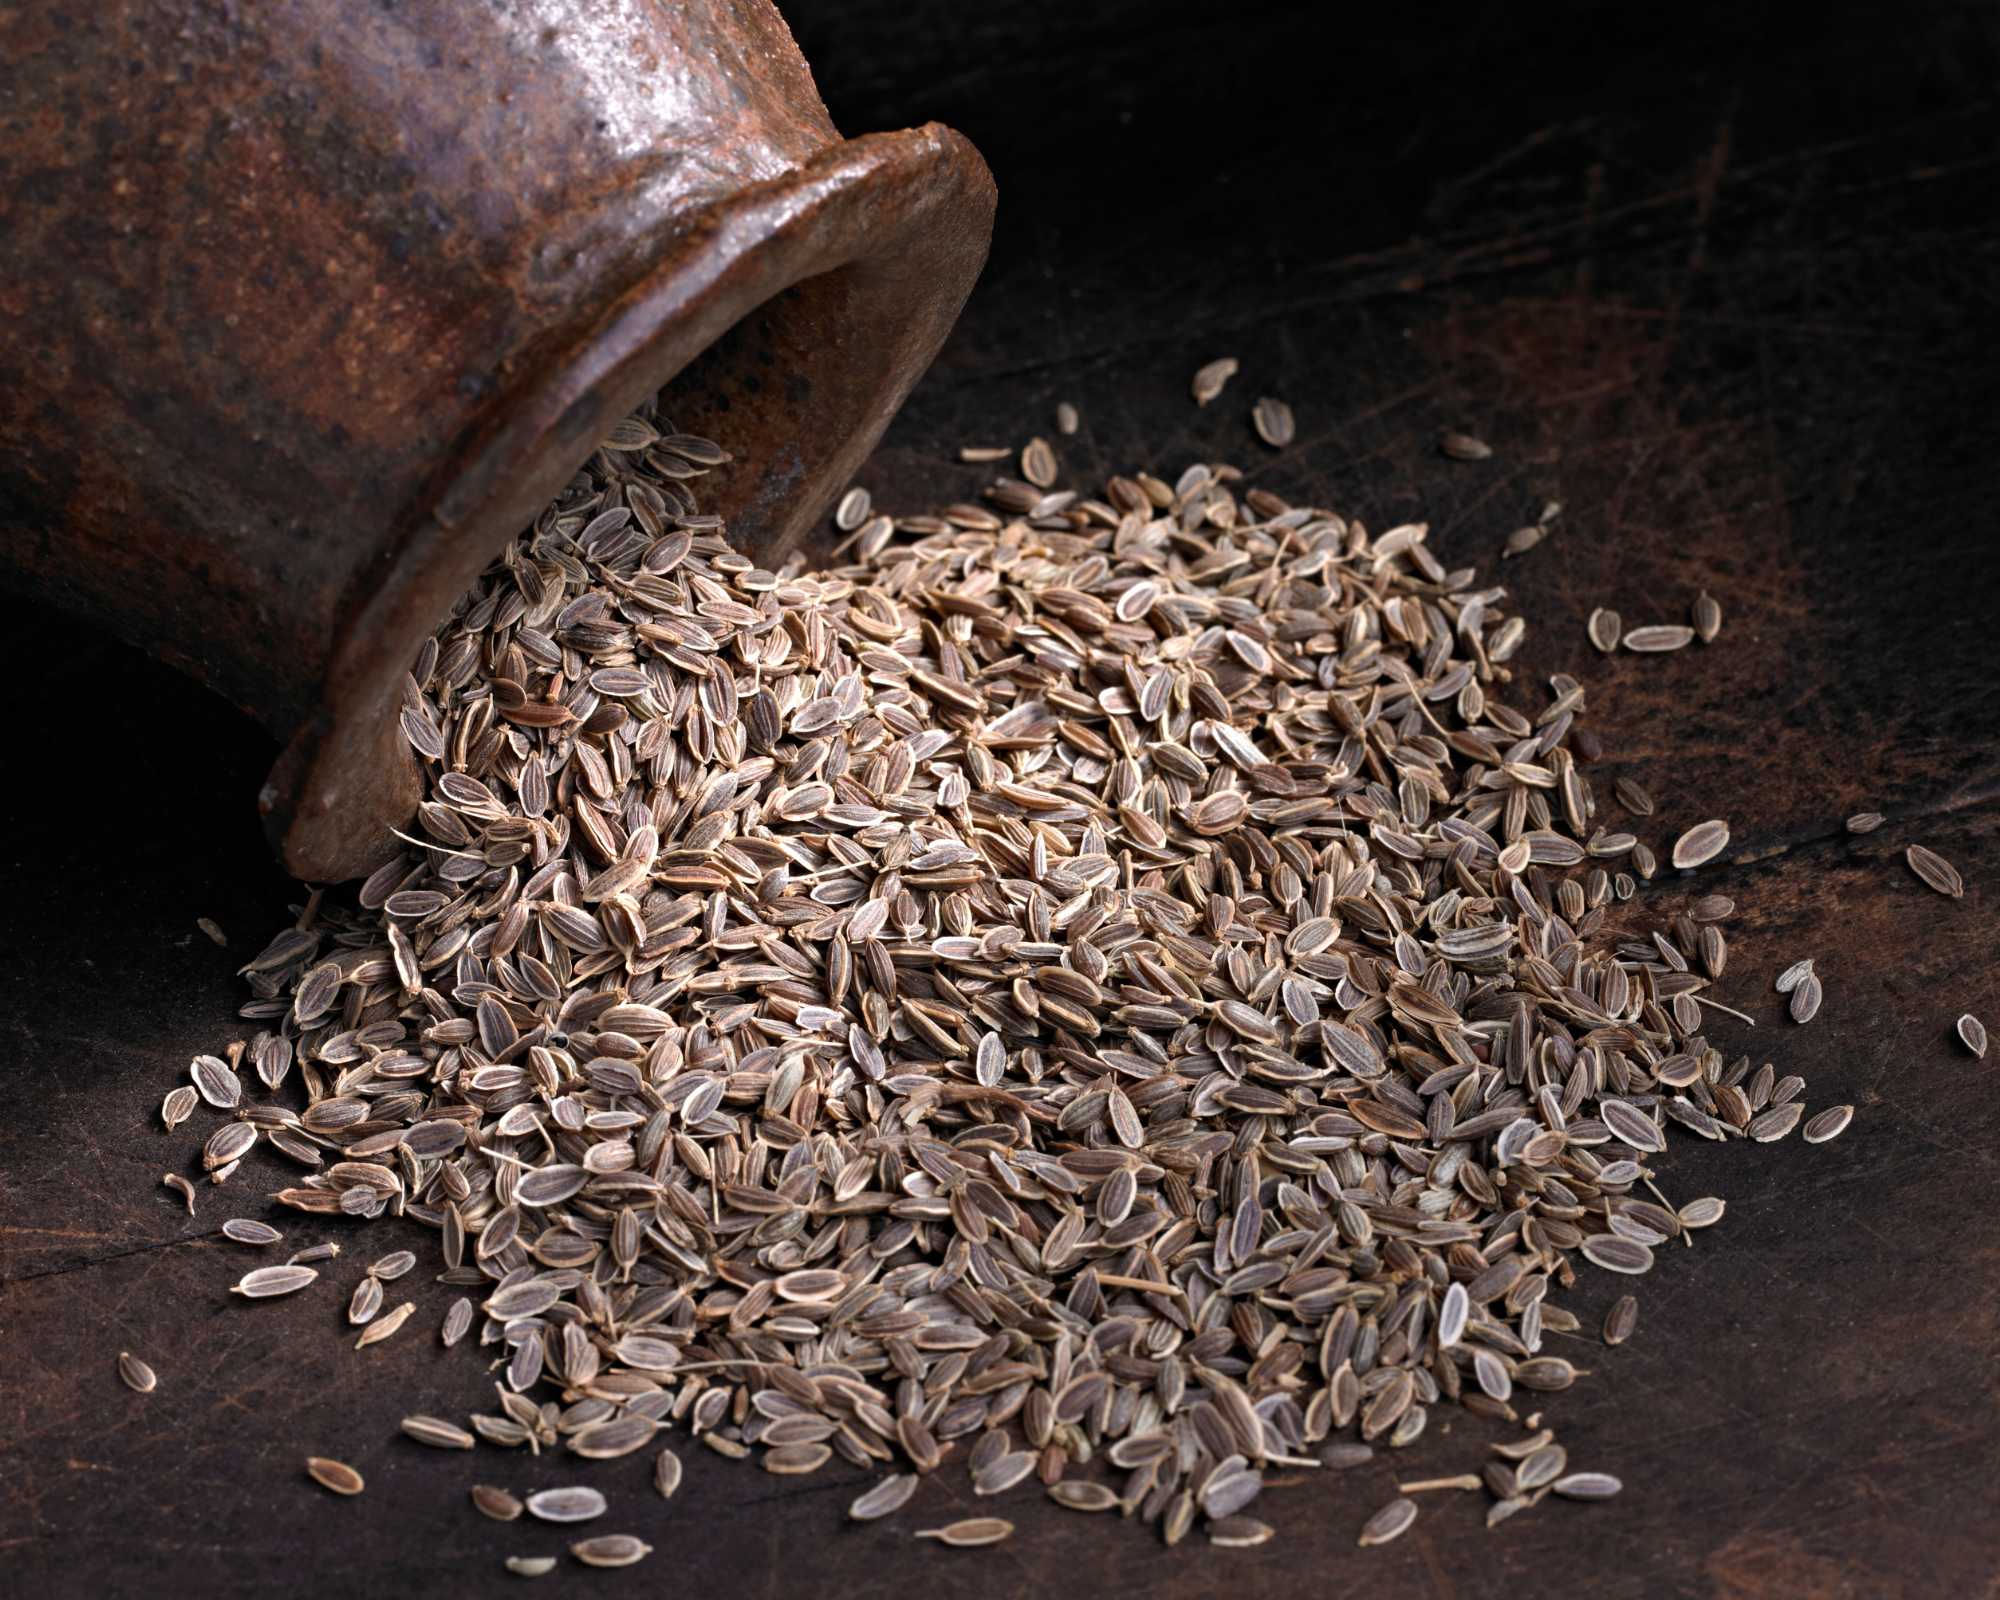
4. Harvest
After a few weeks, shake out the bag and collect the fallen seeds. Be sure to sift them before bagging them.
The flowers
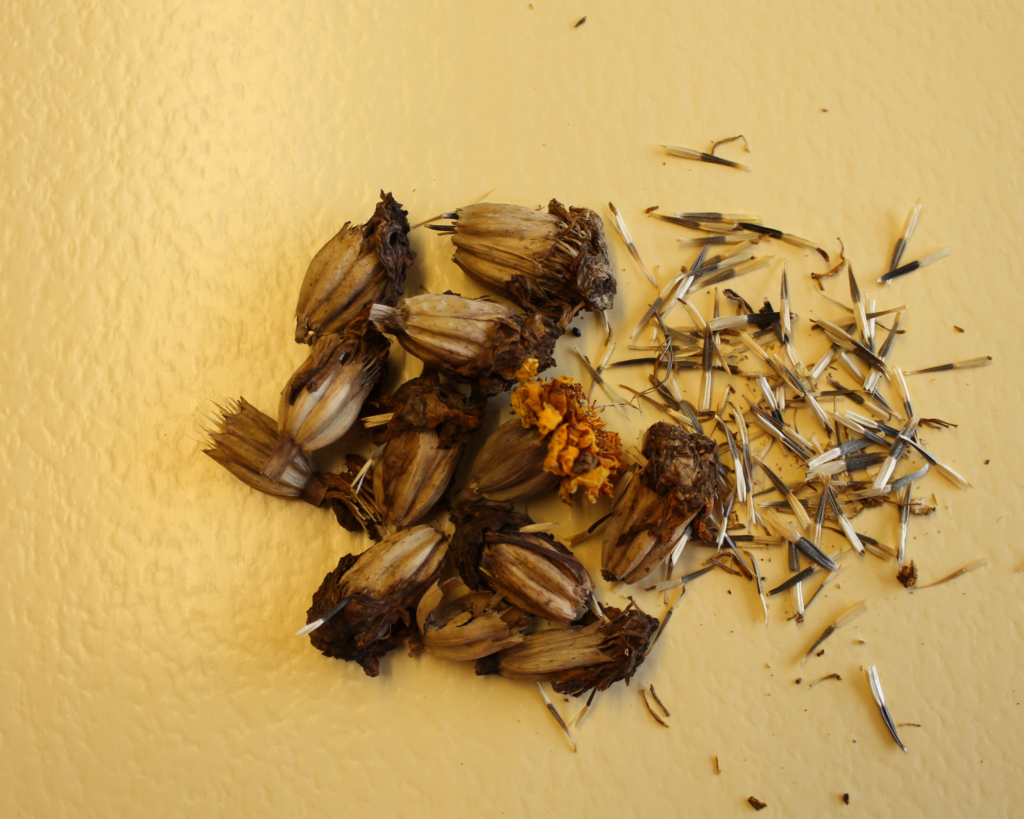
Nothing could be easier! You often just have to wait for the petals to fall off and the seeds to dry on the ground.
